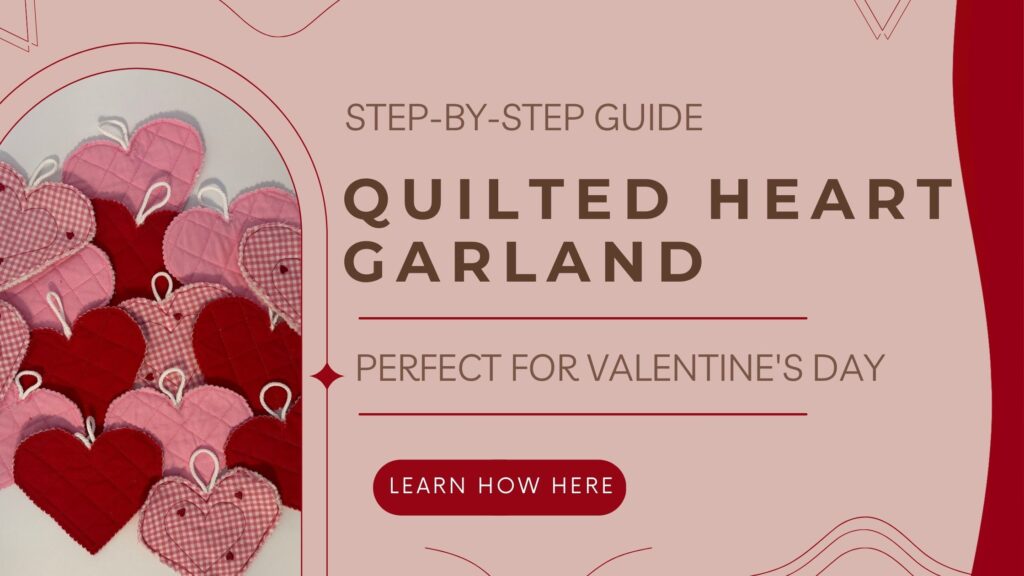
I love a good Valentine’s Day party, but I love a Galentine’s Day party even more. I wanted to make a Valentine’s Day decoration that is sustainable, easy to make, and budget-friendly all at the same time. I think that I absolutely nailed that prompt. This garland would be perfect for Valentine’s Day parties, Galentine’s Day parties, kids’ parties, and everyday home decor. In this tutorial, I will share tips on how to create and style a cohesive garland, walk you through a step-by-step tutorial, and offer various customizations.
**This post contains affiliate links. As an Amazon Associate, I earn from qualifying purchases. This means that at no extra cost to you, I may receive a small commission if you click through and make a purchase.**
Sustainability
This project is a very sustainable option, instead of buying a one-time-use plastic garland, you can make this quilted fabric version. You can use your extra fabric scraps from old projects, old clothing that can no longer be salvaged, or old leftover quilt pieces. Since this garland is fabric, you’ll be able to use it every year, and it will become a cherished handmade piece in your collection.
Where to Use Your Quilted Heart Garland
Whether you’re hosting a Valentine’s Day party or decorating your home, this quilted heart garland can be styled beautifully in many different spaces.
- Valentine’s Day & Galentine’s Day Parties
- Hang it across a dessert table
- Style with balloons, flowers, and other themed tablescapes
- Use it as a photo backdrop
- Everyday Home Decor
- Display in kids’ rooms, craft rooms, and entryways
- Add to a mantel, bookshelf, or hutch
- Seasonal Decor You’ll Reuse Every Year
- Display it on your mantel every February
- Hang it a hallway to add a cozy touch
Materials You’ll Need
For this project, you will need several different materials. Here is what I used.
- Cotton Fabric – I chose three different fabric colors in a Valentine’s Day palette
- Batting – You can use the batting of your choice for this project
- Pinking Shears – These are the scissors that I use and love
- Twine or Ribbon – You will need twine or ribbon in a coordinating color to create hanging loops
You will also need basic sewing supplies. If you are new to sewing and need help building your sewing kit, check out my article here.
Step-by-Step Tutorial – How to Make a Quilted Heart Garland
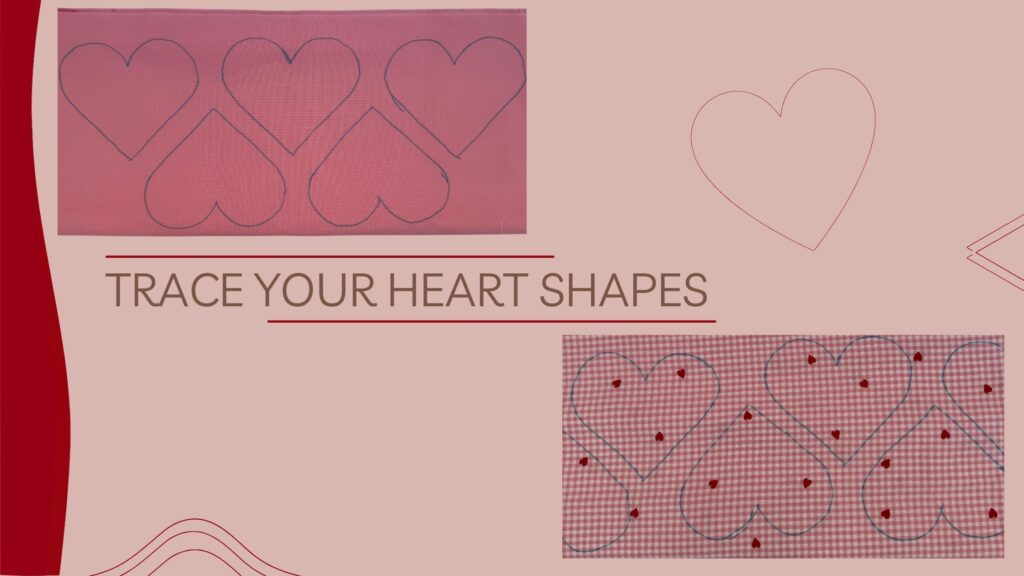
Step 1 – Trace Your Heart Shapes
- Draw or print a heart shape on a piece of paper.
- Trace the heart shape onto each piece of fabric.
- Make sure to leave enough space in between hearts so you have enough room to create the scalloped edge.
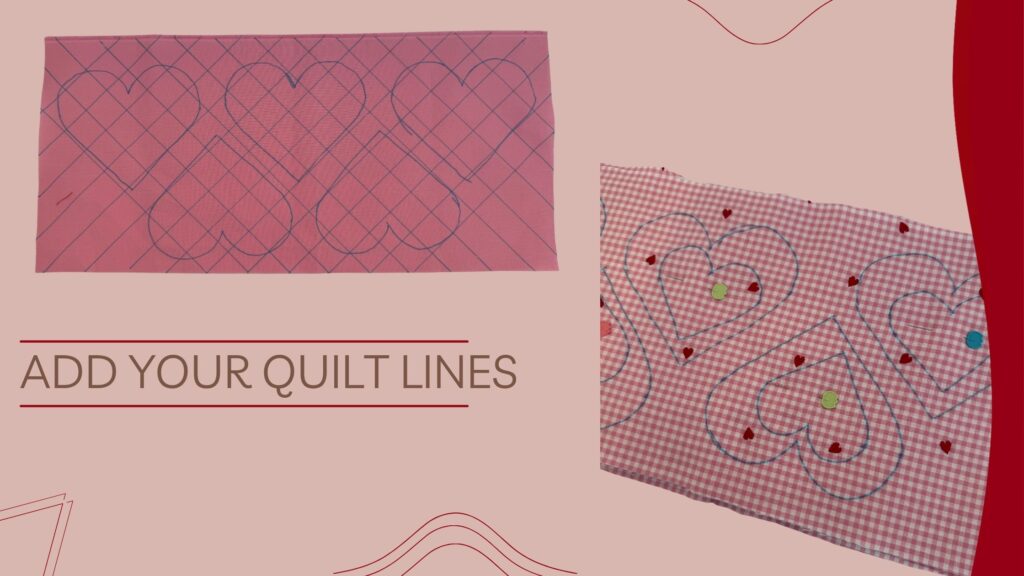
Step 2 – Add Your Quilt Lines
For the garland, I did two different types of quilting:
- Straight Line Diagonal Quilting
- Start by drawing a 45-degree diagonal line across the fabric.
- Use that line to draw the remainder of the lines at 1″ increments.
- Use the previous lines to draw perpendicular diagonal lines.
- Draw the remainder of the line at 1″ increments, using the first line as a guide.
- Miniature Heart Quilting
- Draw or print a smaller heart.
- Trace the smaller heart inside the large heart.
- I like to put them off-center for a fun look.
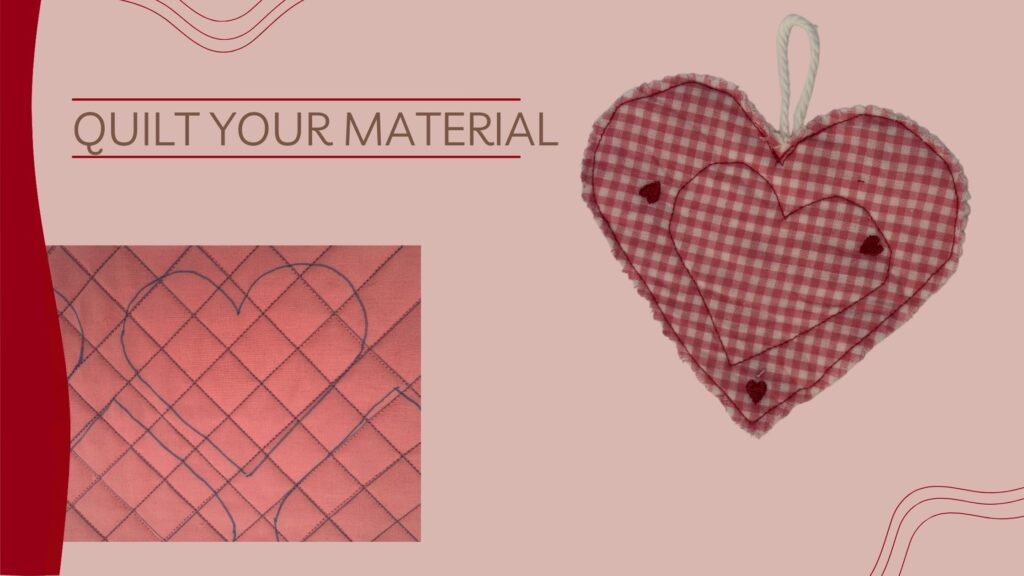
Step 3 – Quilt Your Material
- Pick out a matching or coordinating thread color.
- Quilt along the line we drew in step 2.
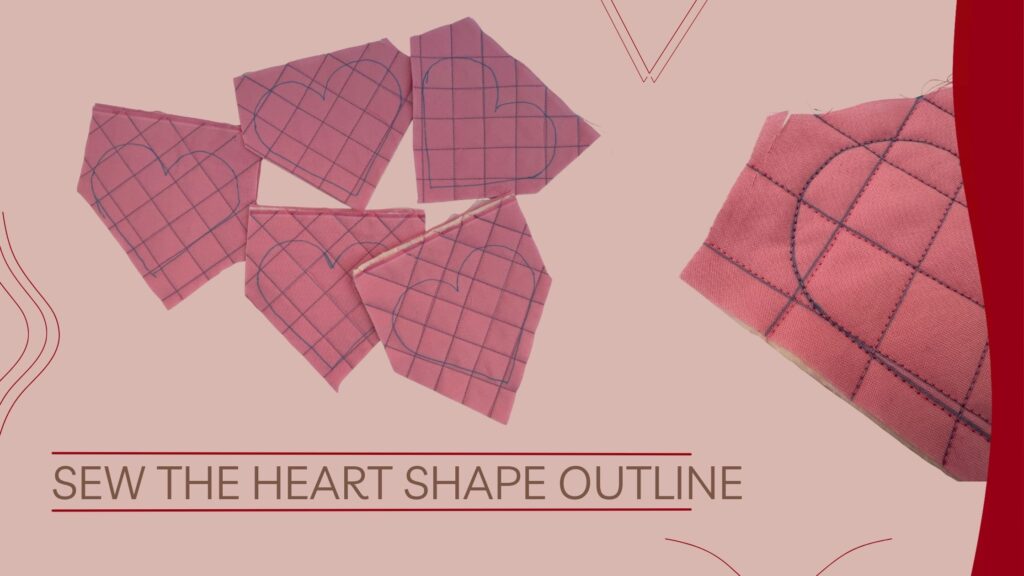
Step 4 – Sew Along the Heart Shapes
- Mark a 0.5″ space at the top of the heart where you want to attach the hanging loop.
- Sew around the outline, skipping the .5″ space.
- I like to cut the large piece of fabric into smaller pieces at this point, making it easier to handle.
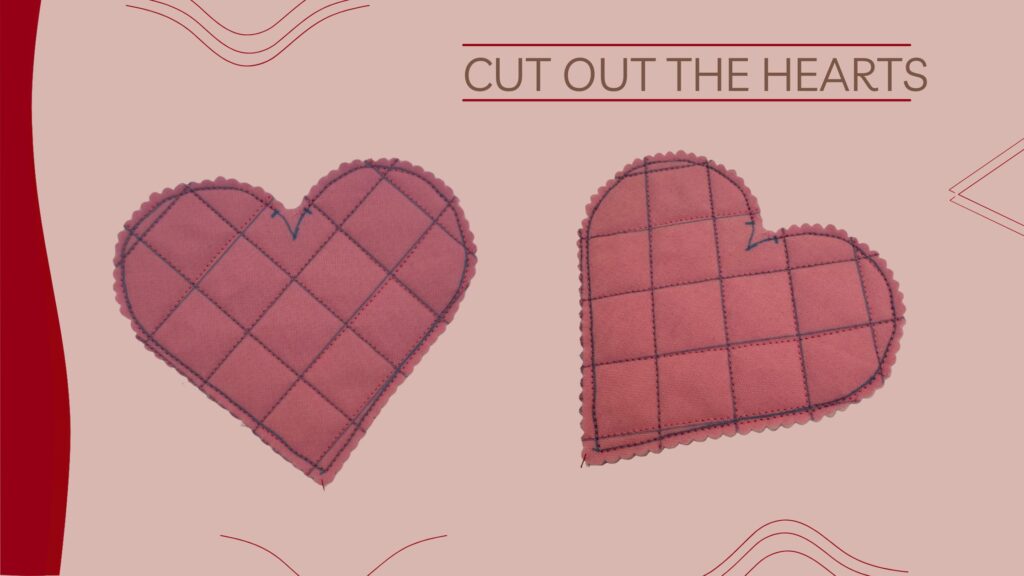
Step 5 – Cut Along the Outline
- Use your pinking shears to cut out the heart shape.
- Make sure you don’t cut into your outline stitches, or your heart may unravel.
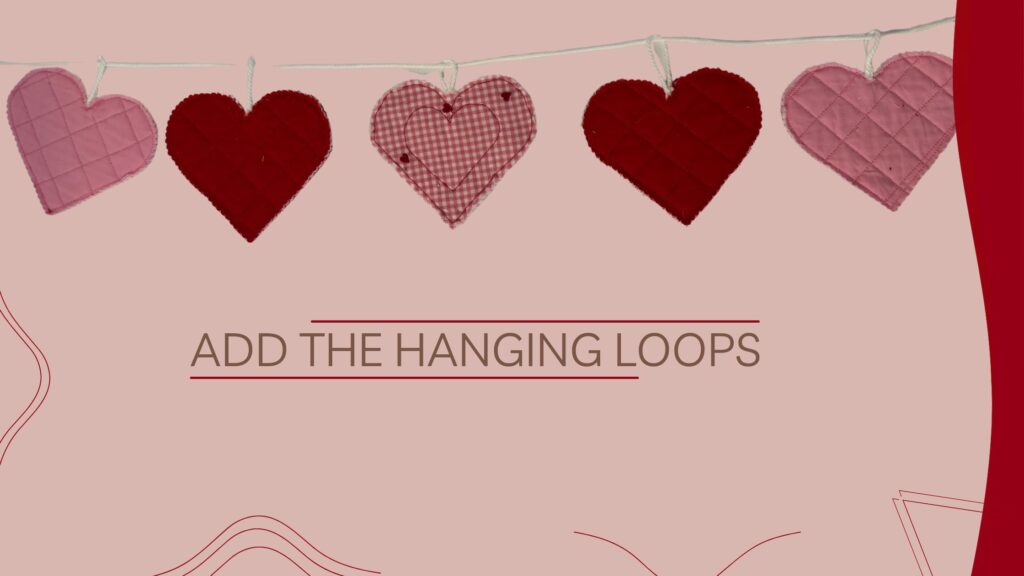
Step 6 – Add the Hanging Loop
- Cut a 2″ piece of twine or ribbon.
- I used a 2″ piece of twine, but you may need more or less depending on the shape of the heart. You just want to make sure that the twine is longer than the top peaks of the heart.
- Insert the twine or ribbon into the 0.5″ gap left in step 4.
- Sew over the twine with your machine.
- Make sure you go over the twine multiple times to prevent it from falling out.
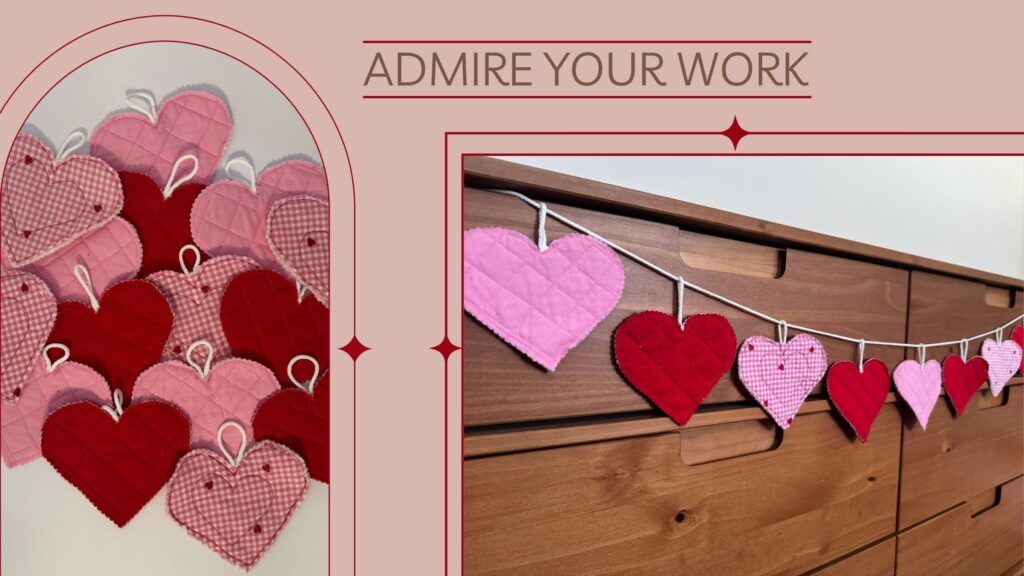
Step 7 – Admire Your Work
Customization & Variations
There are several different customizations you can make to take your garland to the next level.
- Use a different fabric – Try linen, flannel, or thrifted fabrics to make the garland.
- Embroider – Add names, initials, or dates to add a personal touch.
- Embellishments – Add lace, beads, or other decorative details to the garland
- Alternate color palette – Use pastels or neutrals for Easter or for year round decorations
Styling Your Quilted Heart Garland
There are so many different ways you can display your new beautifully quilted Valentine’s Day Garland. Here are a few ideas, but feel free to style and share how you styled your garland.
- Mantels & Shelves
- Layer with candles, books, artwork, and other garlands.
- Party Tables & Backdrops
- Use multiple garlands in different lengths for a backdrop or behind party tables.
- Use matching hearts around the room to create a cohesive design.
- Galentine’s Day Party Decor
- String the garlands at the entryway or above the table for a beautiful party display.
- Kids Rooms
- Hang them in your kids’ room for a festive touch
How to Make The Project Affordable
This is a project that can be made very affordably by digging into your fabric stash. This project would look perfect with a scrappy feel. By making the garland yourself, you can do it for a fraction of what you would spend at your local craft fair or on Etsy. It is also a quick project that will only take a couple of hours to complete.
Creating your own quilted heart garland is an easy, sustainable, and budget friendly way to decorate for Valentine’s Day, Galentine’s Day, kids’ parties, or everyday home decor. This simple sewing project is perfect for beginners and a great way to use up leftover fabric scraps while adding a handmade, heartfelt touch to your space. Whether you hang your garland on a mantel, style it for a Valentine’s Day party, or add it to a cozy corner of your home, this DIY decoration is one you’ll reach for year after year.
If you make this quilted heart garland, I’d love to see it! Join my DIY Parties, Decor, and Holidays Facebook group and share your finished project with our creative community. I can’t wait to see how you style yours!