Introduction
I have been seeing DIY hand-painted linen birthday banners all over Pinterest and Instagram recently. They are simple yet eye-catching party decorations. Having the ability to add a handmade party sign, that your guests will love and will become a focal point of your celebration is so valuable. These customizable fabric banners can be used for birthday parties, bridal showers, baby showers, weddings, or even seasonal celebrations. The only downside is that if you purchase one from a vendor, you can expect to spend quite a bit. For this reason, I will show you how to make your very own DIY linen party banner. This way, you can bring your own vision to life and create a banner that is specific to your event theme and personal style. This will also enable you to save money without sacrificing quality or creativity.
This post may contain affiliate links. As an Amazon Associate, I earn from qualifying purchases at no additional cost to you. I only recommend products I love, and your support helps me continue creating free DIY tutorials and party craft ideas. Thank you!
Versatility – Use Your Banner For Any Occasion
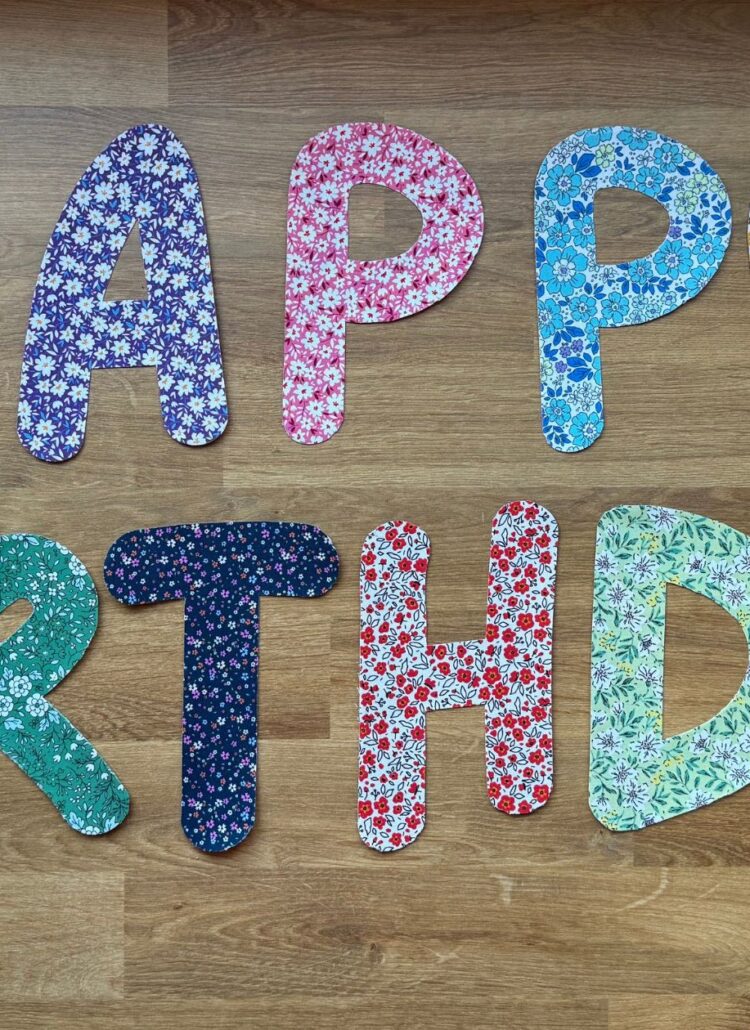
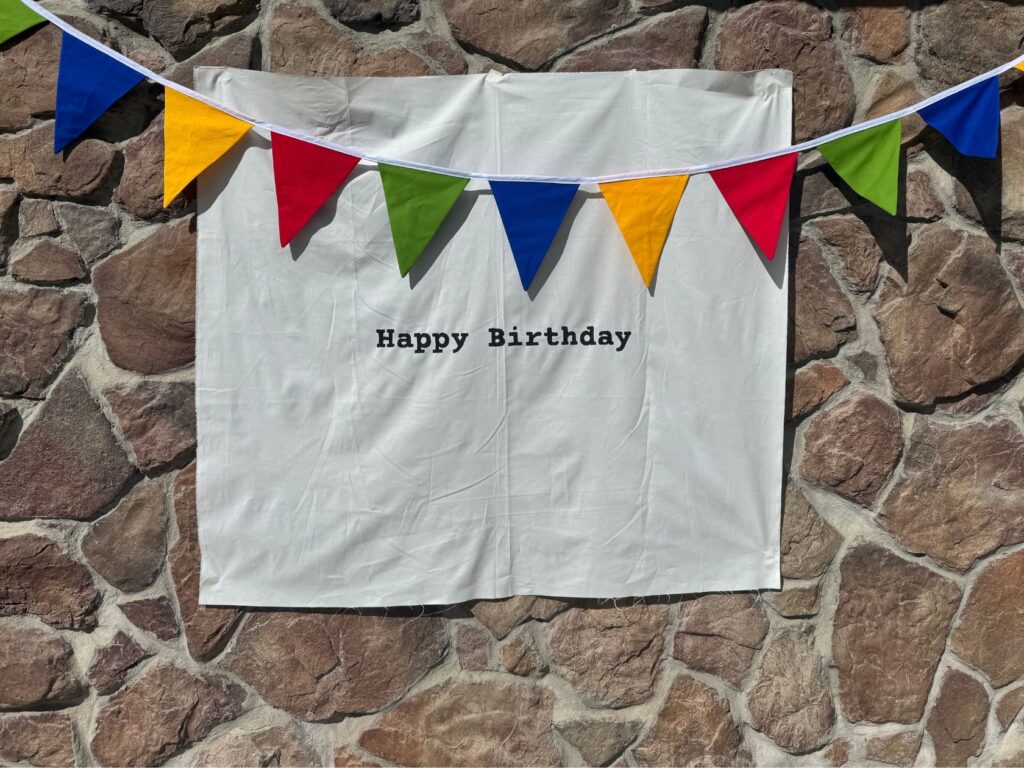
These banners don’t lack any versatility. The banner that I am going to show you today is meant specifically for birthday parties. I chose to keep it basic and not over personalized so that it can be reused over and over for years to come. It can easily be customized, however, so each child can have their own fully customized banner. I tend to like a simple banner that can be styled with other party decor, like this Handmade Fabric Birthday Garland. They can also be used at weddings, bridal showers, wedding showers, baby showers, and seasonal parties. It’s this versatility that make is possible to use just a few simple supplies to create something eye-catching that your guests won’t stop talking about.
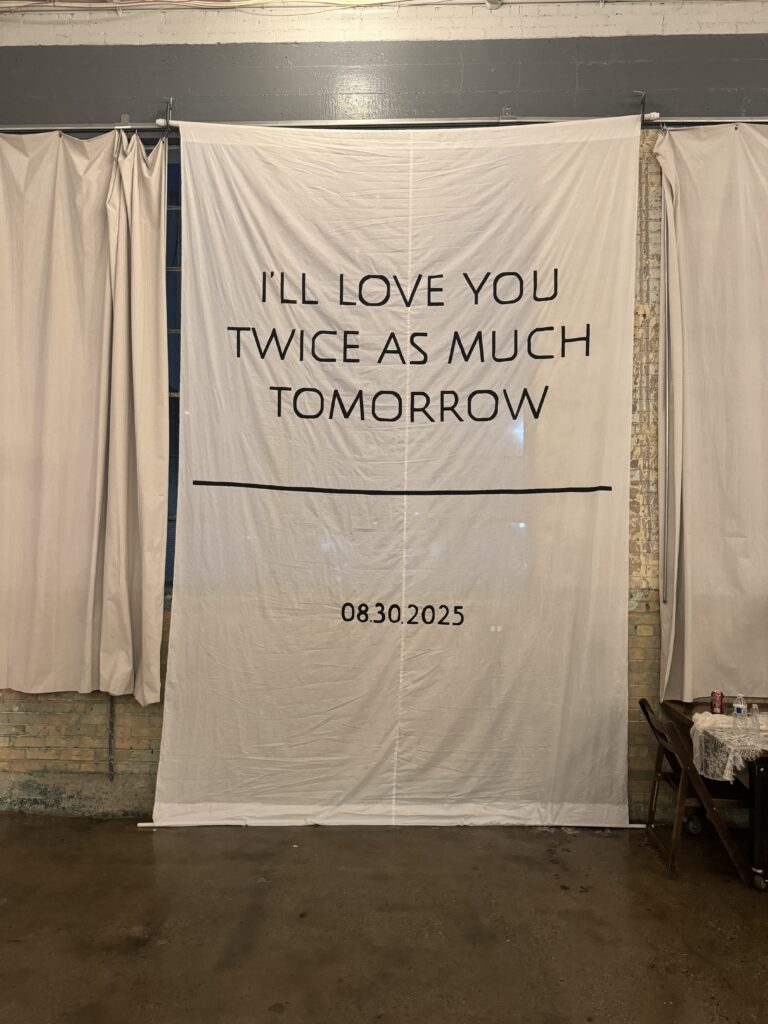
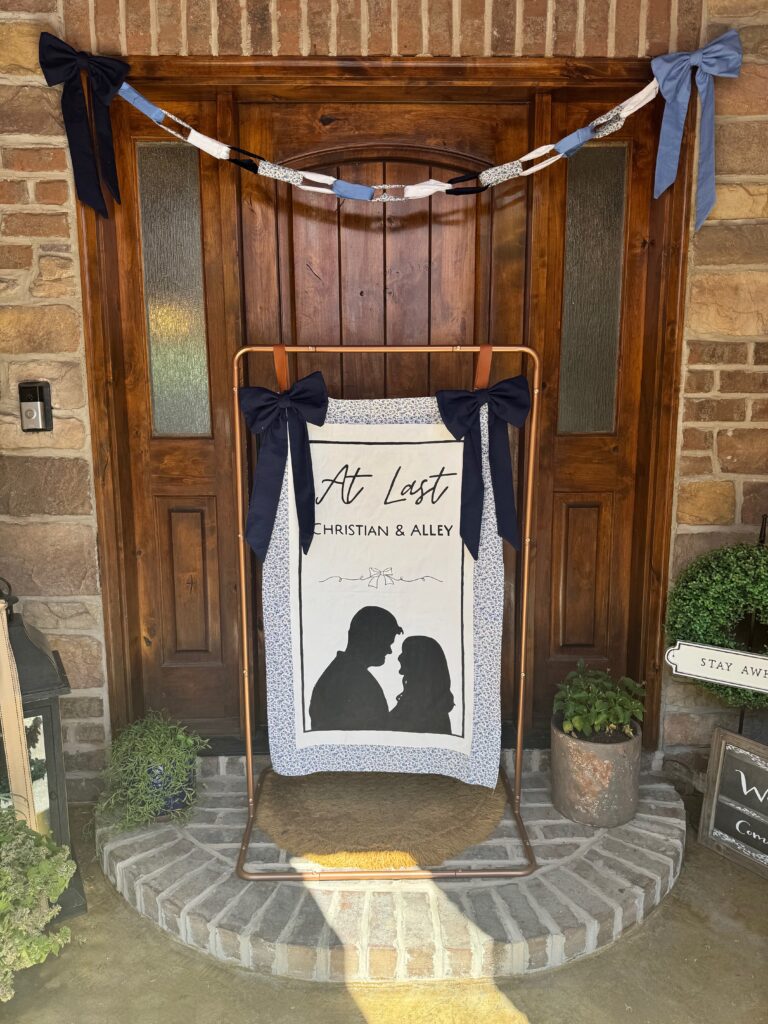
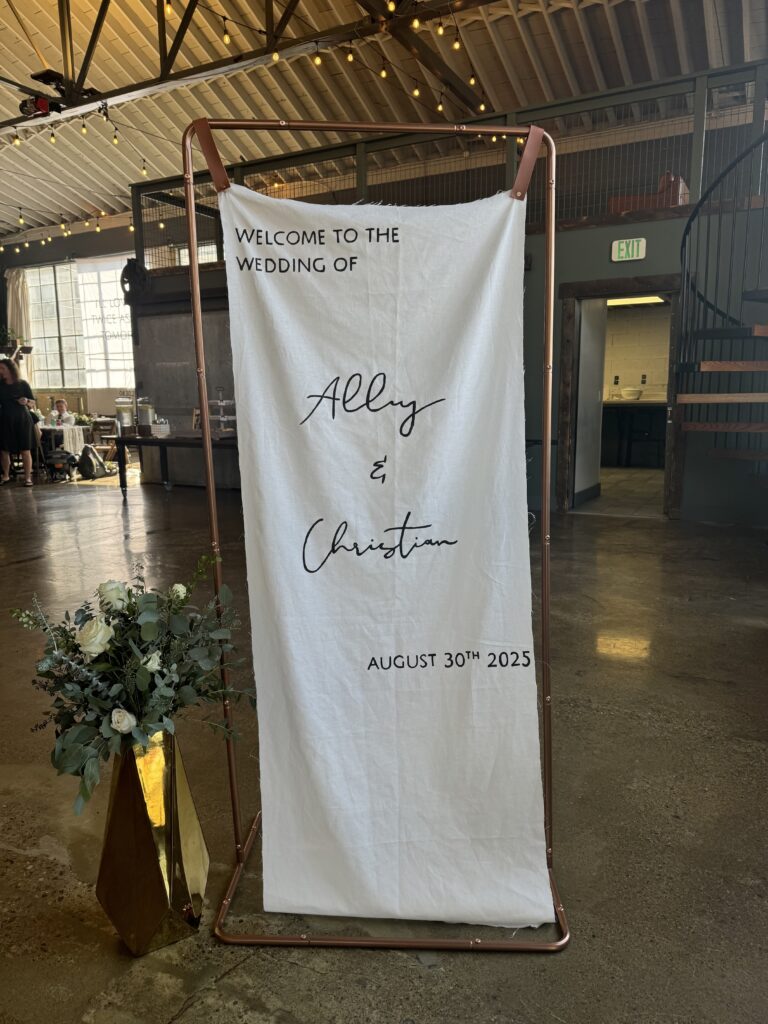
My sister got married recently, so I made multiple banners to accompany her wedding events. I made a customized banner with fabric bows and backed with a beautiful floral fabric for her bridal shower. I chose a fun design with the outline of their silhouette for a fun playful vibe. I also made a welcome sign for her wedding. This simple sign added a lot of class as the guests walked into the room. The grand finale was the 10′ x 15′ banner that was the backdrop of their wedding. The most beautiful part of all was that with a little bit of hard work I was able to cut the cost of these banners by at least 75%.
Customization
There are many ways you can easily personalize your linen banner. First, you can use different acrylic paint colors to create a brighter, more colorful vibe. You can choose whatever font you would like to match the aesthetic of the party. You can add a colorful fabric backing that matches the theme of your party to the back of the sign. You can add different shapes and objects to the banner to further personalize it. My personal favorite way to customize it is to add additional handcrafted items to make the design stand out. I have a DIY Fabric Bow Tutorial and a DIY Pennant Bunting Tutorial that are the perfect addition to any hand-painted linen banner.
Fabric Choice
You can use different fabrics to help create the exact vibe you want for your banner. For a light, airy feel, consider using linen or muslin, as both allow natural light to filter through beautifully, giving your sign a soft, flowy appearance. If you’re going for a sturdier look or want to add extra durability, choose a medium-weight cotton or canvas. Adding a backing fabric can also completely transform the design. For instance, pairing a sheer linen front with a thicker fabric behind it not only adds structure but also allows you to play with color contrasts and patterns that subtly show through. This combination can make your banner feel more polished and give it a layered, professional finish.
Tutorial
Materials
- Fabric (linen, muslin, or cotton for best results)
- Pencil
- Acrylic Paint Pens
- Acrylic Paint
- Projector
- Optional: Display stand, backing fabric, DIY bows, or other party decor customization
Step 1 – Design Your DIY Linen Banner
I like to use Canva to create my design for every DIY party sign. Here are the step-by-step instructions I follow.
- Create a custom file size in Canva. The dimensions should match the size of the banner you want to make. This will ensure that the proportions are correct.
- Add the text and style you want.
- Add a vertical line right down the center of your design. This will help you line up the center of the design.
- Export your design from Canva as a PDF.
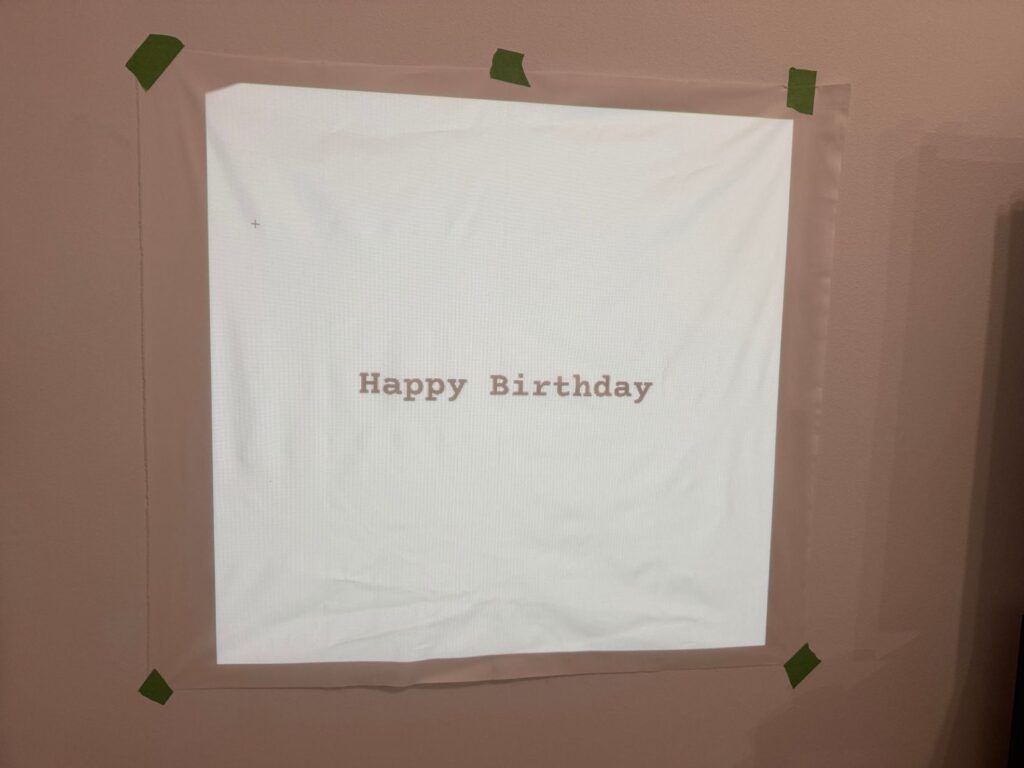
Step 2 – Hang The Fabric And Verify The Design is Level
- Set the projector on a flat surface across from a blank wall.
- Turn the projector on and ensure that it is level.
- Hang the linen fabric banner on the flat wall.
- Verify the design is level on the fabric by measuring the top of each letter and making sure they are the same distance from the top edge.
- Verify the design is center by measuring the center line to the edge of the fabric.
Step 3 – Trace The Design
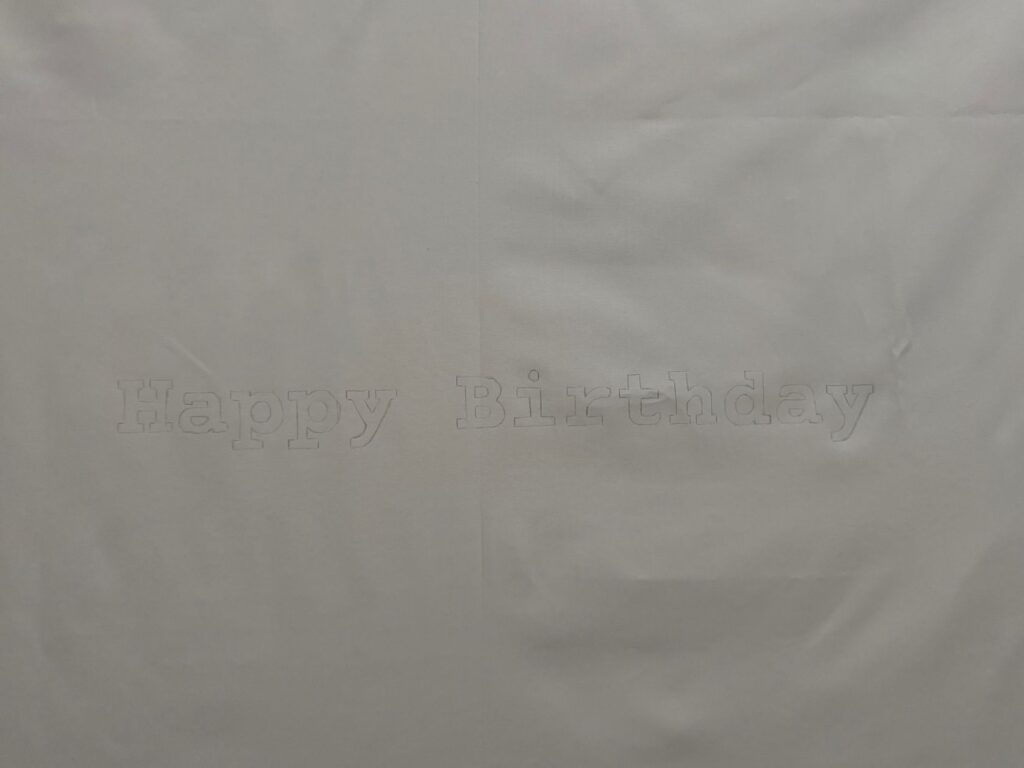
- While the projector is on trace the design lightly in pencil. This will help you achieve a crisp outline.
- From my experience, it is easiest to trace at night, when the projection is easiest to see.
- Use a ruler while tracing straight lines. This will save time and improve accuracy.
Step 4 – Paint The Design
- Place scrap paper, cardboard, or another protective layer under your fabric before painting, as acrylic paint can bleed through.
- Use the fine tip on the paint pen to outline the letters or graphics.
- This will help prevent any additional bleeding.
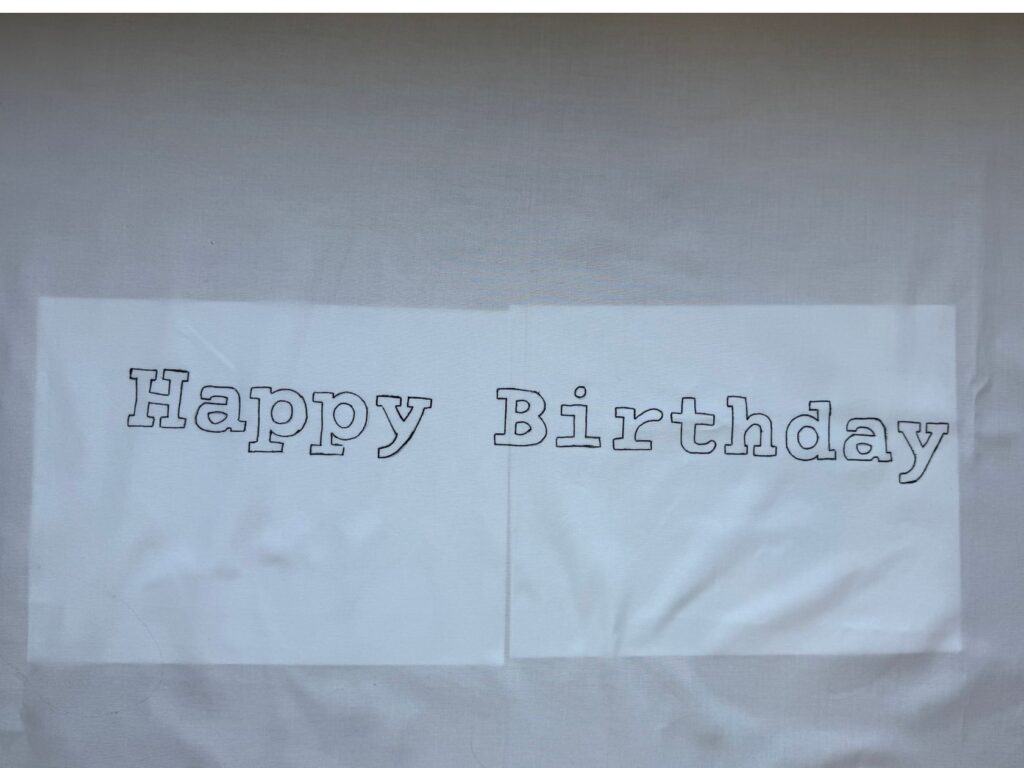
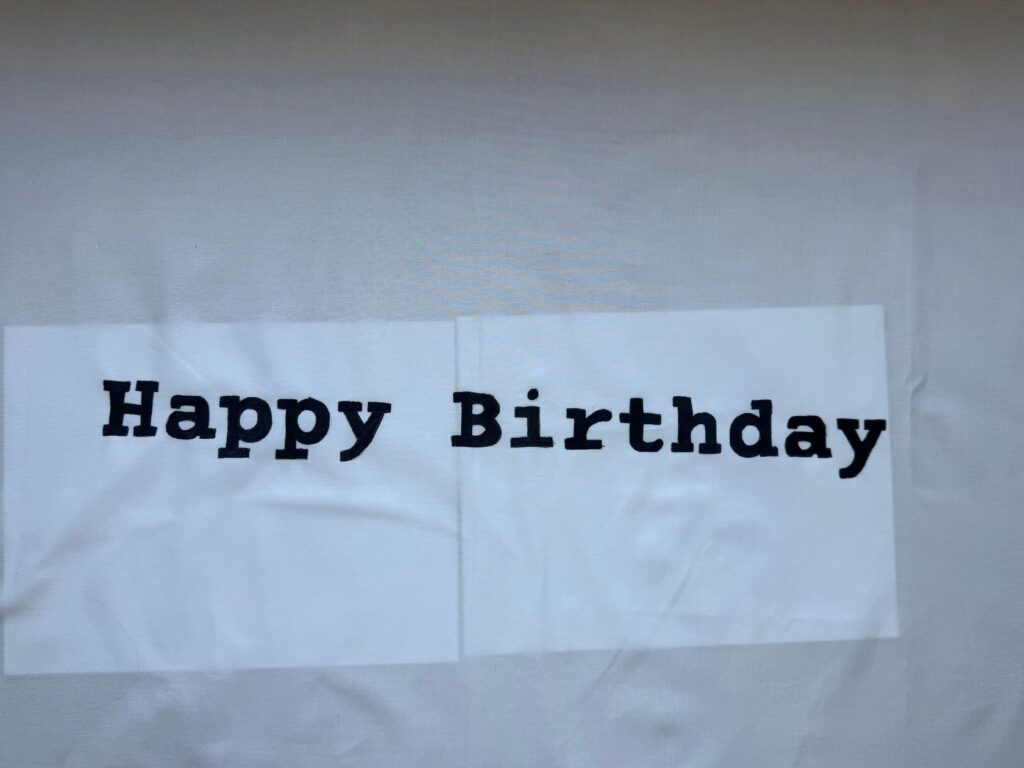
- Use the large tip on the paint pen to fill in the letters or graphics.
- You can also use a small paint brush and acrylic paint to fill in the letters or graphics that are slightly larger.
Step 5 – Admire Your Work
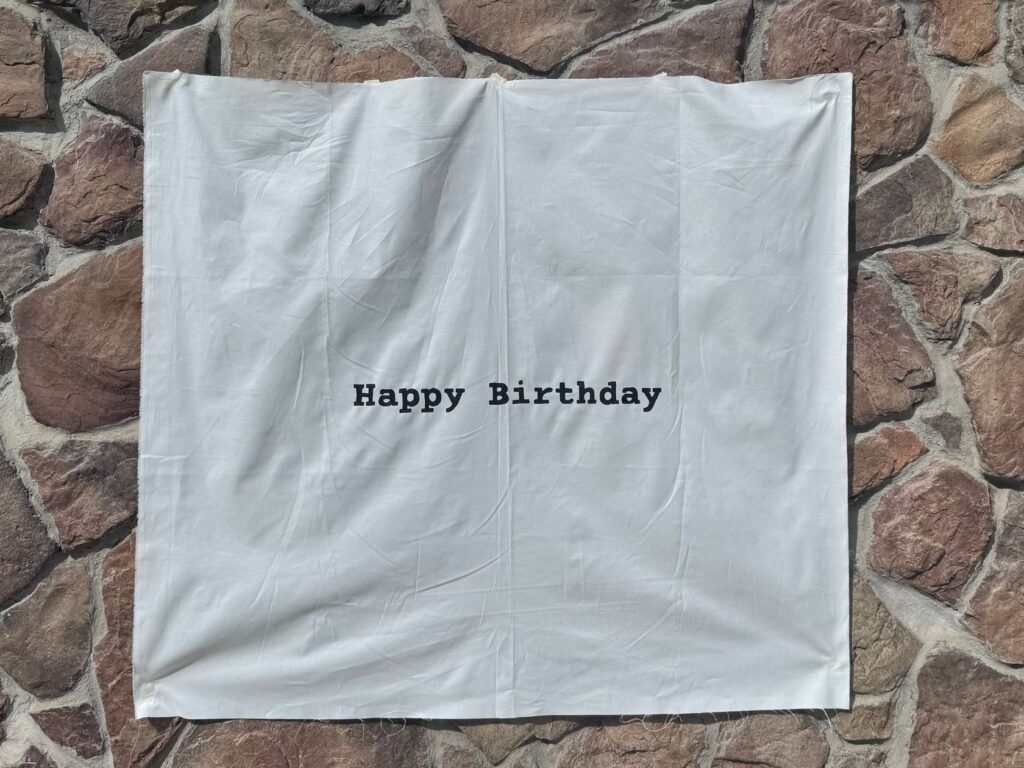
Step back and enjoy your custom hand-painted banner!
Inspiration
These banners are versatile and can be used at weddings as welcome signs, baby shower signs, bridal shower signs, bachelorette party decor, or even as part of a proposal. If you want to make it more playful, you can add bright colors or patterned backing fabrics. You can also include custom graphics or illustrations that highlight the theme of your event. For a more elegant wedding sign, opt for a classic black and white design on a light, flowy fabric. If you’d like to add a feminine touch, consider attaching DIY fabric bows for extra charm. The customization options for these banners are truly endless!
Conclusion
Creating your own DIY linen banner is not only a fun and creative project, but it’s also a way to add a meaningful, reusable piece of party decor to your celebrations. Whether you keep it simple with classic hand-painted lettering or customize it with fabric bows, patterned backings, or seasonal design your banner will quickly become a staple for birthdays, weddings, showers, and more.
The best part? These banners are durable and timeless, making them something you can use again and again. You could even pass it down as a cherished family heirloom. With just a few supplies and a little creativity, you can craft a piece that feels personal, sustainable, and completely unique to your style.
So the time you’re planning a party, skip the disposable decor and create a custom linen birthday banner or wedding sign that will not only impress your guests but also hold memories for years to come.
DIY a linen banner for birthdays, weddings, or showers! This reusable, hand-painted party sign is budget friendly, customizable, and can even become a timeless heirloom. Skip the disposable decorations and create a unique and personal piece you’ll love using year after year.