Want to make a statement with your decorations at your next event? This oversized fabric bow tutorial is just what you need. If you are anything like me then your FYP has constantly been flooded with these beautiful, statement oversized bows. If you are anything like me then the price tag has also made you gasp in unbelief. Luckily you can make these bows at a fraction of the cost using only a half yard of cotton fabric and a little time. Follow this tutorial to find out how. I will also show you how to tweak the measurements to achieve your desired look. These bows will be perfect for your next event but they will also look perfect as your everyday decorations.
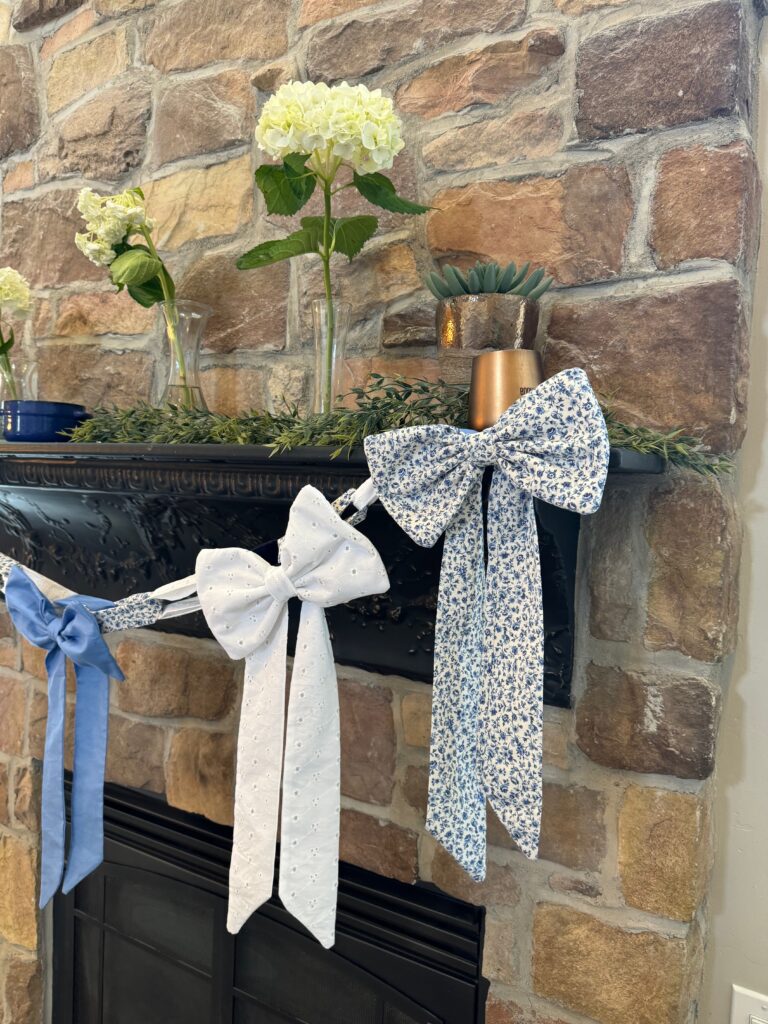
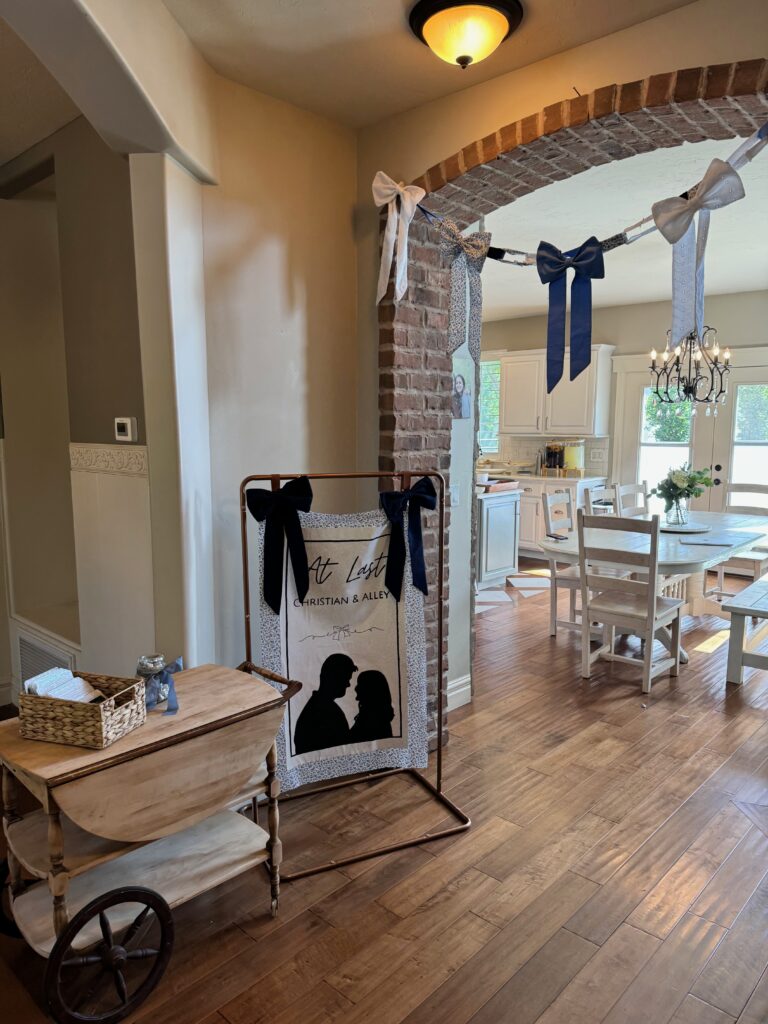
I am making these bows into a garland to be used as a decoration at my sister’s bridal shower. They are meant to be complementary to a custom fabric banner that I showed you how to make here.
Materials
- 1/2 yard of fabric – I was able to make two bows
- Batting
- Sewing Machine
- Needle/Thread
- Safety pins or hot glue
Design Phase
The bow is actually relatively simple to create once you understand it is made up of 3 different components: loops, tails, and center wraps.
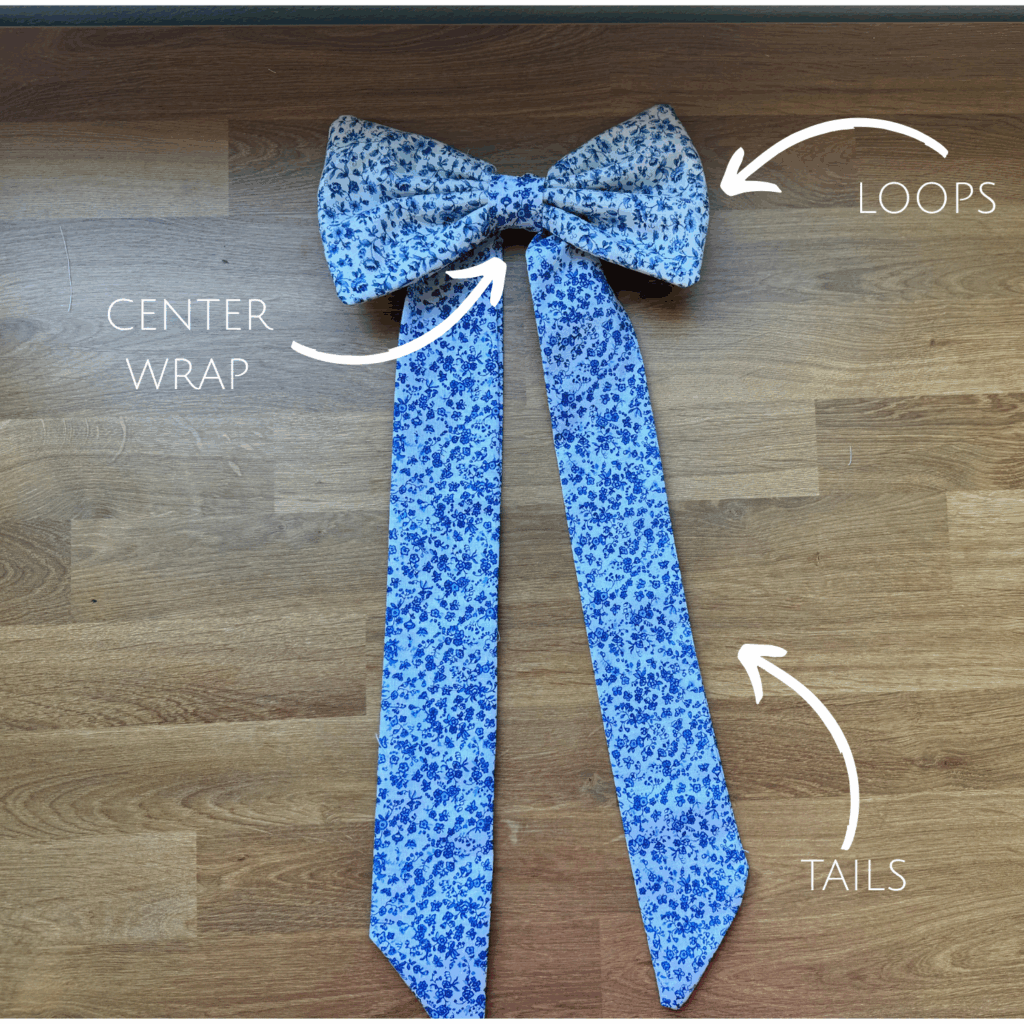
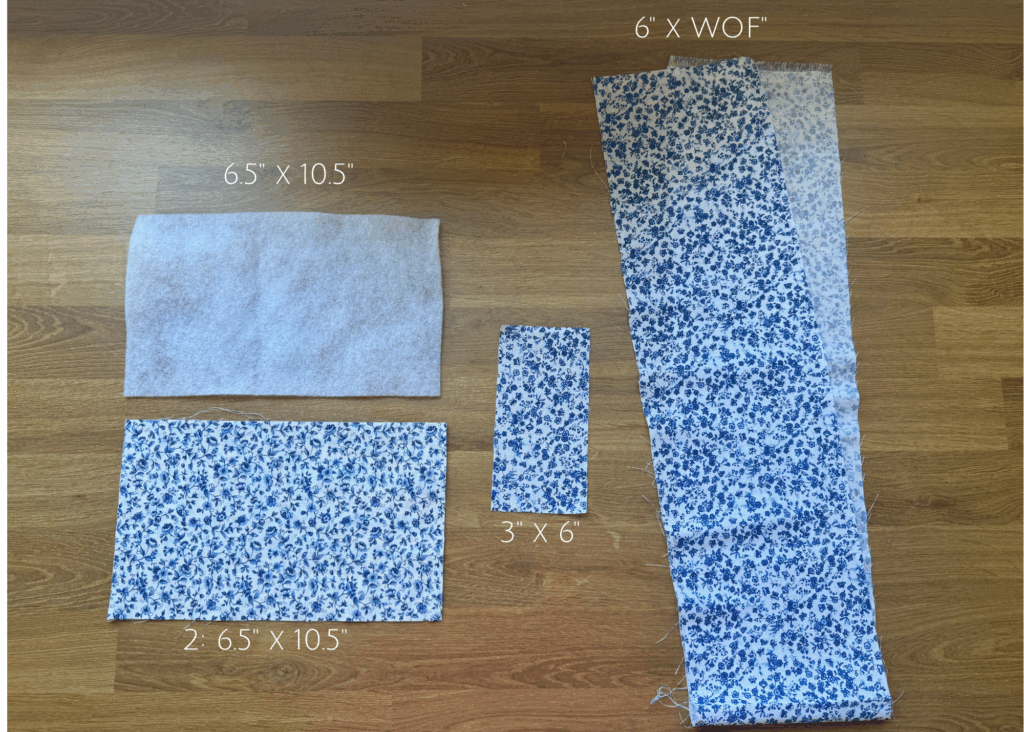
The different pieces you will need to cut are
- Loops – Cut 2 pieces that are 6.5″ x 10.5″
- Cut 1 piece of batting that is 6.5″ x 10.5″
- Tails – Cut 1 piece that is 6″ x WOF (width of fabric)
- Center Wrap – Cut 1 pieces that is 3″ by 6″
Step 1: Create the Loops
- Place the two pieces of fabric face together with the layer of batting on top.
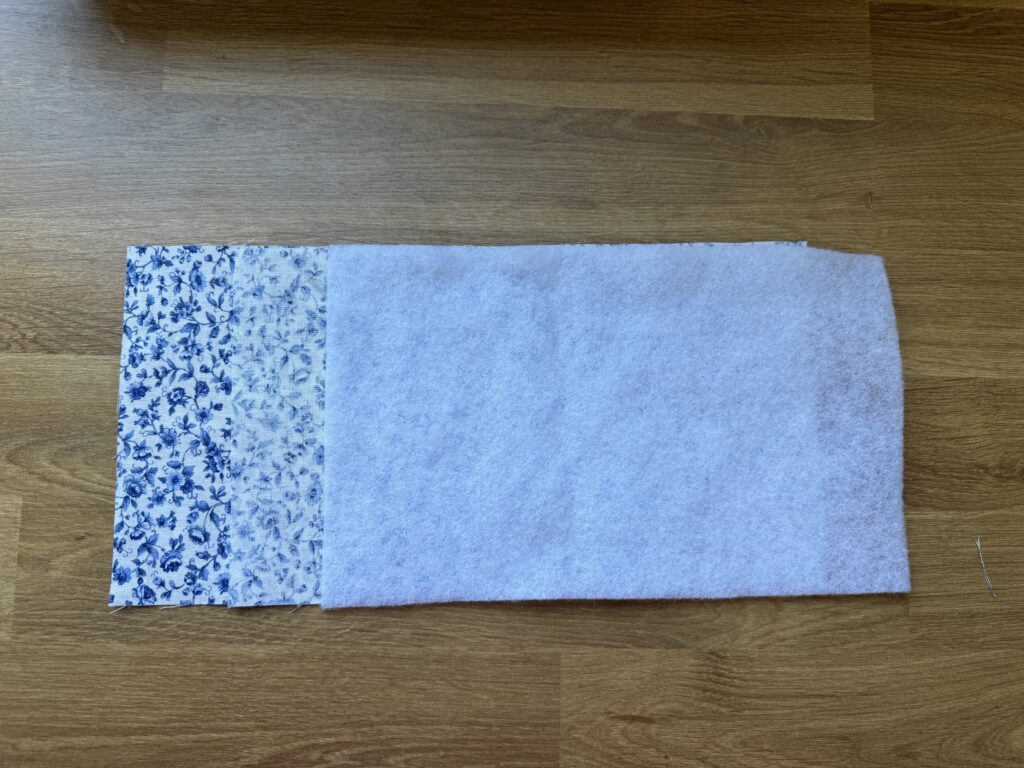
- Sew along the outer edge with 1/4″ seam allowance. Leaving a 1.5″ gap at the top.
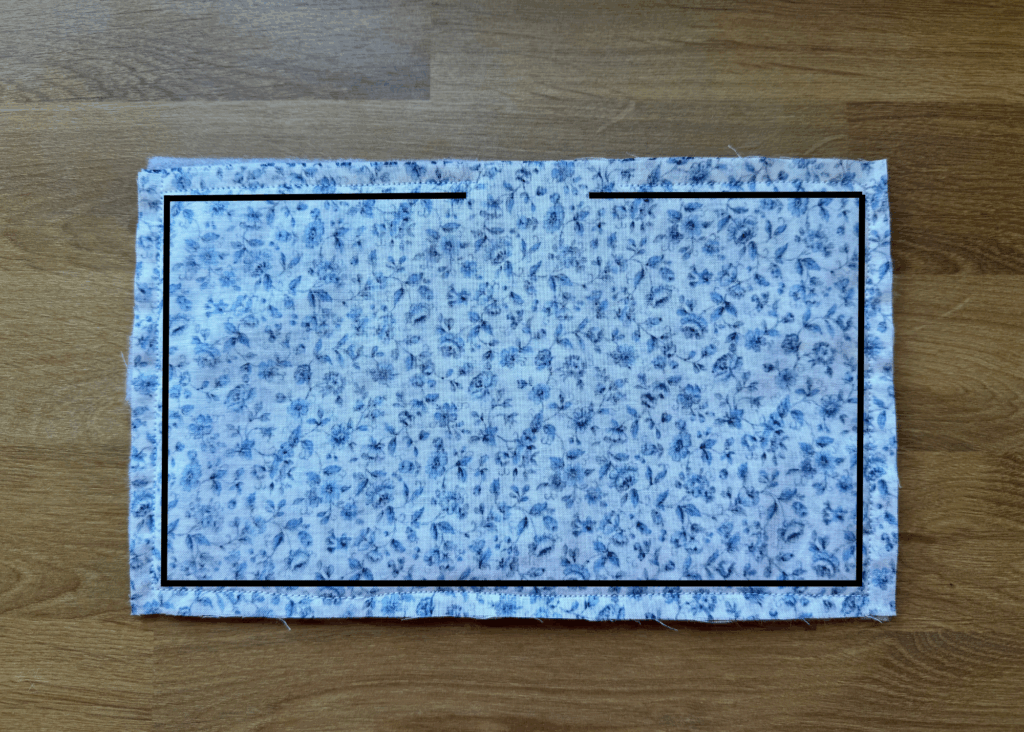
- Flip the piece right side out by flipping in between the two pieces of fabric. That way the batting will be sandwiched in between the two pieces of fabric.
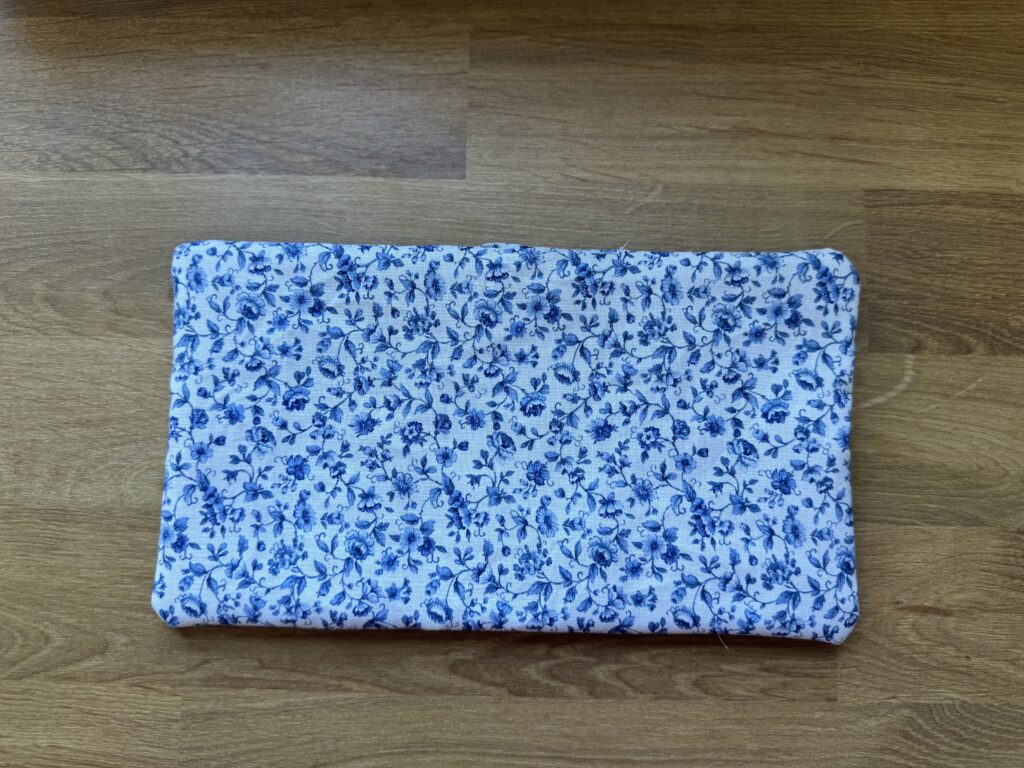
- Iron flat then sew the gap with a needle and thread.
Step 2: Create the Tails
- Fold the fabric in half with the fabric faces together.
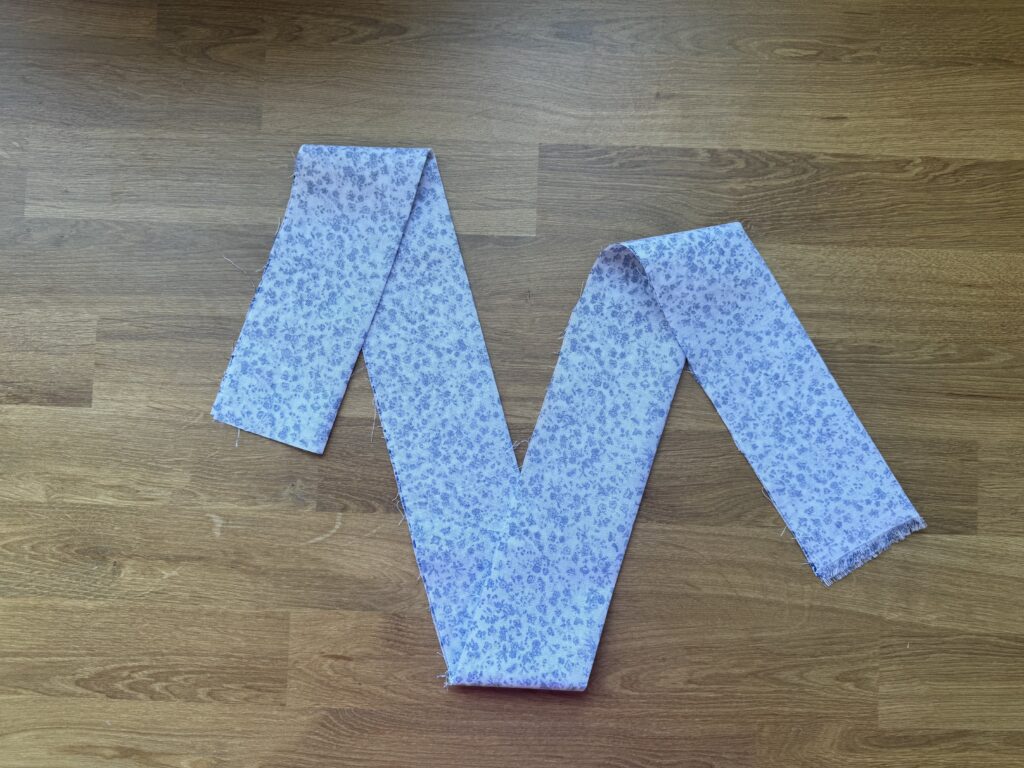
- Cut each end of the tail off at a 45 degree angle.
- Pro Tip: The tails should be cut in the opposite directions so when the bow is assembled the tails are mirrored.
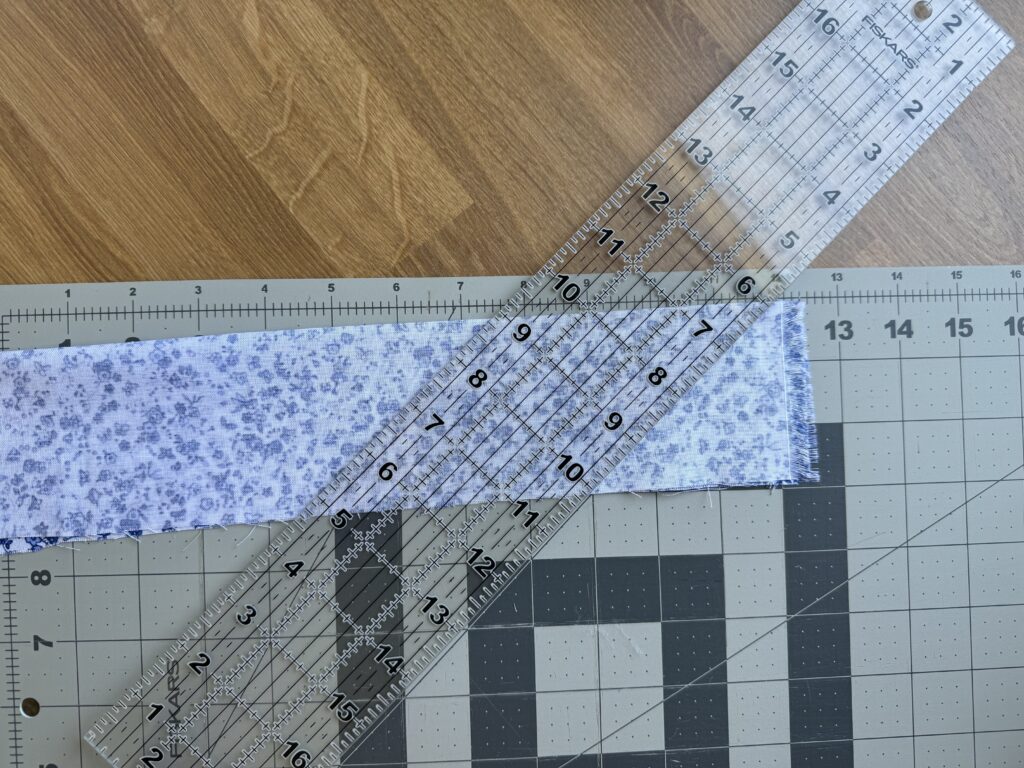
- Sew along the outer edge with 1/4″ seam allowance. Leaving a 1.5″ gap at the top.
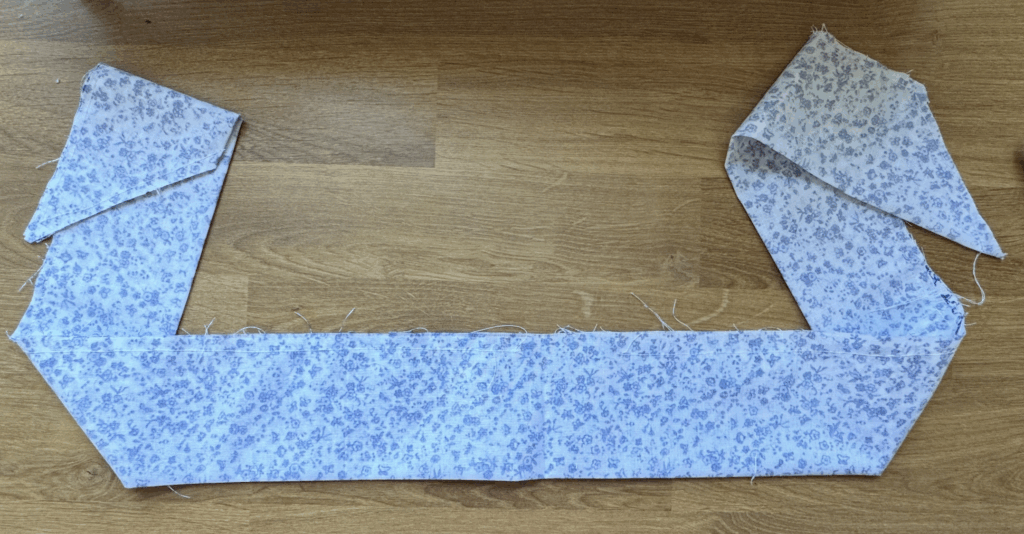
- Flip the piece right side out by pulling the fabric through the hole left at the top.
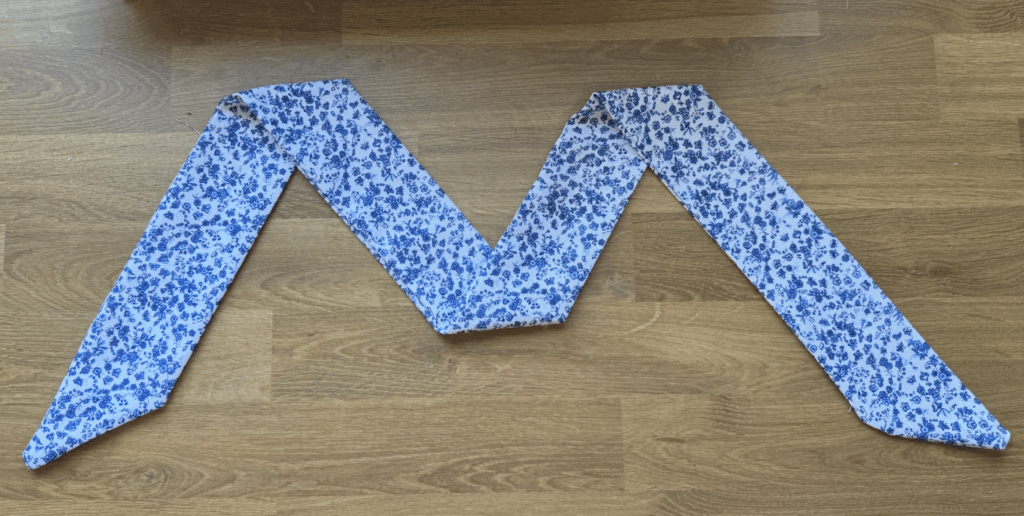
- Iron flat then sew the gap with a needle and thread.
Step 3: Create the Center Wrap
- Iron the fabric in half with the right sides together.
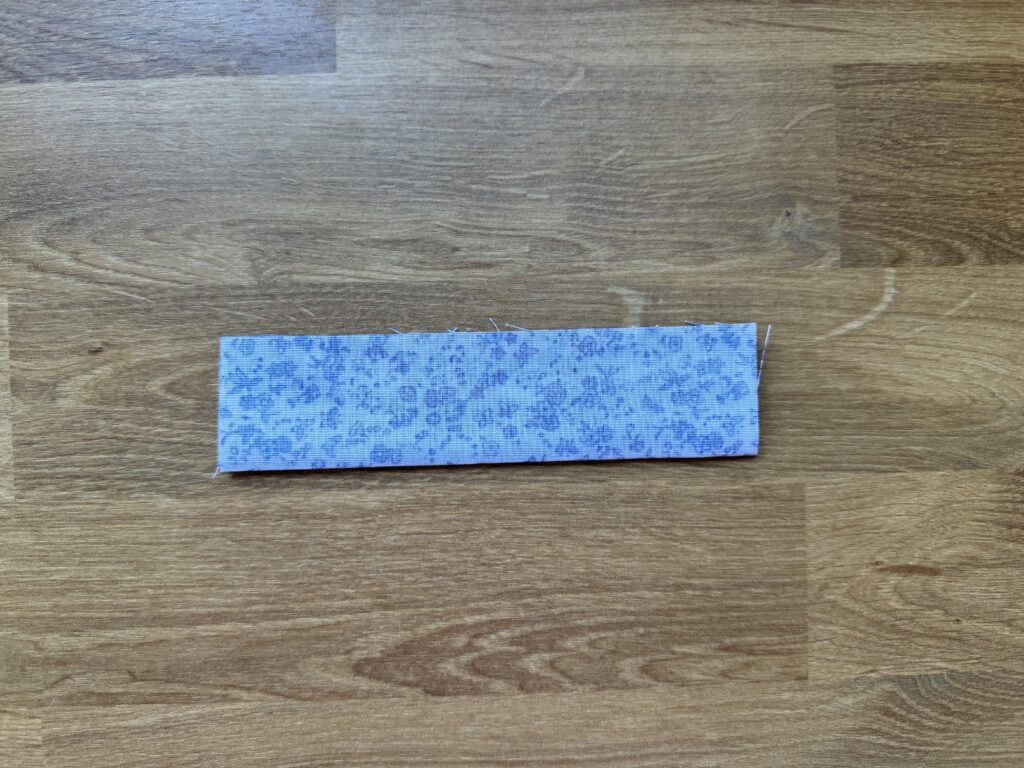
- Sew along the outer edge with 1/4″ seam allowance. Leaving a 1.5″ gap at the top.
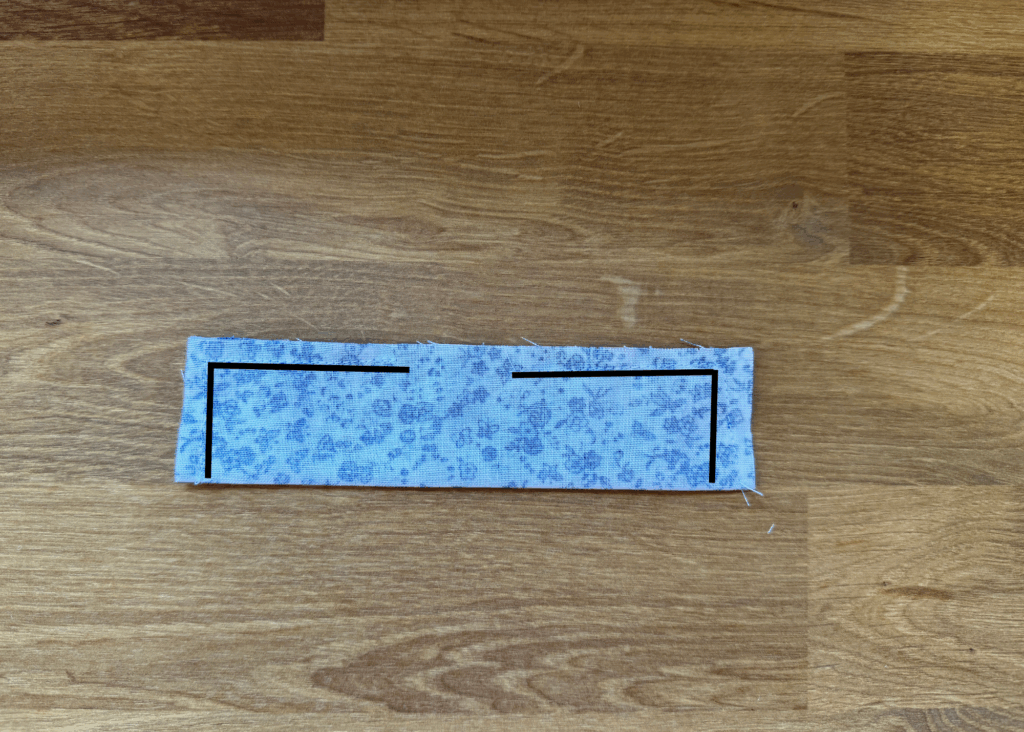
- Flip the piece right side out by pulling the fabric through the hole you left at the top.
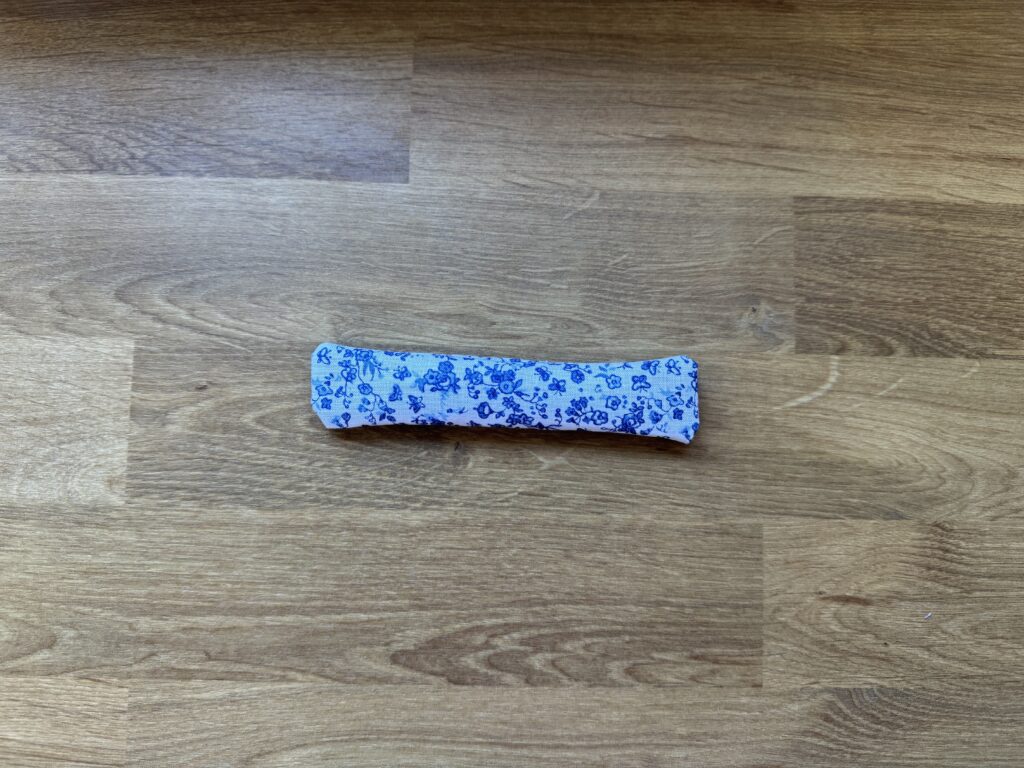
- Iron flat then sew the gap with a needle and thread.
Step 4: Final Assembly
- Accordian fold the loops section starting at the top.
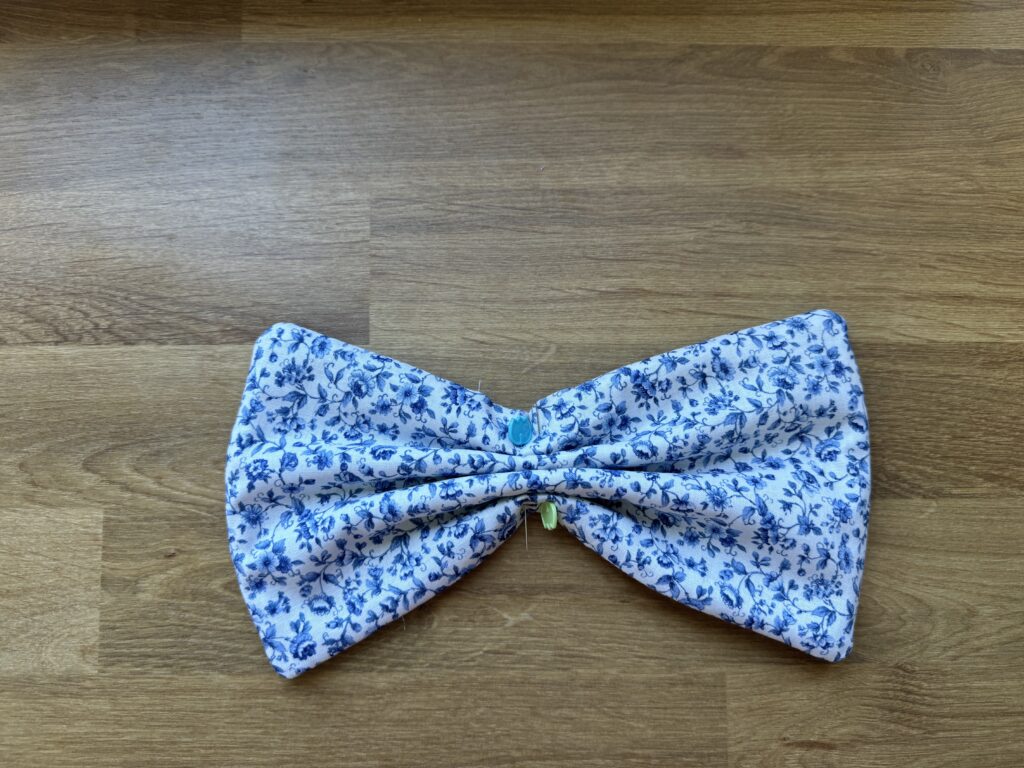
- Add the tails behind the loop and pinch together.
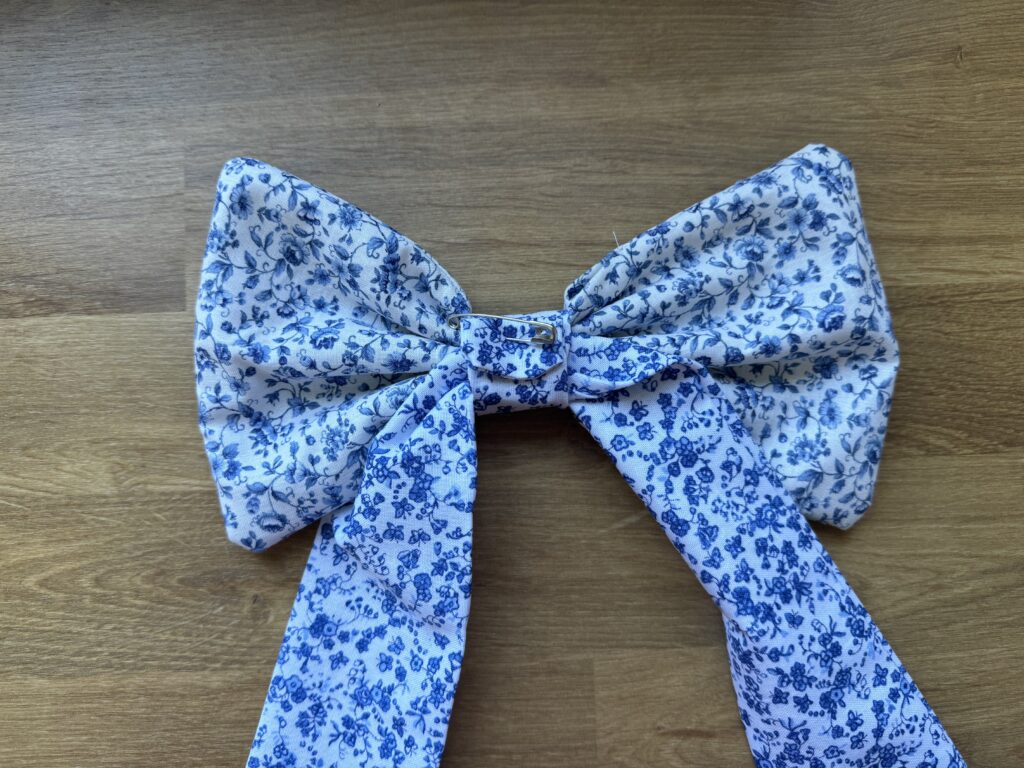
- Wrap the center wrap around both the loops and the tails.
- Either sew, hot glue, or safety pin the center wrap tight against the tails and loops section according to your preference.
Step 5: Admire your Work
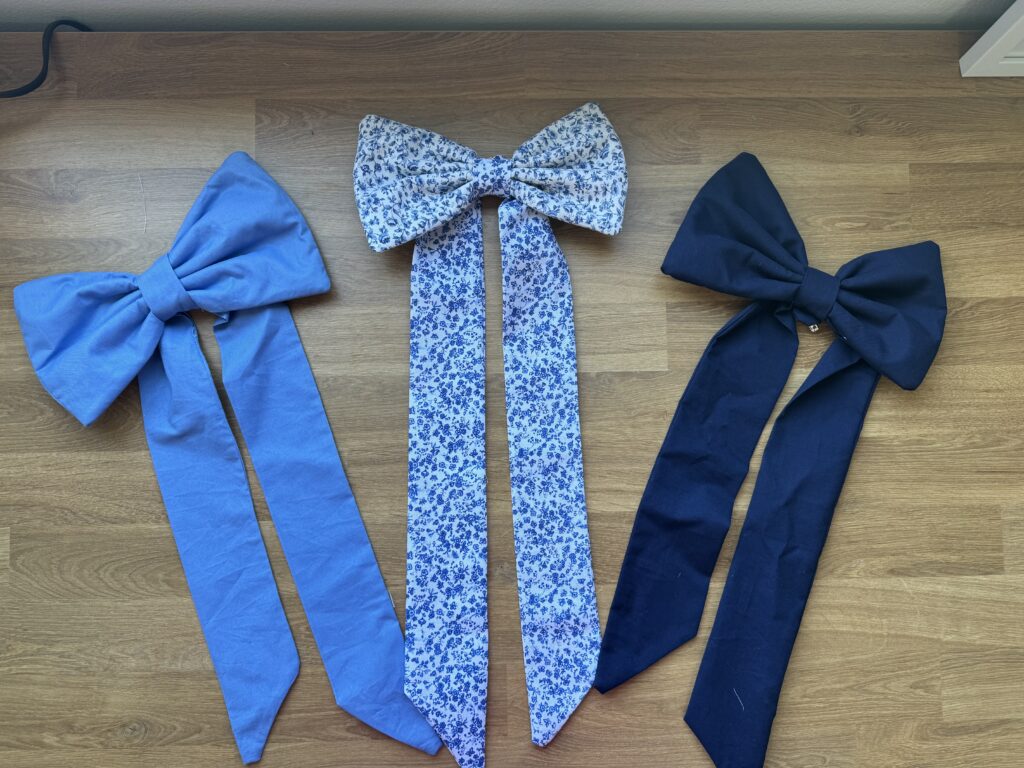
How to Alter Cutting Measurements to Achieve a Custom Bow
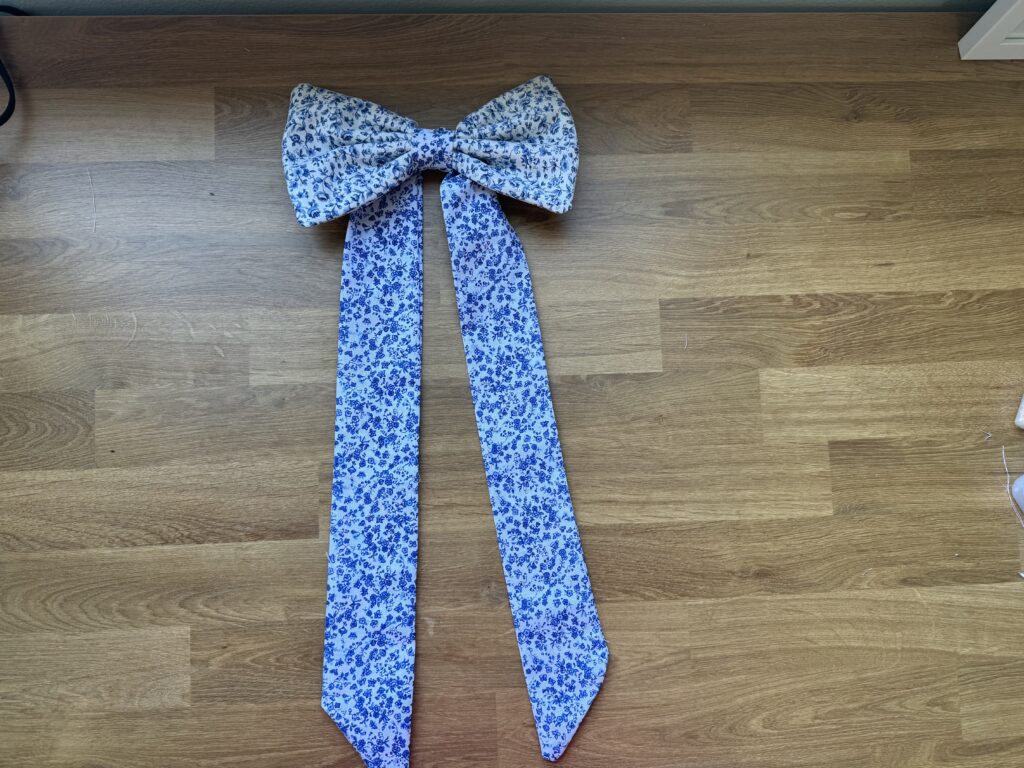
The measurements that I provided will make a bow where the finished loops are roughly 8.5″ x 5.5″ with tails that measure about 17″ long. If you would like to create a bow that is either bigger or smaller you can add or subtract inches when you cut the fabric. In order to keep the ratio even add the same amount to both the length and the width of the loops. You can also add or subtract length from the tails.
Display
Now that you have created your stunning fabric bow you are ready to display! There are a lot of ways that you can choose to display.
Here are some of the ways that I have thought to style them:
- Arrange them into a garland that can be hung on your mantle
- As party decorations
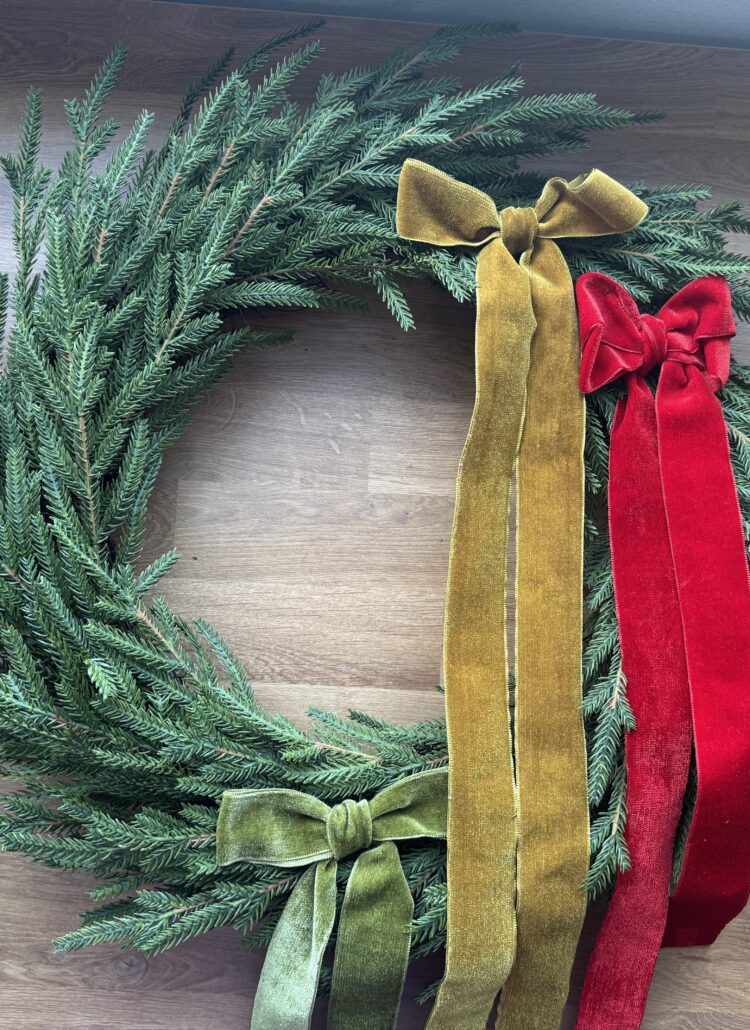
- On a wreath for your front door
- Over that back of a chair at a wedding or dinner party