We currently live in a world where the focus is on fast, cheaply made goods. Hand quilting allows you to slow down and create something meaningful, full of character, and truly one of a kind. Each imperfect stitch becomes part of your project, and every deviation adds to the beauty and personality of your quilt. When you take a second to slow down and create something beautiful, you add deeper meaning and sentimentality to the quilt you are making.
The best news is that hand quilting is much easier than it looks. It is perfect for beginners who want to create heirloom quality pieces. You don’t need fancy tools or perfection. With just a few basic techniques, any beginner quilter can learn this skill. In this article, I will outline the tools you’ll need, the basic stitches used in hand quilting, and the steps to help you get started on your first project.
**This post may contain affiliate links, including Amazon links. As an Amazon Associate, I earn from qualifying purchases at no extra cost to you. Thank you for supporting my blog!
What Is Hand Quilting?
There are two main ways to finish a quilt. Machine quilting and hand quilting, while there are several ways to finish a quilt by machine, including using a longarm machine, hand quilting involves using a needle and thread to sew small running stitches in various patterns. Hand quilting gives a quilt a cozy, meaningful feel. The practice of hand quilting is slow and time-intensive, but it can also be a meditative activity that is perfect for a slow, cozy evening.
Essential Tools for Hand Quilting
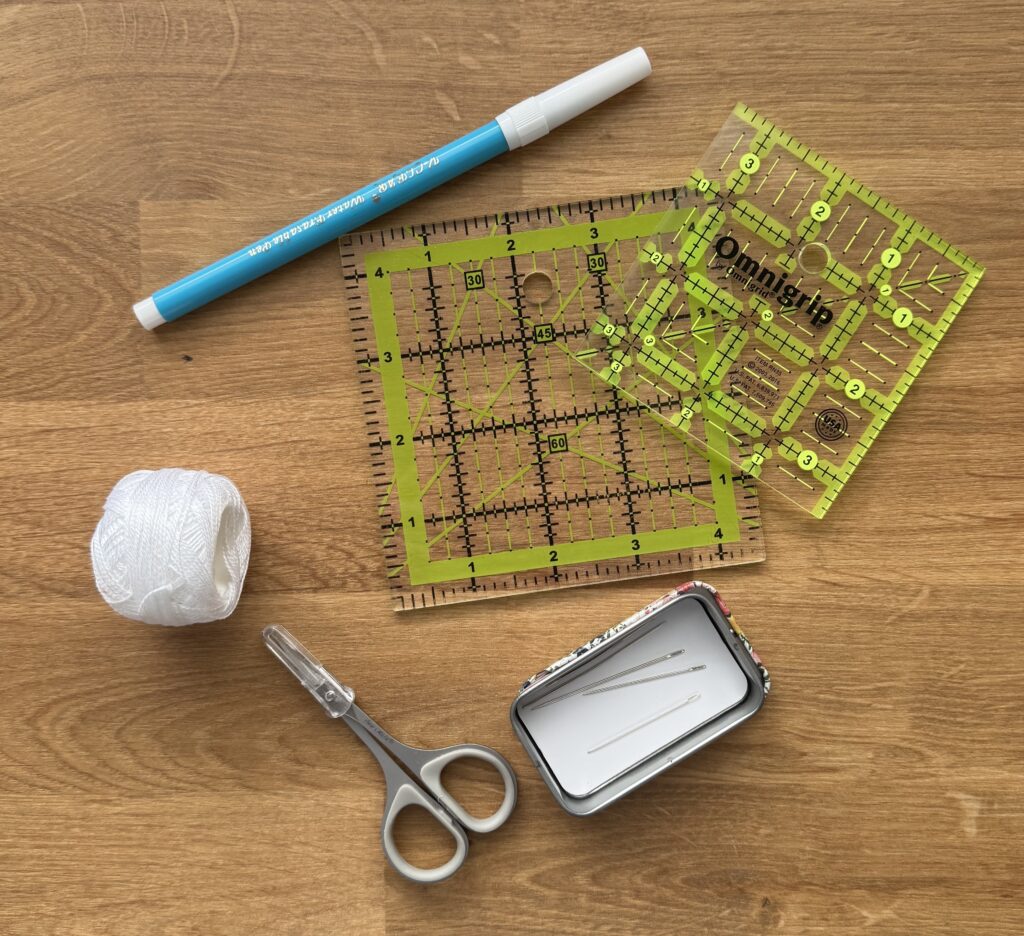
Quilting Needles
The Clover Sashiko Needles are perfect for hand quilting. They are slightly longer than regular quilting needles, making it easier to load multiple stitches onto the needle in one movement.
Thread for Hand Quilting
I like to use DMC Pearl Cotton in size 8 while hand quilting. You can find it in many different colors that will match your project perfectly. You must use pearl cotton and not regular DMC embroidery floss. Embroidery floss has six individual strands that can fray as you use it. Where pearl cotton is a single strand.
Thimble
People have different preferences when it comes to which type of thimble they like to use. I don’t typically use a thimble while hand quilting, but I have heard great things about the Clover leather thimble that I have linked. Feel free to shop around and see what works best for you.
Hoop or Quilting Frame
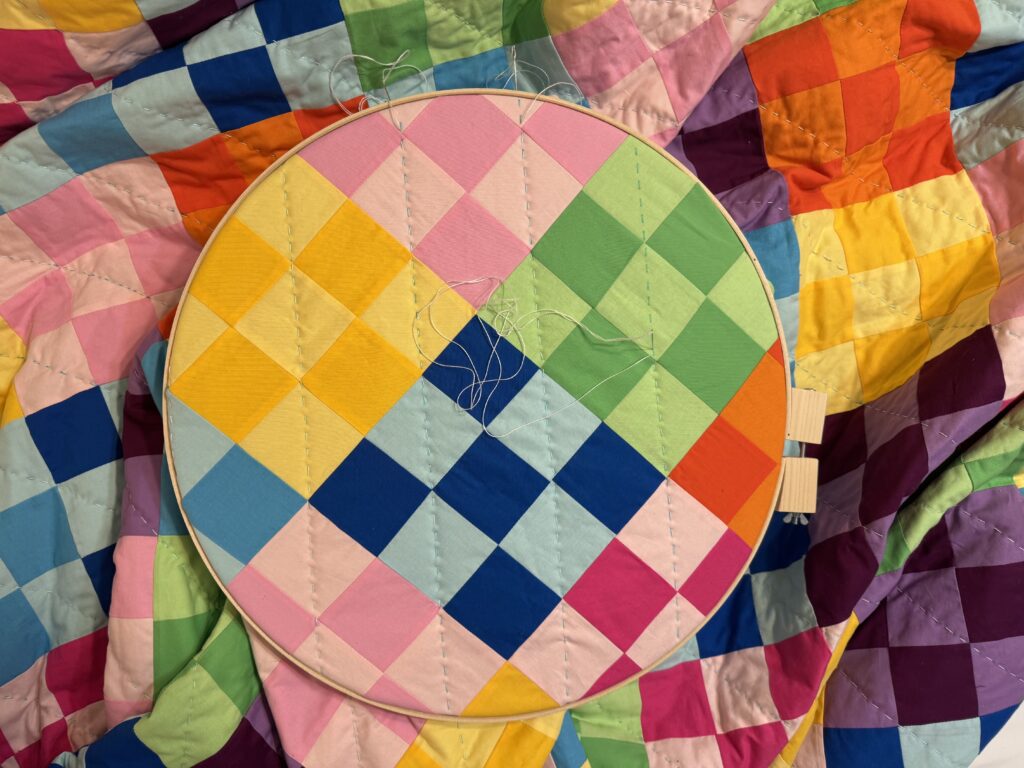
A hoop is also optional. I personally choose to use a hoop because it keeps everything tight and in place while quilting. When purchasing a hoop, you should choose one that is large enough to surround your entire block or pattern. This will help ensure you don’t have to constantly move the hoop around throughout the entire project.
Marking Tool
There are two different types of marking tools that I recommend. First, the Hera marker is perfect if you are quilting straight lines. Second, water soluble pens work great when you want to do a more intricate design or when you want to mark out your stitch length.
Quilting Ruler
A quilting ruler is needed to make sure you are marking straight lines. Straight lines will make the design look cleaner and more professional.
How to Prepare Your Quilt for Hand Quilting
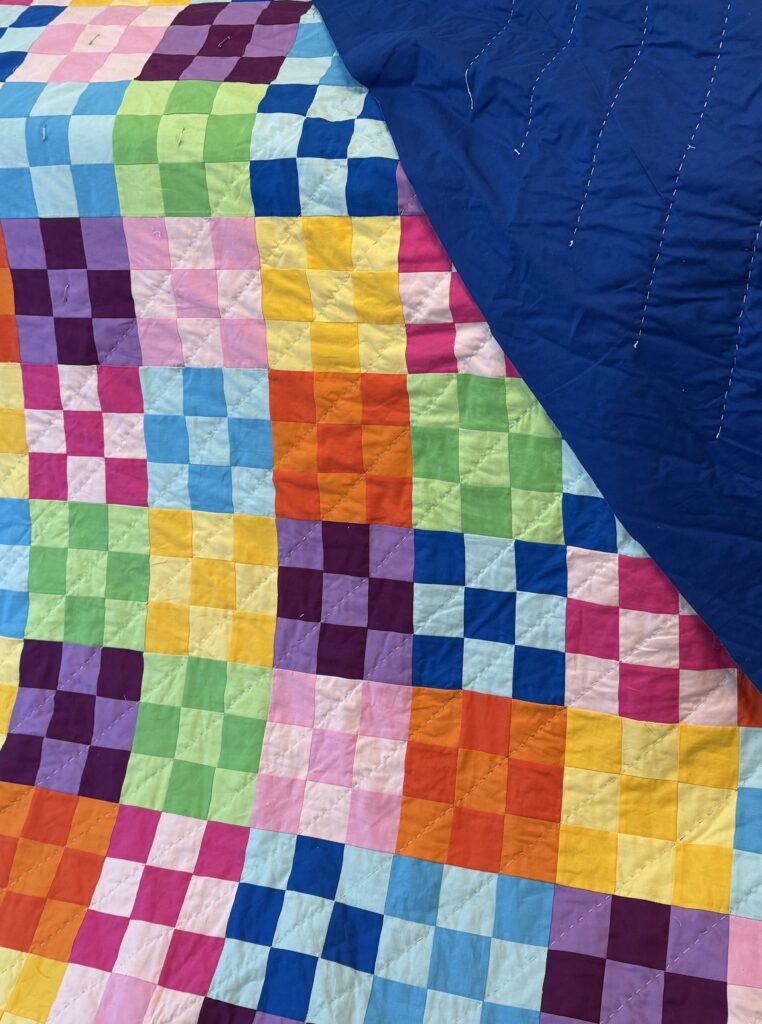
The first thing to consider after you finish your quilt top is how you are going to baste your quilt. When you are hand quilting, you have to pick a basting style that will last for a long time and allow you to move the quilt around while working on it. For this reason, I opted to use both spray basting and pin basting. The spray baste helps the three layers of the quilt sandwich stick together, so there was no shifting. I added safety pins in each block to add a second layer of protection and ensure the layers stay secure over time. There are many tutorials online that show you how to properly baste a quilt, so choose a method that you think will stand the test of time.
Next, take time to use your quilting ruler and mark out exactly where you want to stitch. For this step, you only need to mark a straight line that you can follow while stitching. As an engineer, I took the time to mark the line in 1/10-inch segments so I could verify that all of the stitches were the same length on the front and the back. This is an extra step that is not needed. Have fun deciding which quilting pattern you would like to create!
Basic Hand Quilting Stitches
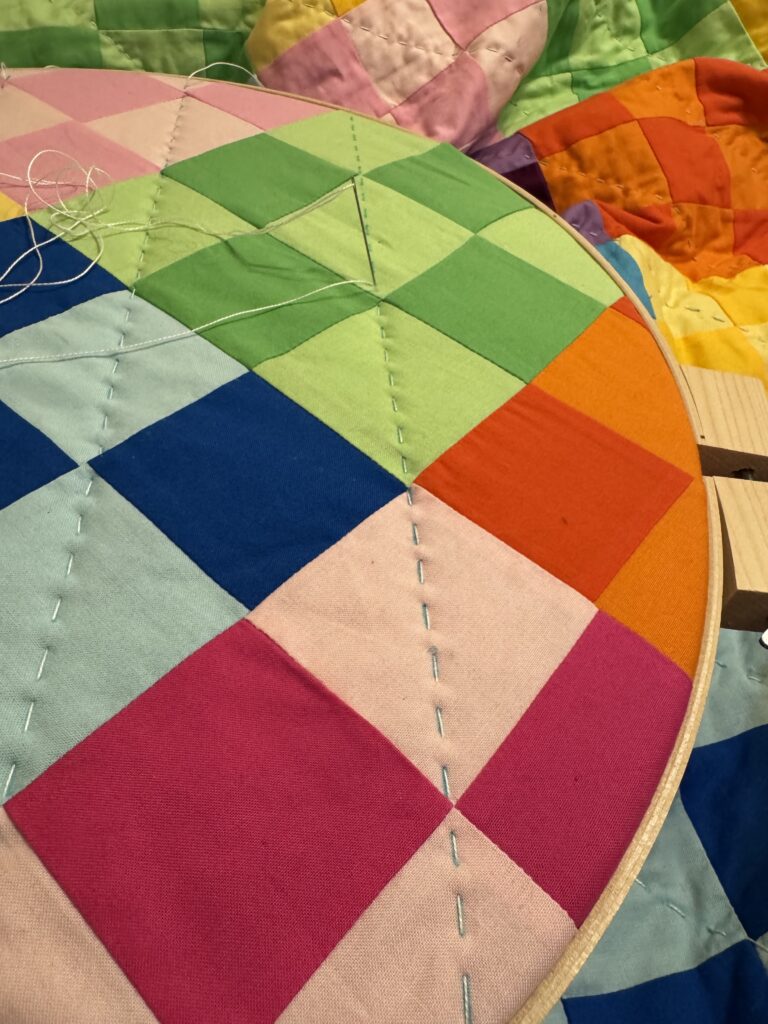
Hand quilting is really simple, it only requires two different techniques. Once you master this technique, you will be able to hand quilt an entire king-sized quilt with ease. All you need is thread and some time.
The Running Stitch
The first technique you need to know is the running stitch. This stitch is one of the most basic embroidery techniques available. All you need to do is go from the back of the quilt sandwich, through all three layers, and out the front, then repeat. If you would like a more in-depth tutorial of the running stitch, there are many tutorials on YouTube that can teach you this technique.
Starting and Ending a Knot
The second technique you need to learn is how to start and end each thread. You need to learn how to “pop the knot” at the beginning and end of each thread. This technique helps hide the know inside the quilt so it isn’t visible on the surface. To fully understand this technique, you can watch tutorials on YouTube that demonstrate this process step by step.
How to Hand Quilt Step-by-Step
Step 1. Prepare Your Quilt Sandwich
After you finish your quilt top and before you start quilting, you need to prepare your quilt sandwich. This is where you layer the backing, batting, and quilt top together. Make sure you baste the quilt by either spray basting or pin basting, based on personal preference. This will ensure that the fabric doesn’t shift while you move the quilt and begin quilting.
Step 2. Mark Your Quilting Lines
Use your quilting ruler and marking tool to draw the design you want to quilt. Beginner hand quilters should use straight lines because they are easier to follow. You can also mark out different stitch lengths to ensure a more uniform look on the front and back of the quilt.
Step 3. Thread Your Needle
Thread your needle with a length of thread that is manageable, around 18-24 inches. I like to do about one arm’s length of thread. Using a shorter length will prevent tangling while you stitch. Start by using a quilter’s knot or by double knotting the end of the thread.
Step 4. Start Your Stitch and Hide the Knot
Start your needle at the beginning of where you want to start quilting. Push the needle through the backside of the quilt and through all three layers. Gently pull on the thread until the knot pops inside the batting. This will hide the knot so it isn’t visible on the outside of the quilt. If you are starting your thread at the edge of your quilt, it isn’t necessary to pop the knot becuase it will be hidden when you attach the binding.
Step 5. Use a Running Stitch
Use a running stitch, which involves pushing the needle up and down through all the layers of the quilt sandwich. Follow the marked line for a neat look. With practice, you can load multiple stitches on the needle at one time.
Don’t worry about being perfect as a beginner. Your stitches will get more uniform with practice. You won’t notice small variations after you wash the quilt and it gets that soft, crinkly texture!
Step 6. End Your Thread and Bury the Knot
Once you get to the end of your design or run out of thread, you need to bury the knot. Tie a small knot close to the top of the quilt. Then insert your needle through the top layer and bring it out a short distance away. Gently pull the thread so the knot pops in between the batting and the quilt top, then trim any extra thread.
Step 7. Repeat Across the Quilt
You will repeat this process across your entire quilt. Move the hoop section by section as needed.
Common Mistakes
There are several common mistakes that beginners can make. If you are running into any issues don’t panic. Most mistakes are easy to fix or improve with practice
- Using a thread that is too long
- If you use a thread that is too long, your thread will tangle and become knotted. If you are running to this issue, make your thread shorter for the next section.
- Pulling the stitches too tight
- If you pull the stitches too tight, it will cause uneven lines and can cause puckering or distortion on the quilt top. If this happens, try not to tug as tightly on the thread while you are quilting.
- Using the incorrect type of thread.
- Using the incorrect type of thread can lead to fraying and breaking. Make sure when you are quilting, that you use pearl cotton. This thread is a single strand and doesn’t fray as easily.
- Not taking breaks
- Hand quilting involves using the same small, repetitive motion. This can cause strain to your fingers and wrists. Be sure to take breaks as needed to avoid discomfort or injury.
Hand quilting is a simple, timeless way to add a meaningful handmade touch to your quilts. With a few basic tools and techniques, any beginner can learn how to hand quilt. As you practice, your stitches will become more even, and the process will feel more natural. Most importantly, enjoy the slow, cozy process of creating something that is one of a kind.