There is something so magical about birthday decorations that feel extra personal and less disposable. In today’s world, it is really easy to order balloons and streamers that will just end up in the trash the very next day. That’s why I love the idea of making a handmade birthday garland that can be enjoyed and cherished by my family for years to come. This not only creates a family tradition but also helps eliminate unnecessary waste. In this tutorial, I’ll show you how to make a beautiful DIY fabric garland that’s reusable, sustainable, eco-friendly, and full of charm. Whether you’re sewing a garland for your child’s first birthday or creating heirloom birthday decorations to use for every celebration, this banner is designed to last a lifetime.
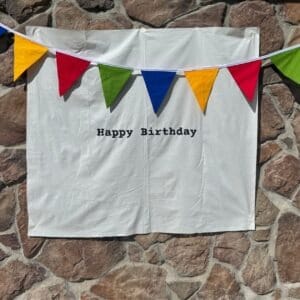
I am making this banner to accompany a DIY Hand Painted Linen Happy Birthday Banner you can see the full tutorial here.
This post may contain affiliate links. If you click through and make a purchase, I may earn a small commission at no extra cost to you. I only recommend products I truly love and use for my own projects. Thank you for supporting my blog—it helps me continue sharing DIY tutorials and creative ideas with you!
The Magic of Handmade Party Decorations
One of the best parts about making your own handmade fabric garland is knowing it will never go out of style. Unlike paper, cardboard, or metal foil decorations that often get tossed after every use, this garland will grow with your family. Whenever you pull out this decoration you aren’t only decorating for a birthday you are creating more memories. Over time, it becomes much more than just ordinary party decor. It transforms into an heirloom decoration that will be a core memory in your children’s lives. One day your children will look back and reminisce on the garland that you lovingly crafted for them.
Sustainable Crafting
This handmade fabric garland is a sustainable way to decorate for your children’s birthday parties. It feels much more inviting and creative than the store-bought disposable party decorations. A fun way to make this garland even more eco-friendly is by using fabric scraps from your stash. This not only reduces waster but also adds unique variation to your banner that your children will love! Each choice we make to create something handmade that can be reused year after year helps us slowly transition to more eco-friendly decorations.
Heirloom Quality Pieces
I remember when I was a child that my grandmother made various seasonal mini quilts that could be hung on the back of couches. Each year, as the season or holiday changed, I would look forward to seeing which quilt was going to be brought out of the box. I felt the love of my grandmother through these quilts she had so carefully made, and they became items I will alway cherish. For this reason, I strive to make heirloom birthday decorations and reusable decor that my children will cherish and perhaps even fight over when they are older. A handmade birthday banner or DIY fabric bunting is the kind of timeless piece that become part of family tradition. These handmade garlands you create with care will bring your children immense joy throughout the years.
Fabric Choice
Choosing the correct fabric is essential for this garland. I would recommend using quilting cotton, as it provides the right amount of structure without needing additional batting. Quilting cotton also comes in a wide variety of different colors and patterns making it easy to match your banner to any theme or aesthetic. Think about the overall theme of your celebration. Classic pastels for a child’s birthday, bold brights for a summer party, or even neutrals for a timeless piece you can use across multiple occasions. Patterns like polka dots, stripes, or florals can add extra personality, and mixing solids with prints can create a playful, layered look. Choosing high-quality fabric not only ensures your garland lasts but also makes it feel like an heirloom birthday decoration that you’ll treasure for years to come.
Materials
- Fabric
- Scissors
- Sewing Machine
- Edge Binding
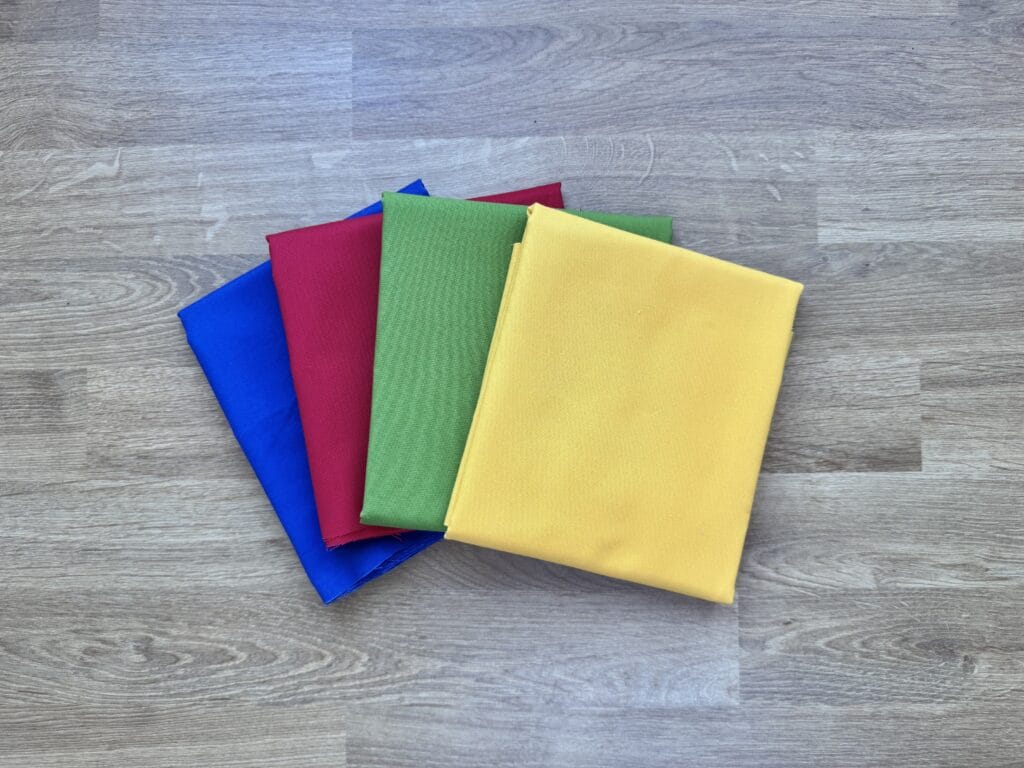
Step 1 – Cut The Fabric
- For the garland I purchased four 1/8th yard pieces in complementary colors. I cut the fabric into 9″x9″ squares. With these measurements I was able to get 8 squares out of each 1/8th yard piece.
- If you want the pennants to be larger or smaller you can adjust the size of each square.
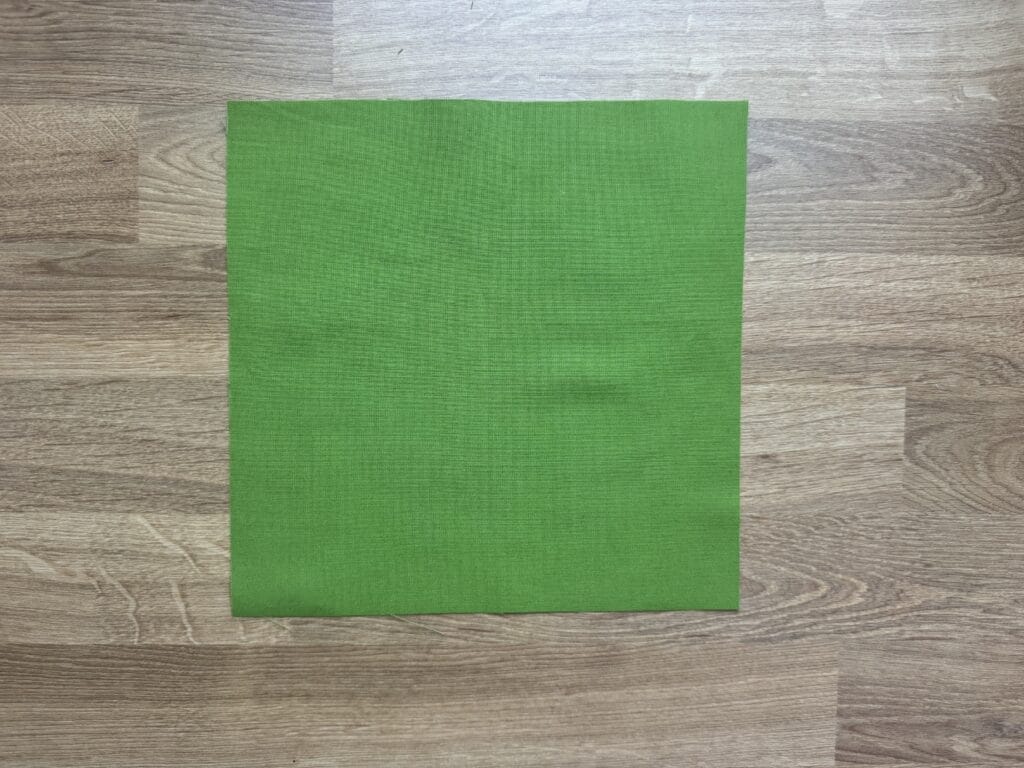
Step 2 – Fold at a 45 Degree Angle
- Fold a straight line across the square at a 45 degree angle with the right side facing inward.
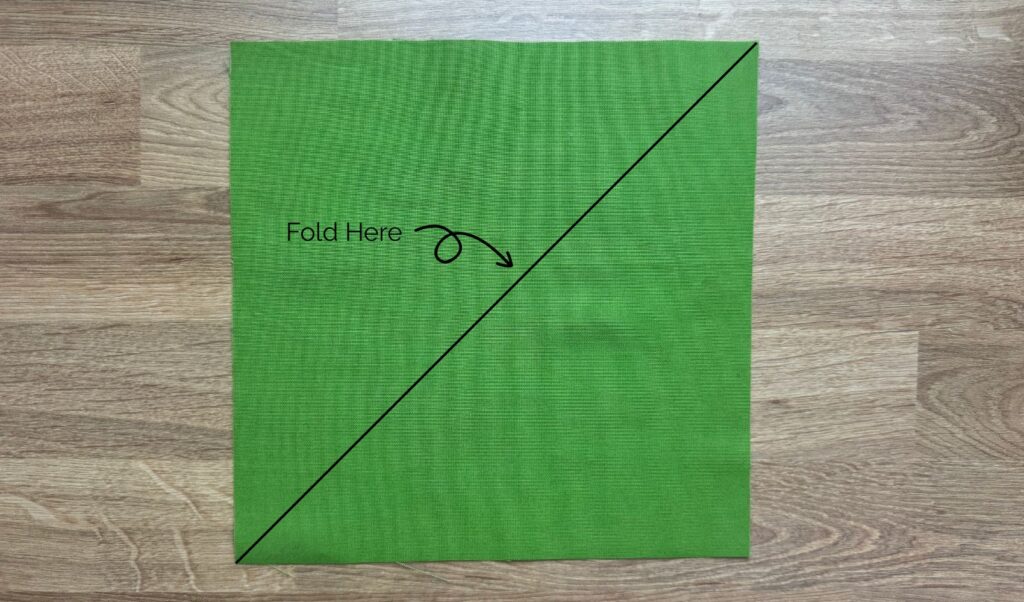
Step 3 – Sew Along One Edge
- Sew along one edge with a 1/4 inch seam allowance.
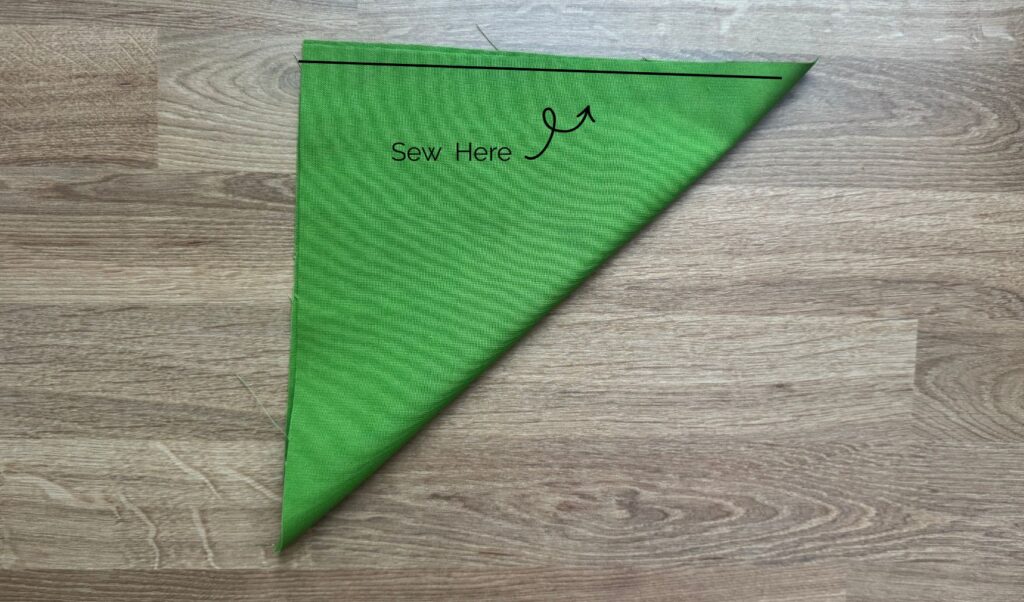
Step 4 – Flip Inside Out
- Cut the inner corner to reduce bulk when flipping inside out.
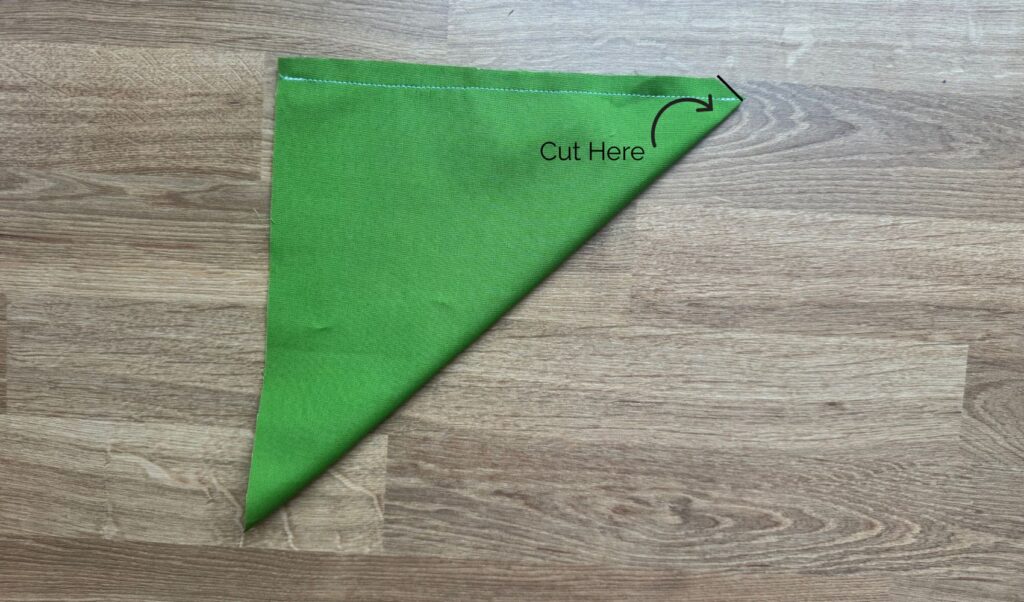
- Use a blunt long object to assist in fully flipping the corner.
- Lay out flat with the seam along the original fold and iron flat
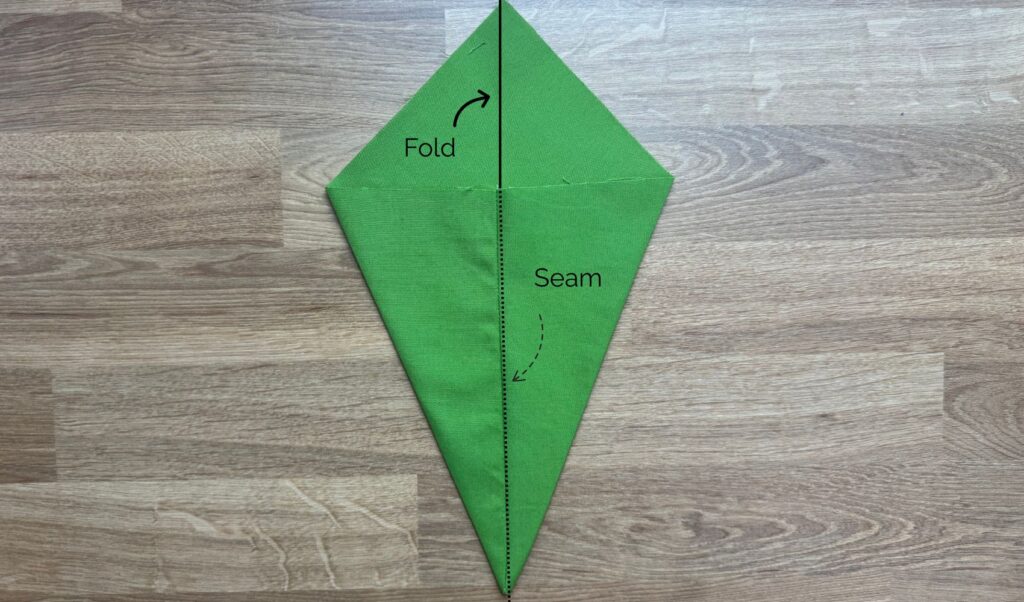
- Fold the top triangle into the base of the pennant.
Step 5 – Choose the pattern for the Garland
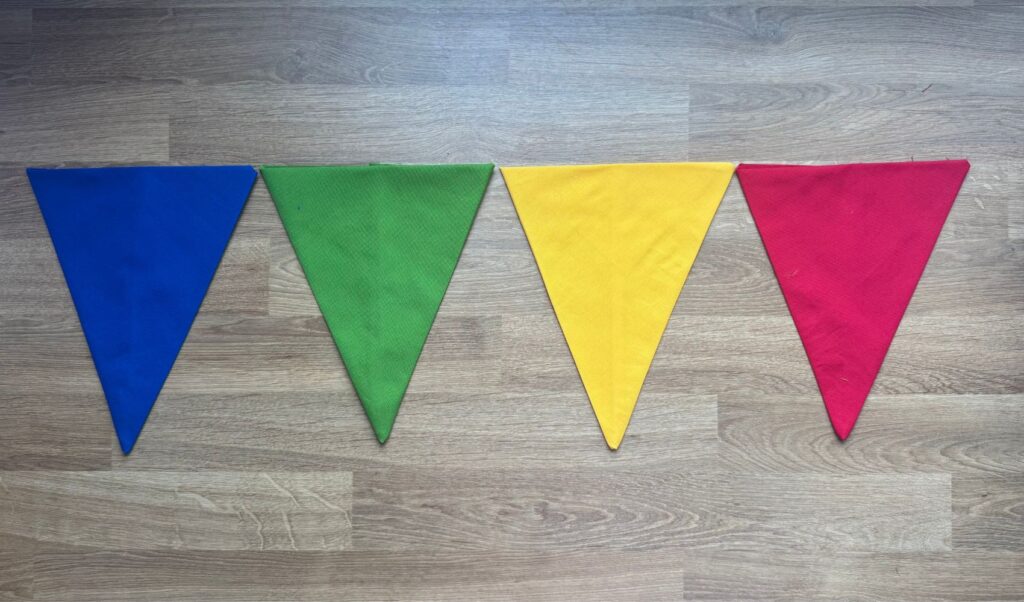
- Choose the pattern that your would like for your garland. When laying out your pattern verify that the seams are all facing the same way.
Step 6 – Sew the Garland
- Sew each pennant into the edge binding.
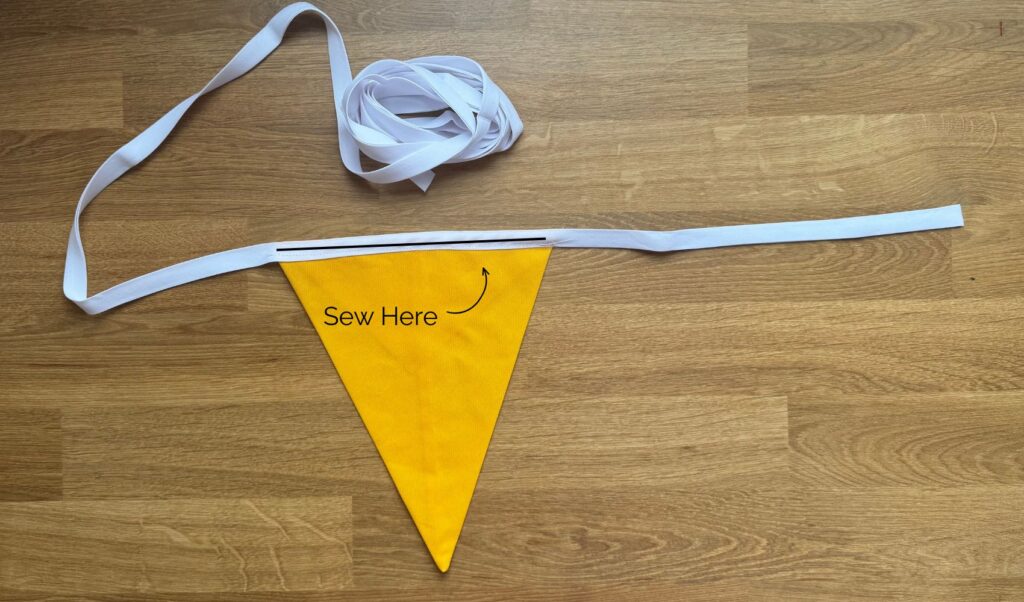
- Leave the desired amount of space between each pennant.
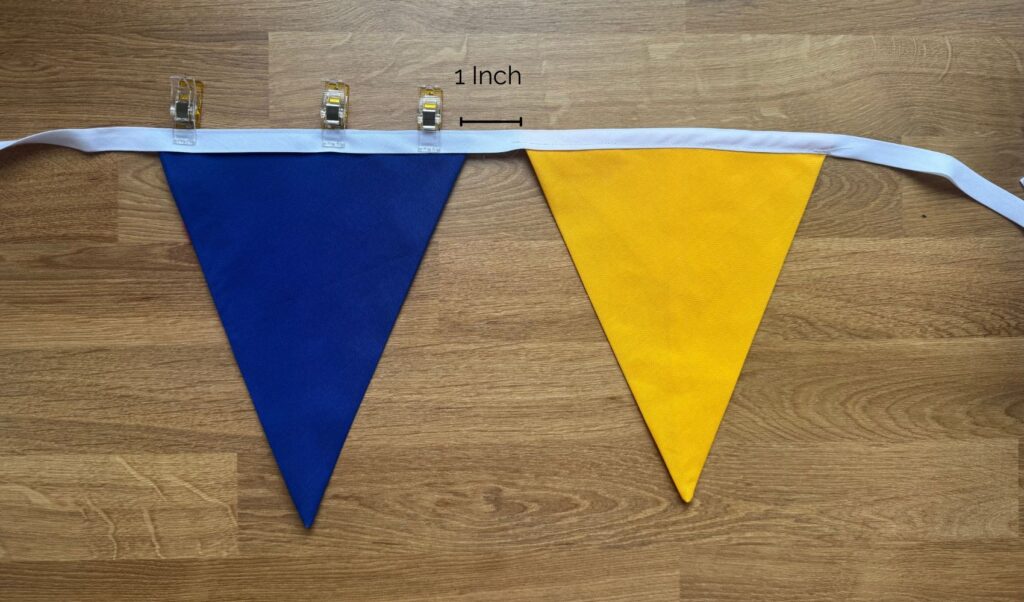
- Sew the remaining pennants into the edge binding.
Step 7 – Admire your Work
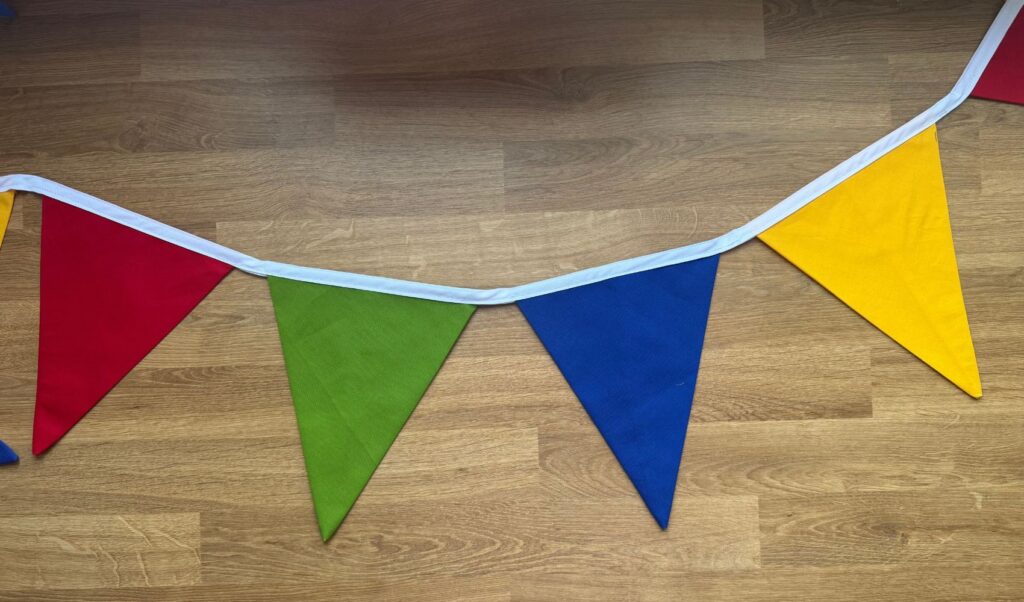
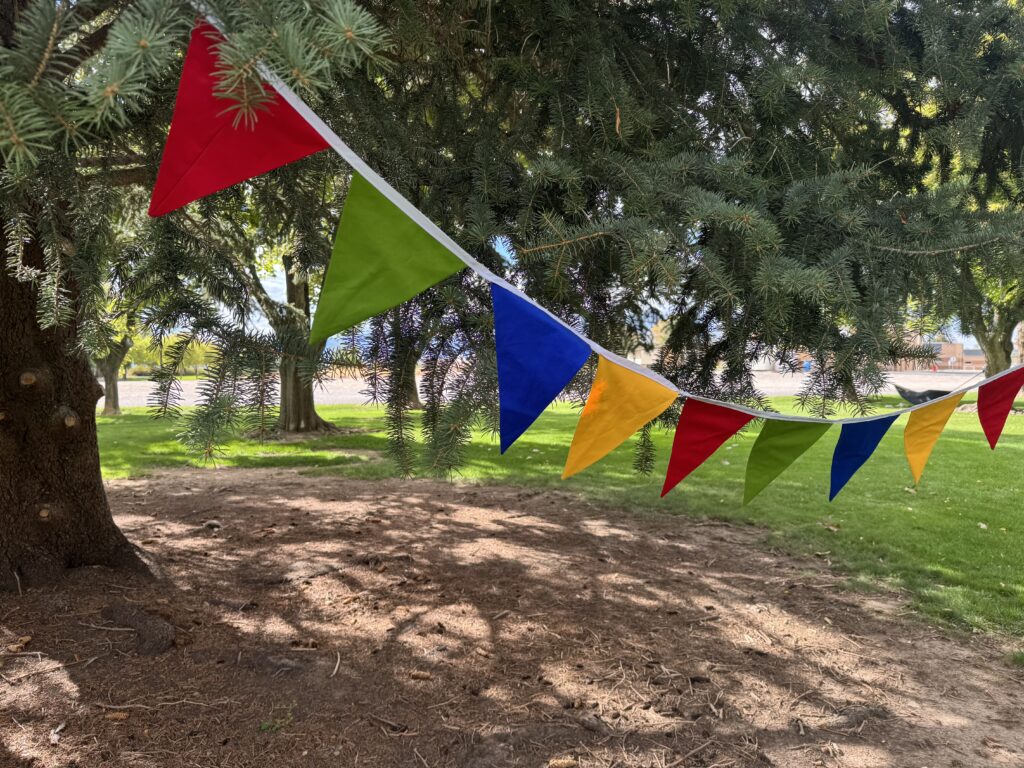
Styling Tips
Now that you have created a beautiful handmade birthday garland you can display it in a bunch of different ways.
- Display the garland along a mantel
- Display the garland on a wall along with a sign
- Display the garland in the door way
- Display the garland as a cake table backdrop
I like to layer my garland along with additional garlands, bunting, and balloons. I find if you mix various textures and complementary colors for a more cohesive party look.
Maintenance and Storage Tips
The beautiful things about these garlands is that you can easily wash them if they get dirty. I would recommend a cold machine wash on gentle and lay flat to dry. Since you are most likely using various bright color fabrics I would recommend using color catchers the first time you wash it, to ensure that it doesn’t bleed.
My favorite way to store garlands and bunting is to wrap around an old paper towel roll. This way you can prevent it from getting crinkled or tangled up in between uses. This will ensure your can use it throughout the years.
Conclusion
At the end of the day, a DIY fabric garland is more than just party decor. It’s a handmade decoration that adds meaning to every celebration. By choosing to make reusable and eco-friendly, you’re not only reducing disposable decorations but also creating a piece your family will cherish for years to come. Each time you bring out your garland, you’ll be reminded of the love and care stitched into every detail, turning your project into a true heirloom birthday decoration. Whether you’re crafting your first banner or adding to a collection of timeless DIY party decor, this tutorial is a beautiful reminder that the simplest handmade touches that often leave the biggest impact.
Love this idea? Pin this DIY fabric banner tutorial for handmade birthday decorations, reusable party decor, and heirloom birthday crafts that will brighten your celebrations year after year! Whether you’re looking for eco-friendly birthday ideas or a timeless DIY party garland, this tutorial has everything you need to create a garland your family will treasure.