Introduction
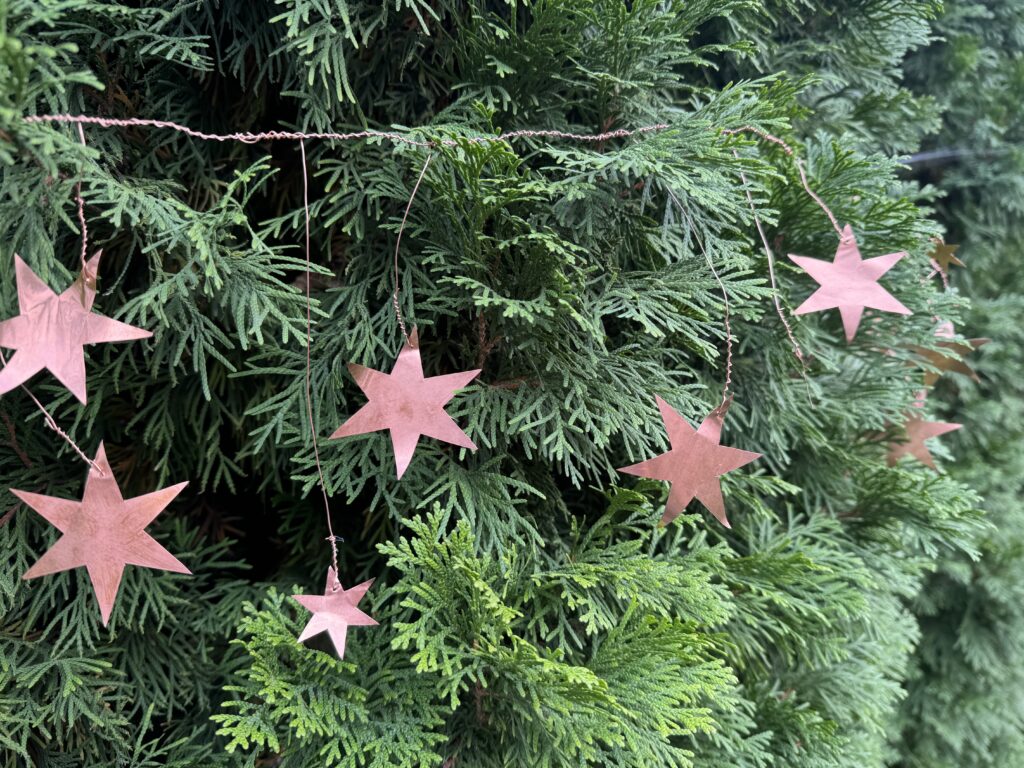
I have recently been seeing metallic garland inspiration all over my Pinterest feed for the past few weeks, from glittering geometric wreaths to delicate floral garlands. I have seen them in the form of garlands, wreaths, and decorative door hangings. Needless to say, I have been completely inspired. The most basic style I saw was simple geometric designs, from circles to stars, or even combinations of multiple shapes. After noticing the high price tags, I decided to figure out how I could make a metallic garland myself. This way, I can save money and create something beautiful that my family will love.
This post may contain affiliate links. If you purchase through one of these links, I may earn a small commission at no extra cost to you. I only recommend products I use and love. Thank you for supporting my blog!
Why Make a Metallic Star Garland?
During my research, I noted that some garlands and wreaths were going for upwards of $250, but you can DIY your own for just the cost of materials if you’re willing to spend a little time crafting. Chances are, you already have most of the basic tools at home. When you make these garlands yourself, they’re fully customizable. They can be created with metallic finishes like copper and aluminum depending on your color preference. You can also choose the exact shapes and styles to match your decor, anything from simple geometric shapes to beautiful, dainty florals. Finally, homemade garlands are much more versatile. They can be used for birthdays, baby showers, Halloween, Christmas, and New Year’s. This is also an eco-friendly alternative to disposable, store bought decorations, making your event both stylish and sustainable.
Supplies You’ll Need
I decided to go with copper for this garland, but you could also do brass or tin depending on your desired look.
- Copper Metal Sheet (.003″) – This is the perfect thickness that you are able to cut with scissors or a Cricut machine.
- Bare Copper Wire (24 Gauge) – This is thin enough that it can be manipulated without many tools.
- Small Finishing Nail
- Scissors or Cricut – This will cut the material
- Needle Nose Pliers – To clamp any loose ends
- Small Roller (optional) – Will help keep everything flat
Step-By-Step DIY Tutorial
*** Disclaimer – The metal is sharp. When working with it, be sure to take the necessary precautions and use cut resistant gloves. The garland is for display purposes only and should be handled with care***
Step 1 – Trace the Shapes
- Lay out the .003″ metal sheet flat.
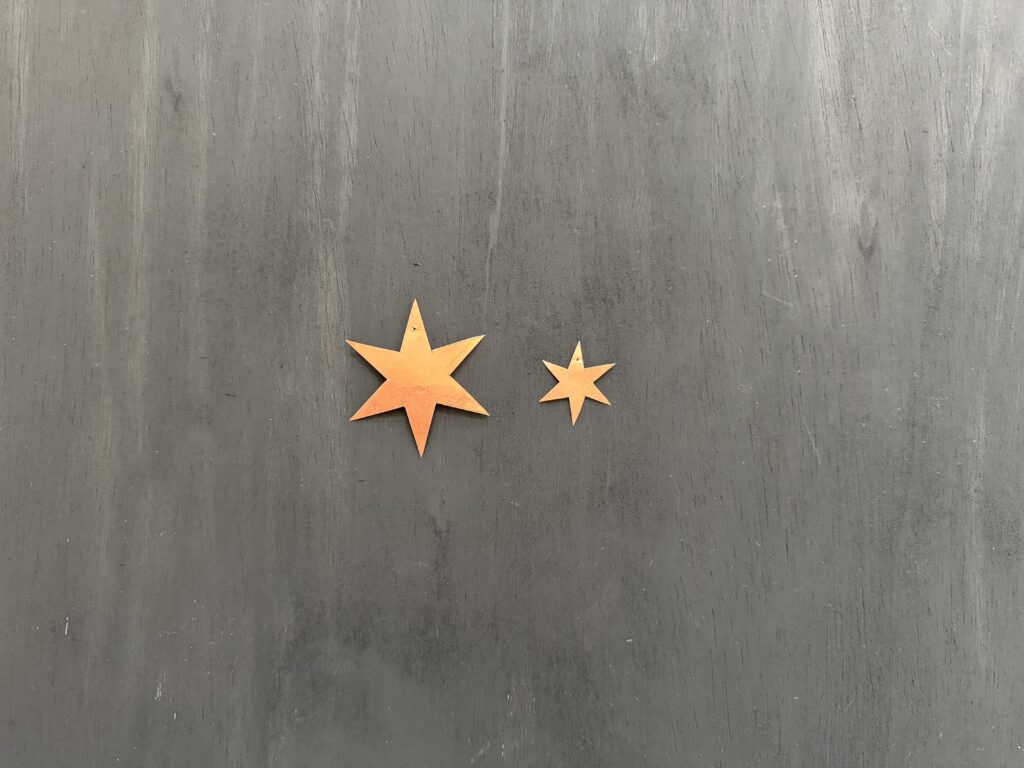
- Print out the desired shape (I used 3″x3.5″ six-point stars and 1″x1.5″ six-point stars).
- Trace the outlines onto the metal sheet with a permanent marker.
Step 2 – Cut the Shapes
Method 1 – Scissors
- Use cut resistant gloves.
- Cut the material with your scissors. This process may be tough on your scissors, so be sure to use a pair you don’t mind dulling.
Method 2 – Cricut Machine
- Some Cricut machines can cut through thin metals. Research your machine to see if it is compatible.

Step 3 – Poke Holes
- Take a small finishing needle and punch a hole in one of the star’s points.
Step 4 – Add Wires to Shapes
- Cut small pieces of wire and loop them through the holes.
- Twist the ends of the wire around each other.
- Clamp the ends down securely so they won’t poke or scratch you.
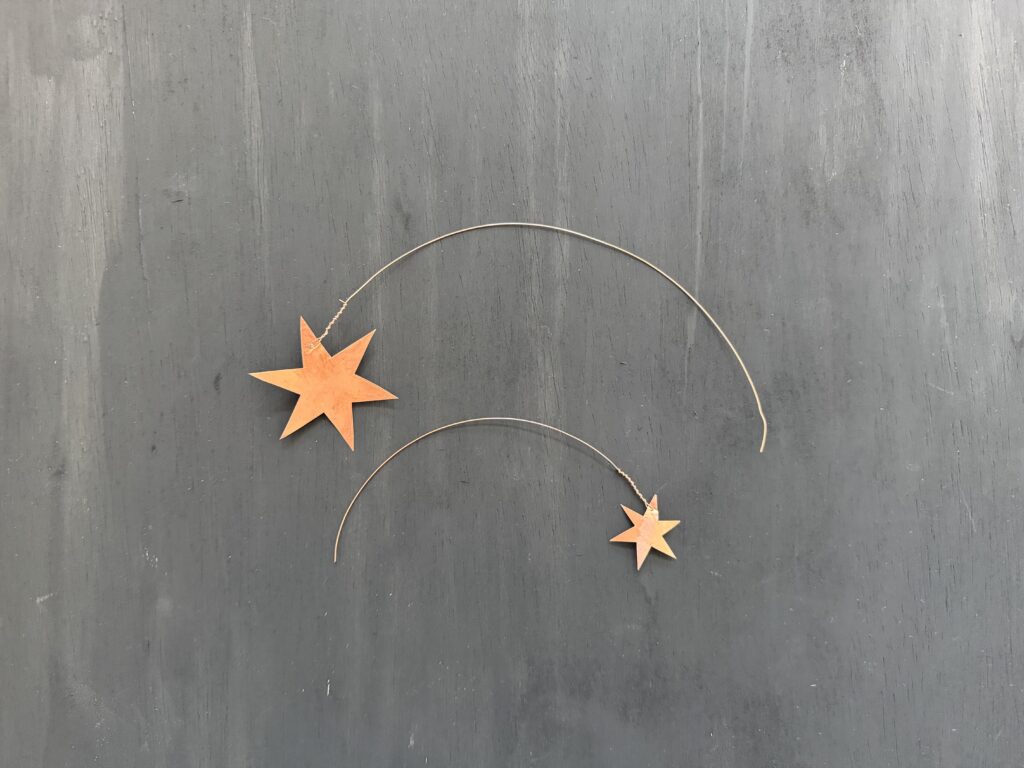
Step 5 – Add the Stars to the Garland
- Wrap the stars around the main wire where you would like them.
- Clamp the ends down securely so they won’t poke or scratch you.
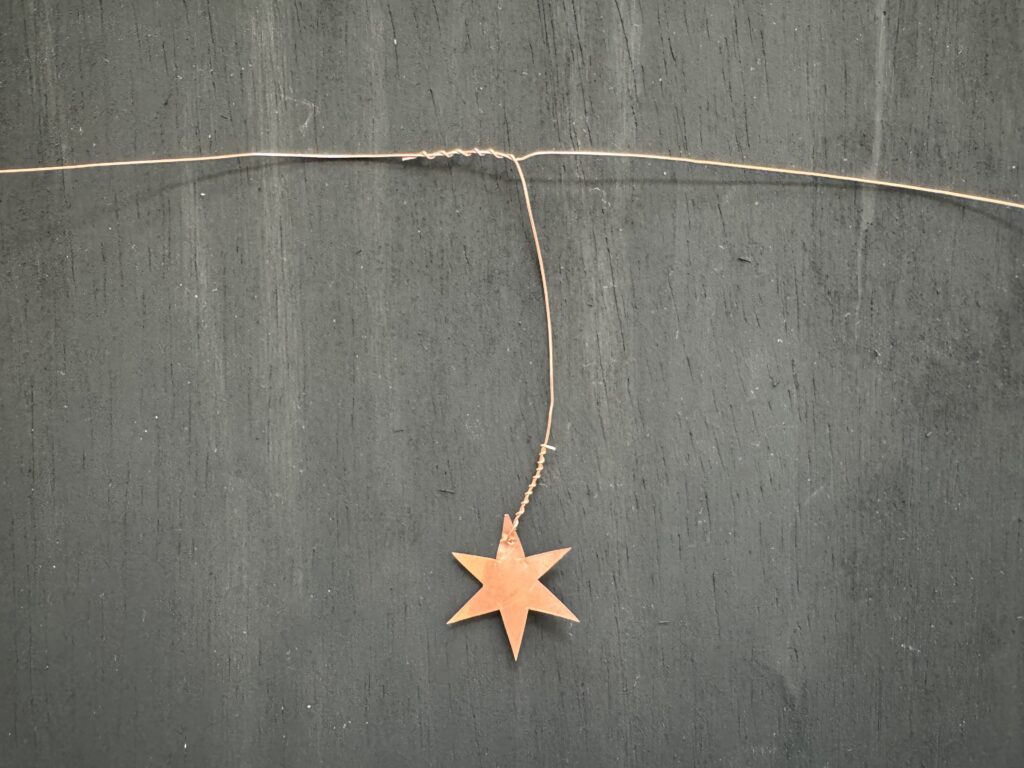
Step 6 – Wrap Finishing Wire
- Take an additional wire and wrap it along the entire length of the garland.
- This will help give a finished look.
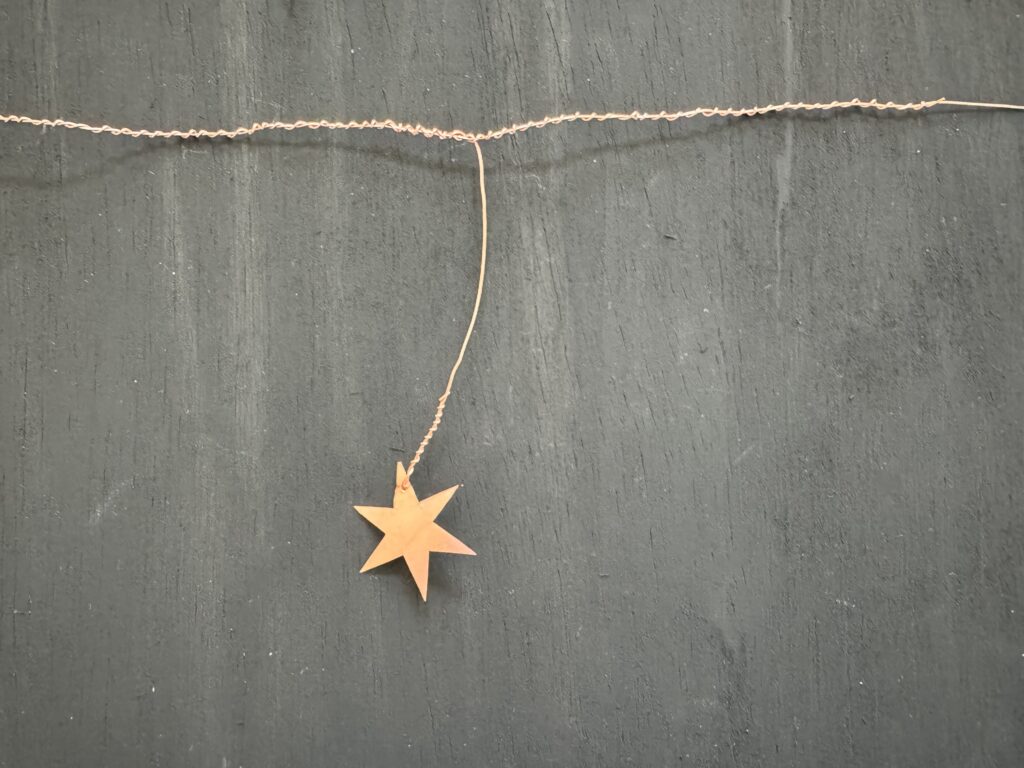
Step 7 – Enjoy your Work
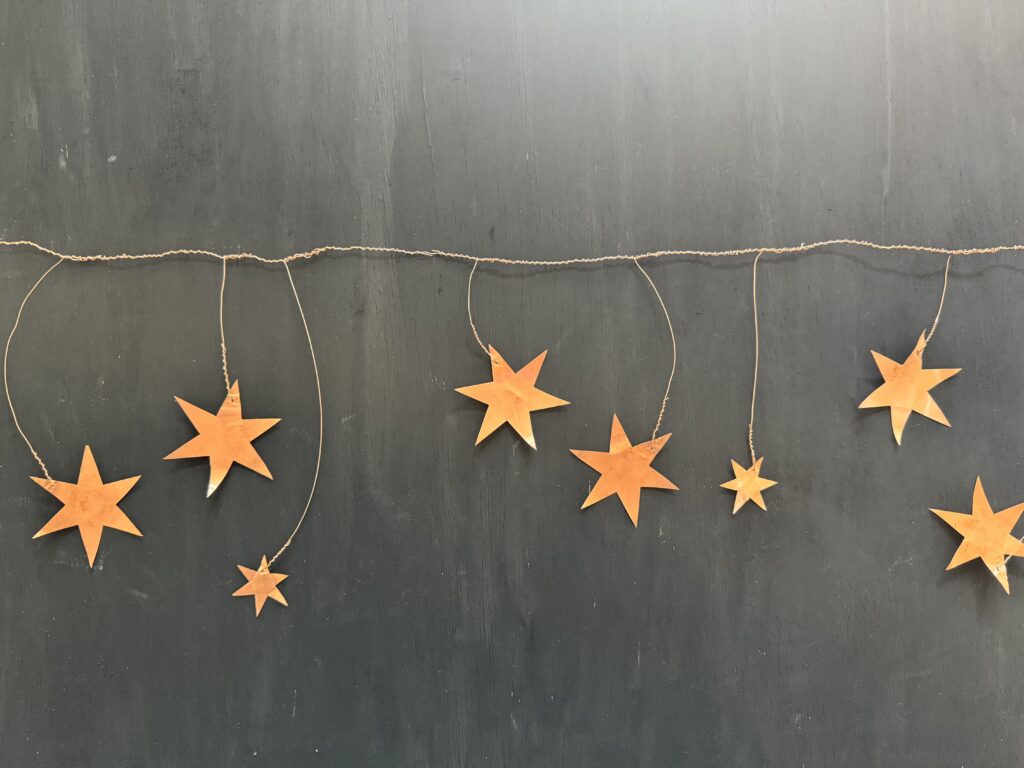
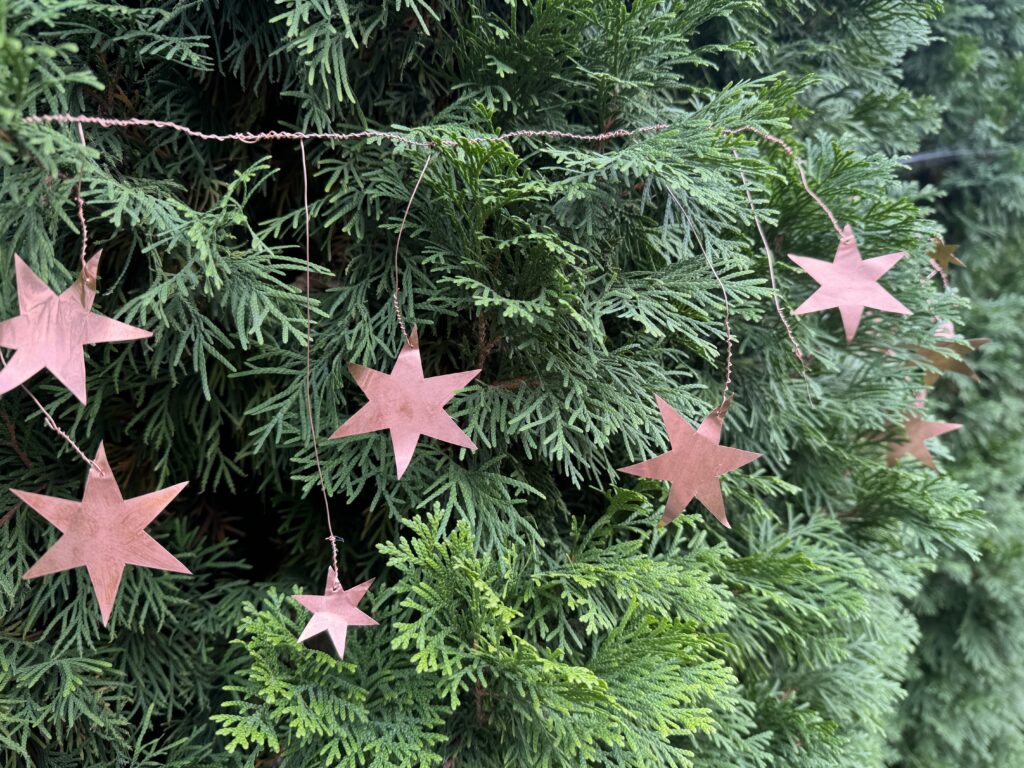
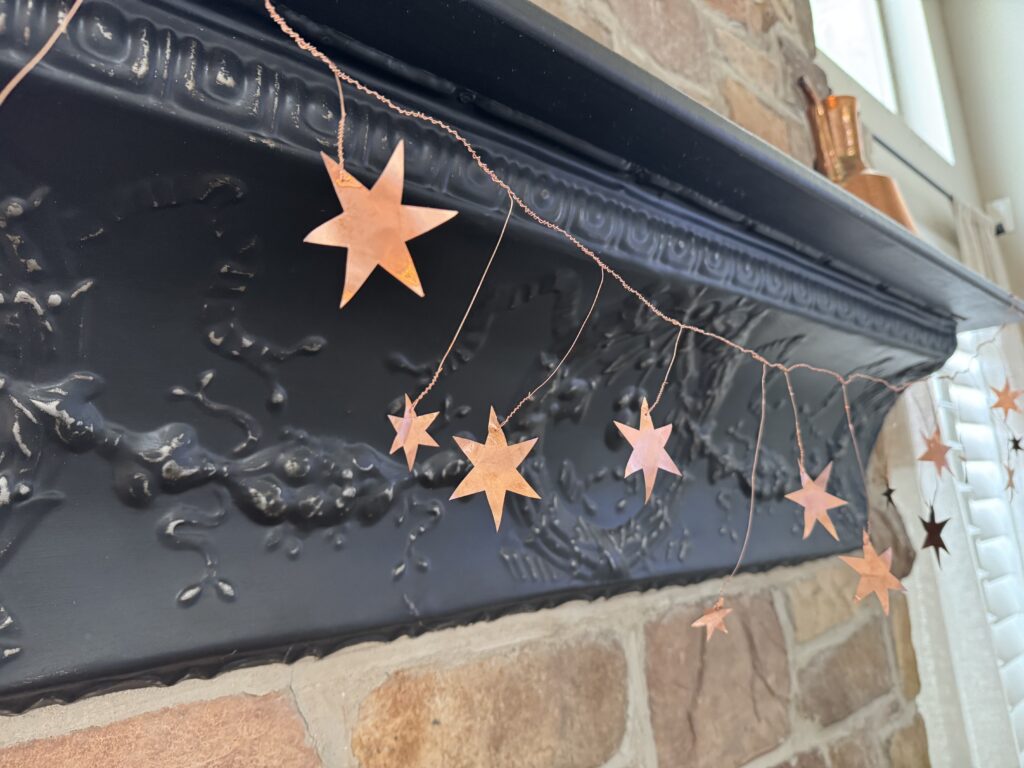
Style Your Garland
The garland can be styled in many different ways. It can be used for Halloween decor or paired with evergreen garland for Christmas. It is a very versatile piece! Here are some ways I have thought of to style it.
- On your mantle for Christmas Decor.
- In your Christmas tree.
- As part of a photo backdrop.
- Layered with fairy lights.
- Mixed into other garlands for a festive touch.
Variations & Customization
There are several ways you can customize this metallic garland:
- Metal Type – Copper, Aluminum
- Different Shapes – Stars, Circles, Hearts
- Add Ons – Beads, Rhinestones
- Seasonal Themes – Leaves, Snowflakes, Stars
FAQs
- How do you keep the stars from flipping?
- Since the stars are metal they are reversible.
- What’s the best material for a metallic star garland?
- Copper is the material that I have used! There are other thin metal sheets that are also available.
- How long does it take to make?
- It depends on how long you want to make the garland. My garland took 2 hours.
- Can you use string instead of wire?
- You can use string, but it will be flimsy. I prefer wire so the garland holds its shape.
Conclusion
Making your own metallic garland is an easy, affordable way to elevate your holiday or party decor. This DIY project lets you customize the color, shape, and length. It is perfect for Halloween, Christmas, and New Years. With just a few materials, you can create a stunning copper or bronze garland that looks high end but costs a fraction of the price.
If you love easy DIY decorations, don’t forget to pin this tutorial and explore my other holiday crafts and garland ideas for more budget friendly, stylish inspiration.