Are you looking for an easy budget friendly way to instantly bring a little bit of color and charm to your Thanksgiving or Friendsgiving party decor? This DIY Thanksgiving paper garland tutorial is exactly what you need! The best part is that you can complete this festive fall craft for less than $10 dollars. Follow this step-by-step guide to find out how simple it is to make this beautiful paper garland for Thanksgiving celebrations.
I designed this garland to complement my Friendsgiving party theme, “Pies Before Guys” but it can easily be customized to match whatever theme you would like. I have also shared several other unique Friendsgiving party ideas you can check out for inspiration. This garland also works perfectly as fall home decor beyond the holiday season.
The paper that I picked is meant to go with the “Pies Before Guys” party theme.
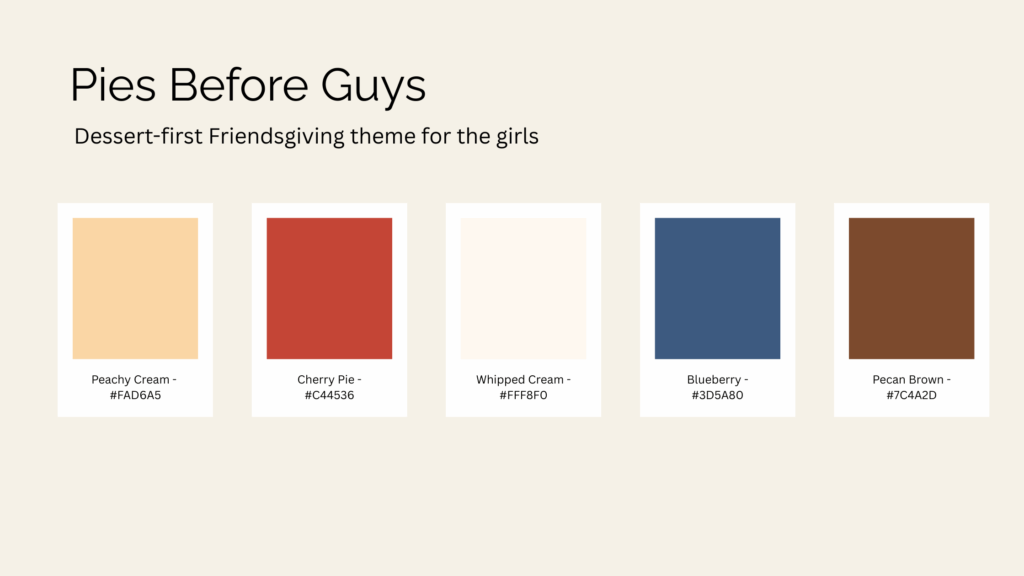
Materials
- Cardstock Paper in Various Colors
- Glue Stick
- Sewing Machine & Thread
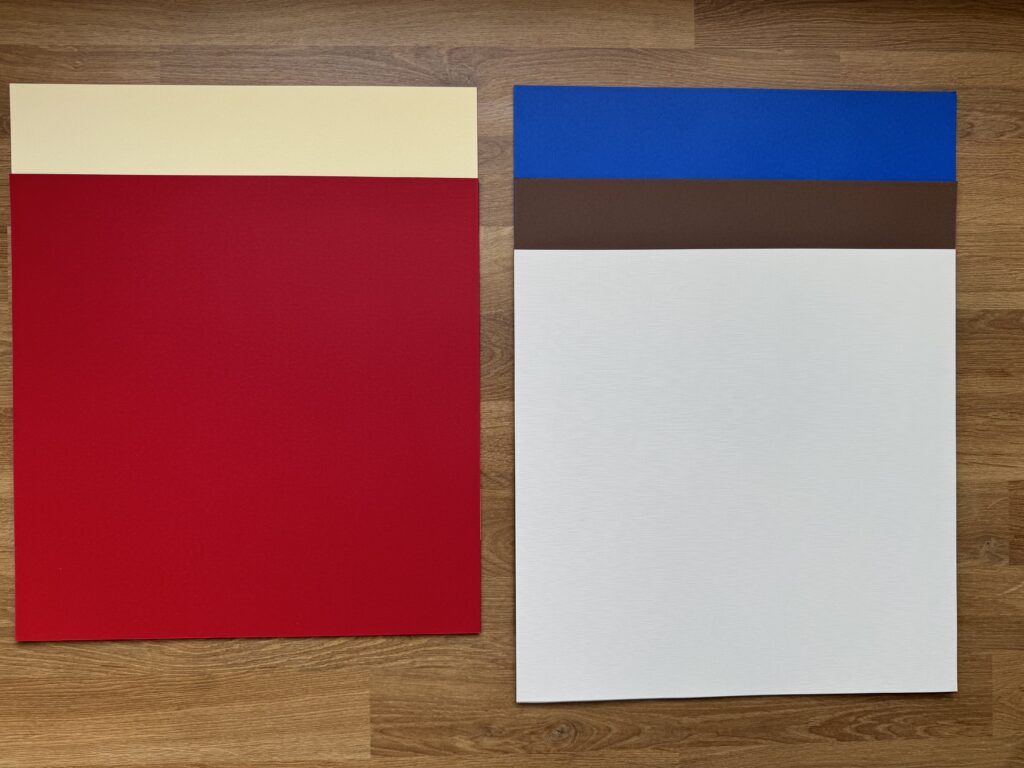
Design Phase
A typical paper garland for Thanksgiving or Friendsgiving decor should be range from 1.5 to 2 times longer than the surface you plan to decorate. The longer the garland, the more drape and visual impact you’ll achieve. Keep this in mind and you will be able to determine how many paper cutouts you’ll need as well as the ideal spacing between each piece.
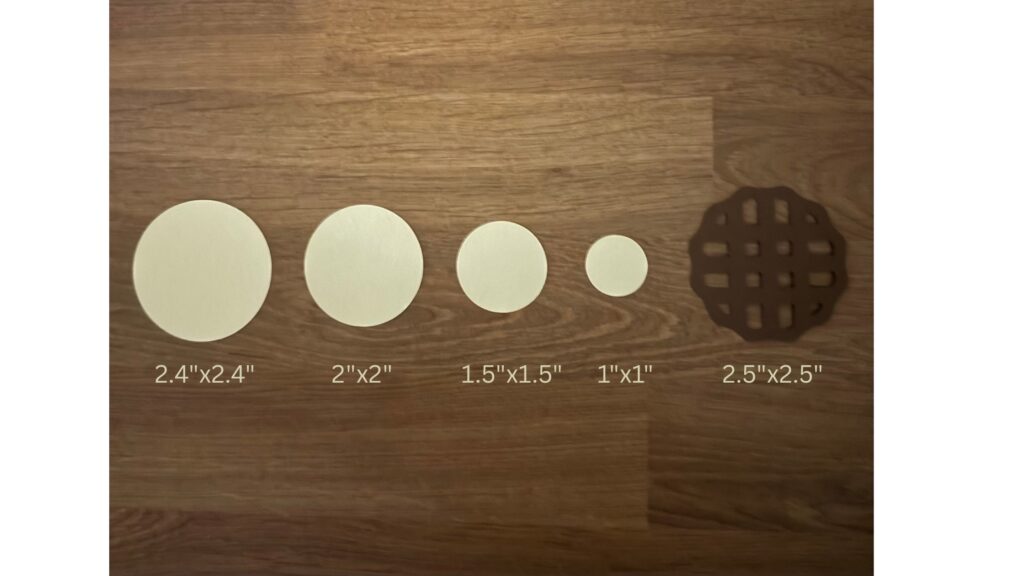
Here are the pieces that I cutout. I used two sheets of each color.
- 32 Pie Crust pieces (2.5″) – Brown
- 16 Circles (2.4″) – Red, White, Blue, Peach
- 16 Circles (2″) – Red, White, Blue, Peach
- 16 Circles (1.5″) – Red, White, Blue, Peach
- 34 Circles (1″) – Red, White, Blue, Peach
- 16 Flowers (2″) – Brown
I had extra pieces after assembling all of my garlands.
Step 1: Cut Out the Paper Pieces
There are two different methods that can be used to obtain your cutouts. It is up to personal preference and the tools you have available.
Method 1:
A Cricut machine can be used. I used my Cricut machine to cutout all of my shapes quickly. A simple file can be made in Cricut design space. The file will be automatically optimized to maximize the amount of cutouts that can be placed on a single page.
Method 2:
Hole punches can be used. The craft store carries various shapes and sizes of hole punches. This is a very simple way to cutout your shapes.
Step 2: Create the Pie Cutout
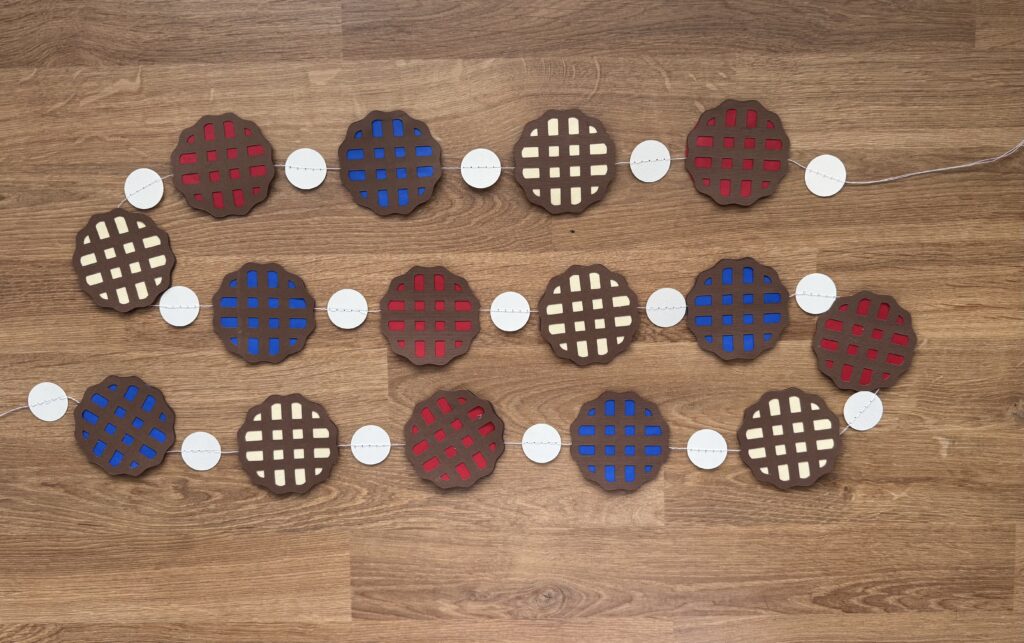
- Take one pie piece and one 2.4″ circle cutout.
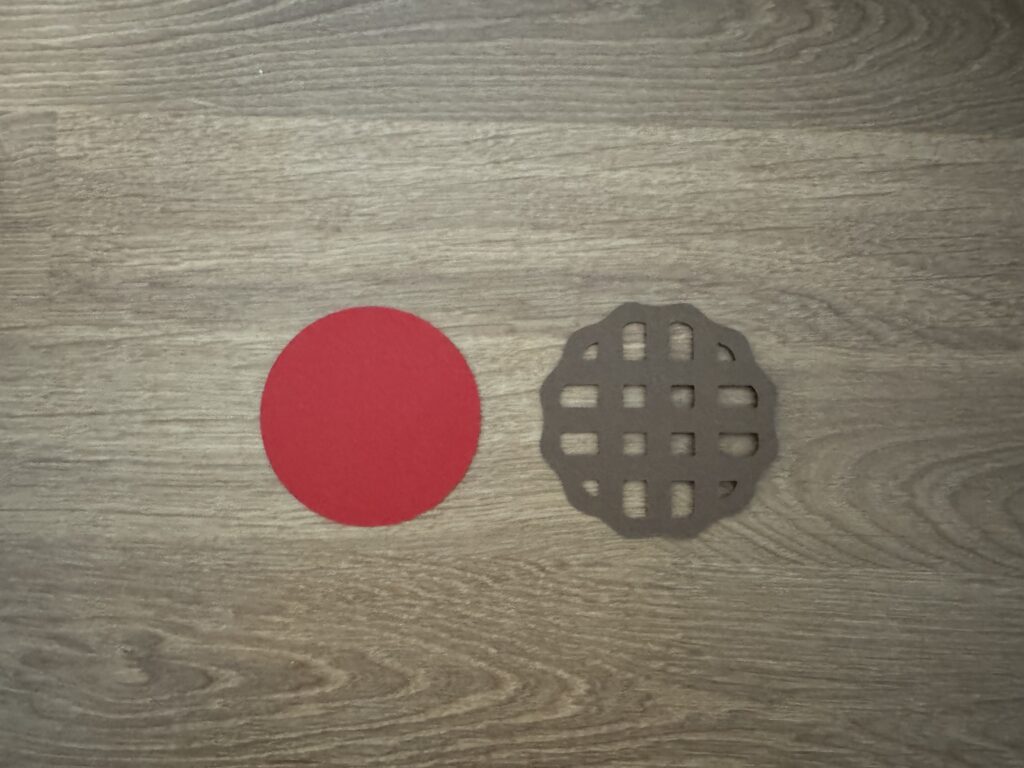
- Glue the pie crust on top of the circle.
- If you want the garland to be reversible put a pie crust on the back side of the circle as well.
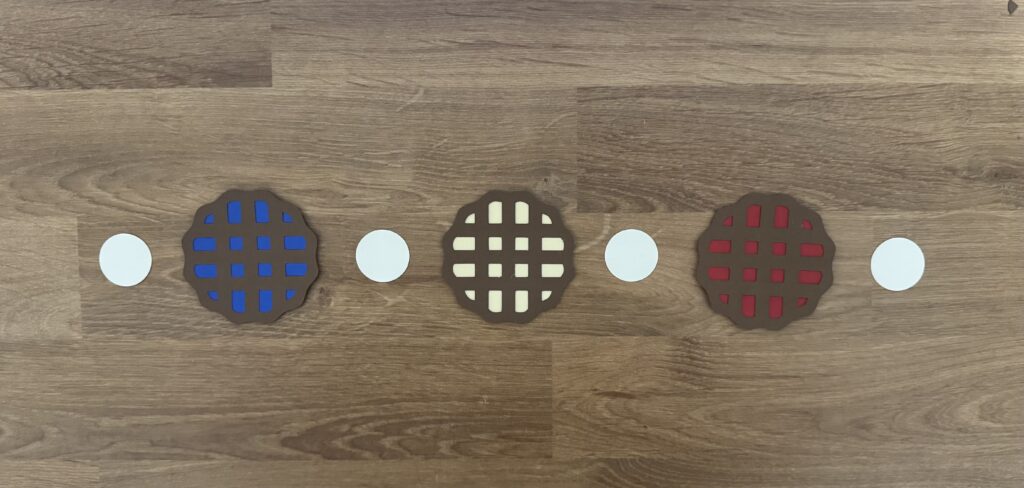
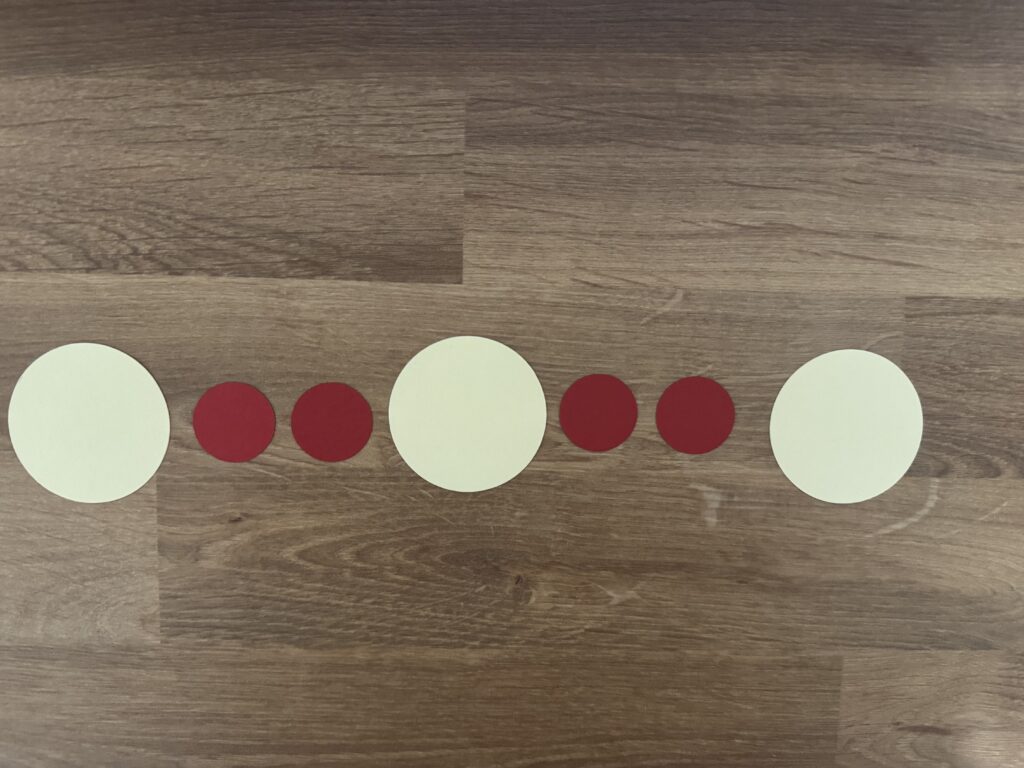
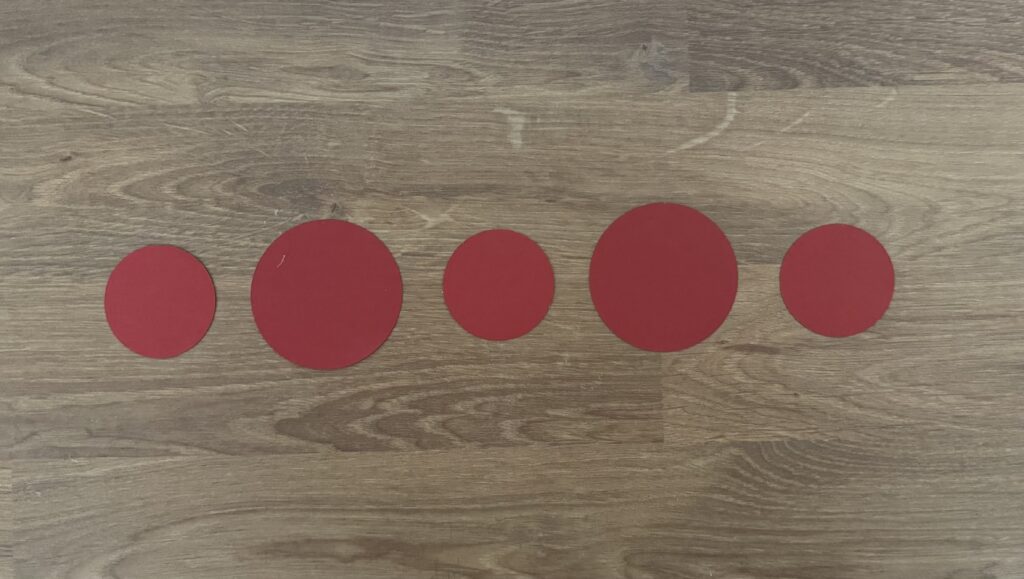
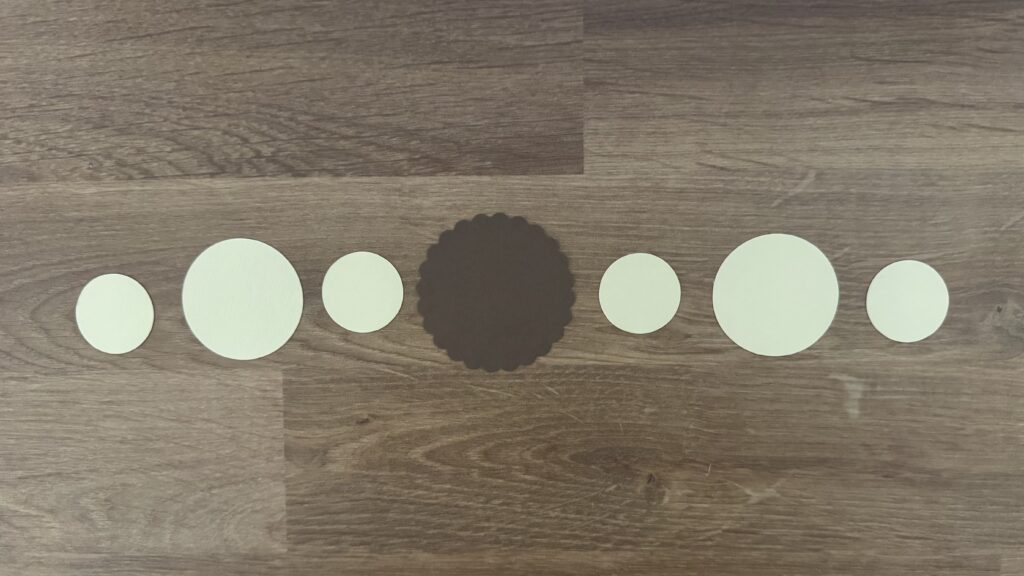
Step 3: Create your Pattern
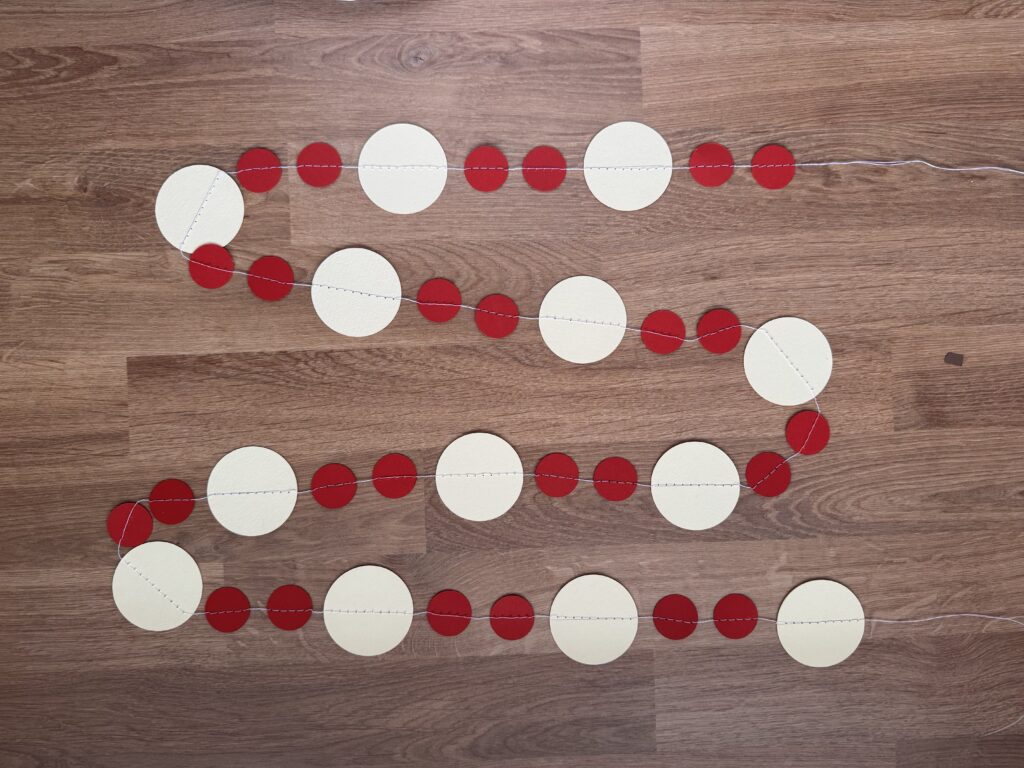
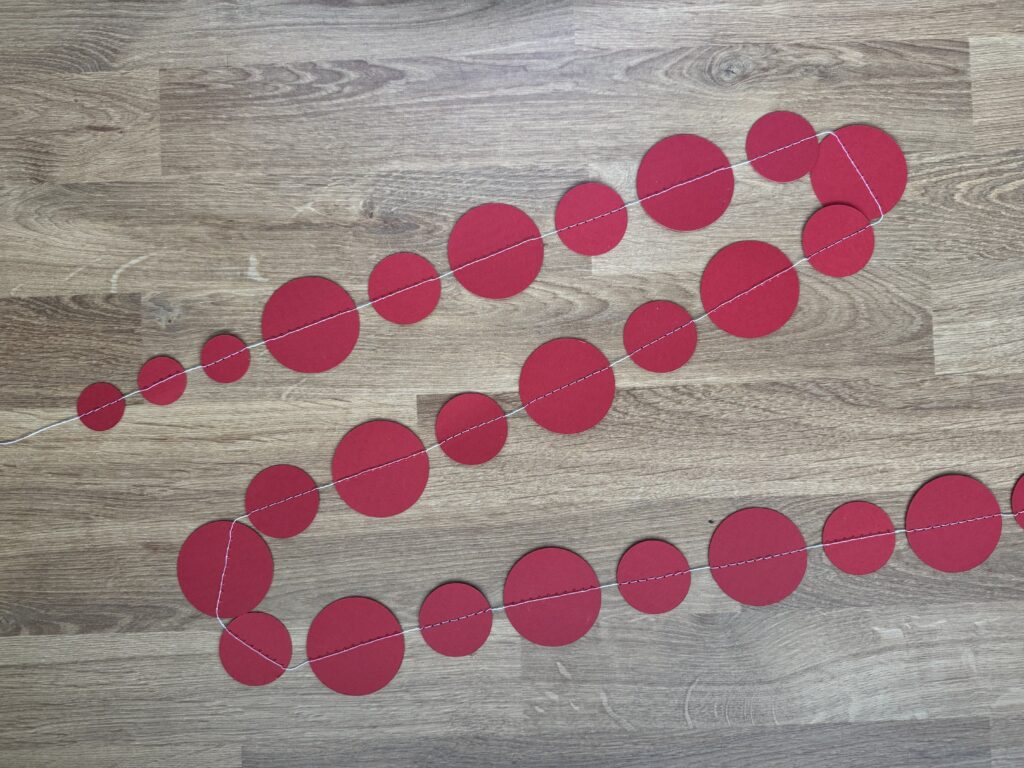
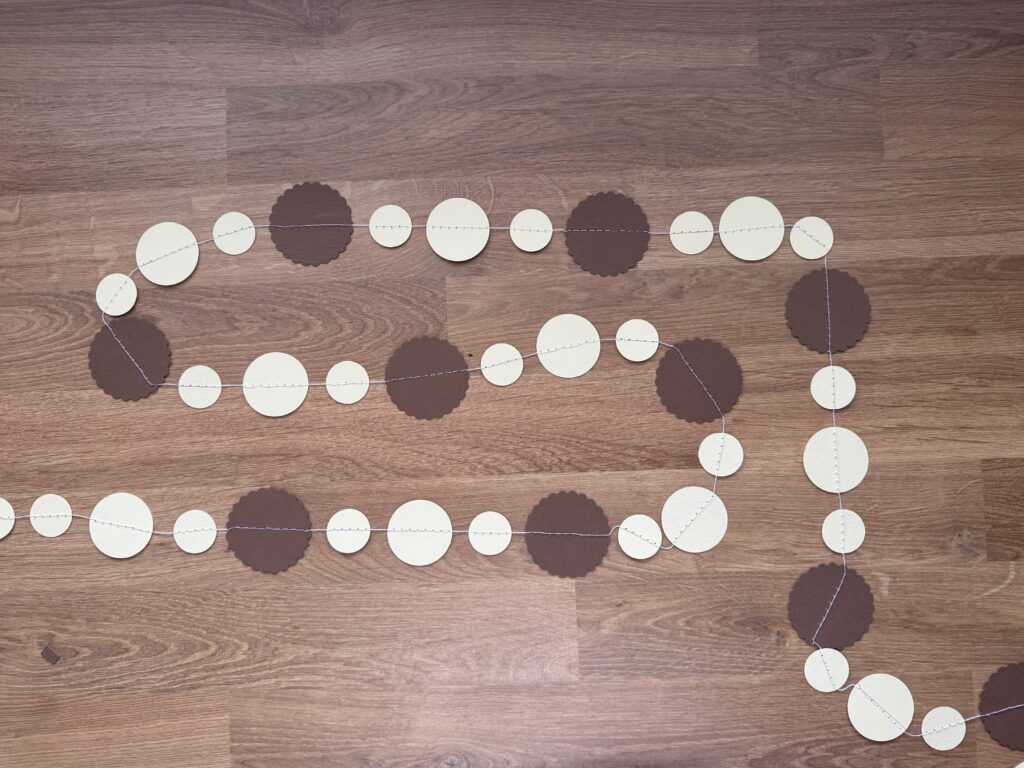
- Determine the patterns that you would like for your garlands
- Below are examples on how you could potentially layout your designs.
Step 4: Sew the Garland
- Ensure the needle currently in your machine is sharp.
- Set the stitch length on your machine to the longest it will go. That is a 5 on my machine.
- Ensure you have an adequate amount of thread both when you start and at the end. This is how you will hang the garland.
- Mark where you would like to sew through the paper pieces lightly with a pencil.
- Sew the paper pieces together along the line with adequate spacing in between.
Step 5: Admire your Work
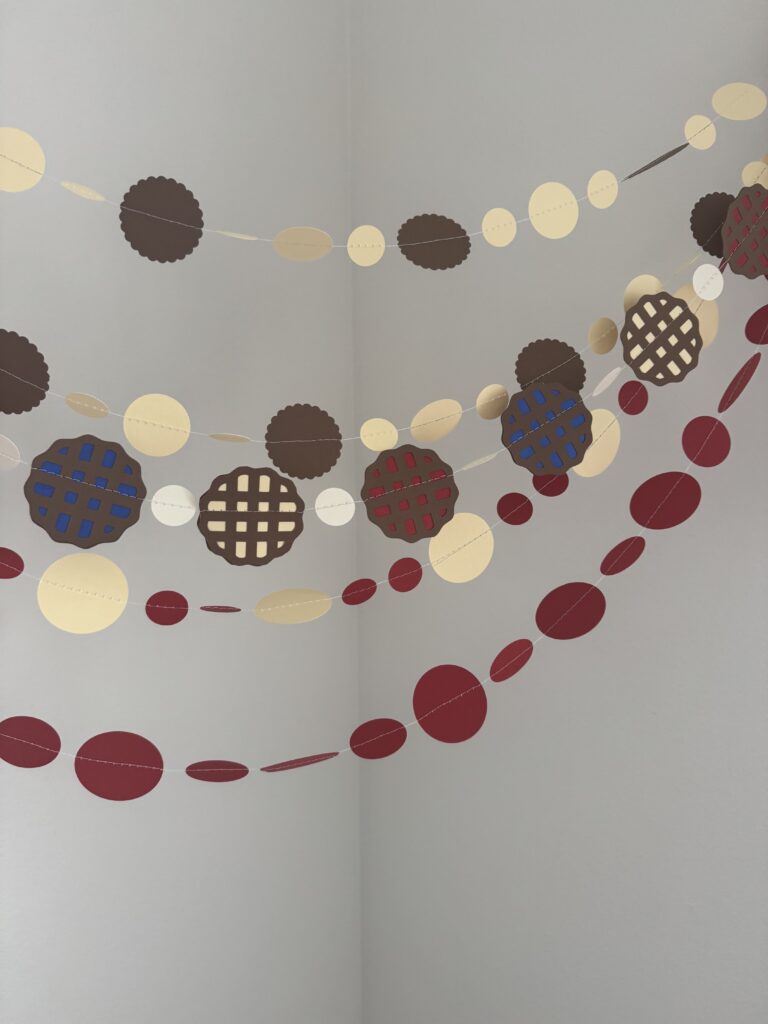
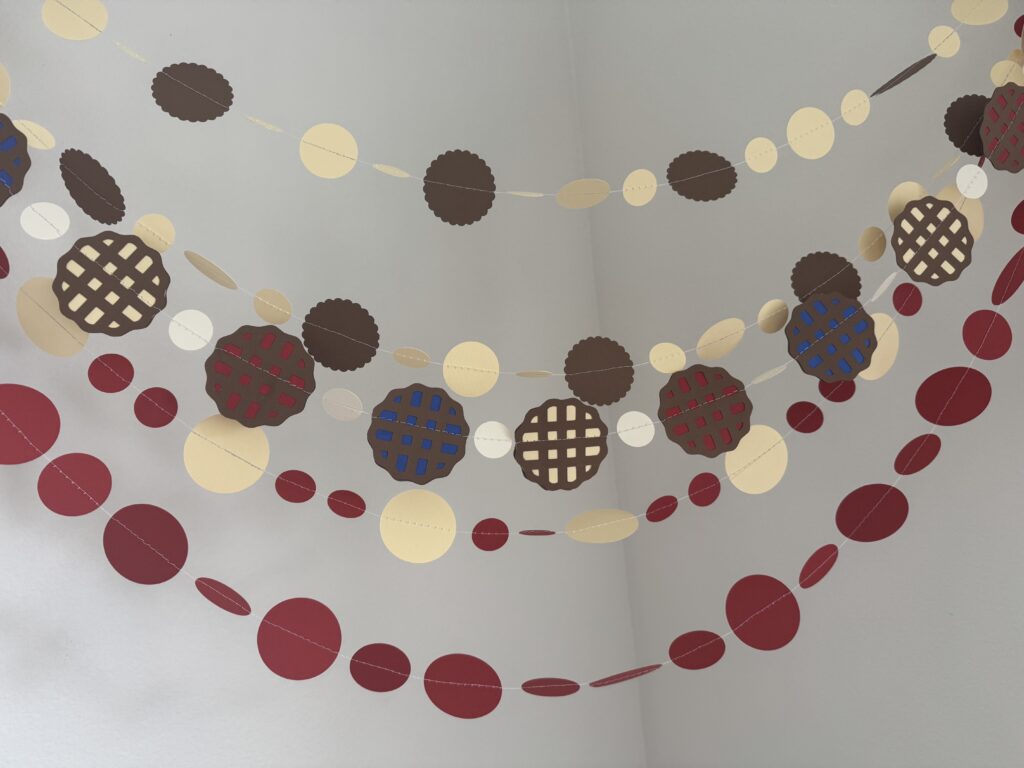
Display
Now that you have created your beautiful Friendsgiving/Thanksgiving garland you get to display them.
Here are some of the ways that I have thought to style them:
- Hang the garland on the mantle
- Hang the garland above the table
- Hang the garland at the entrance to your room