Introduction
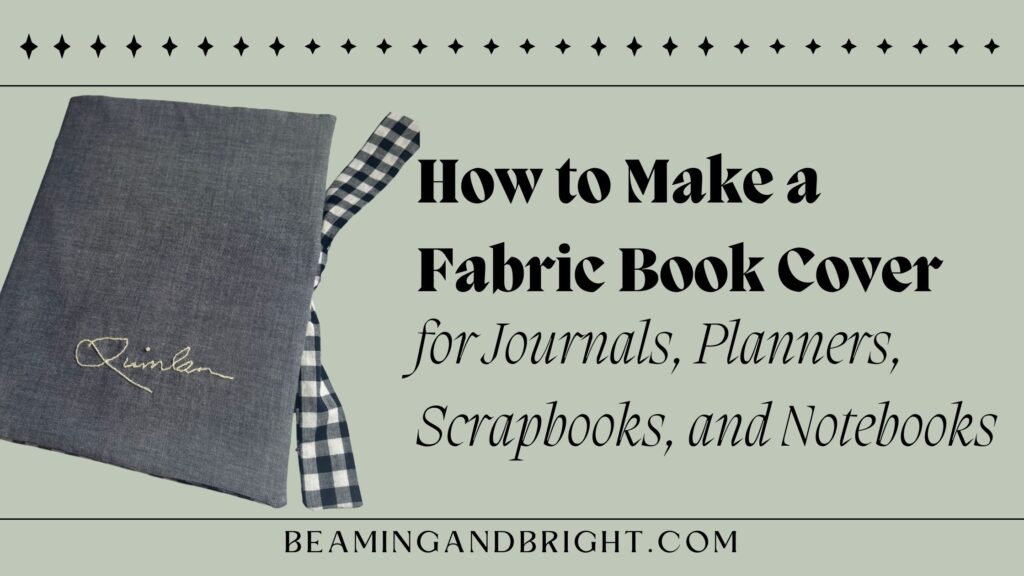
I am always looking for a fun and personalized way to customize my family’s scrapbooks, and I love adding personal touches to the journals I take everywhere with me. That is why I tested and experimented with multiple different covers. When I learned how to make this simple cover, I realized I would never need another pattern. This cover will protect your books that are meant to last for a long time, scrapbooks that sit on a shelf and move from house to house, keeping them safe from sun damage and dust. It will also protect the books that you take on the go from everyday wear and tear.
You are also able to personalize the cover to match any occasion or style. Making the cover out of fabric is also a more sustainable option, since it is durable and designed to endure repeated use. This book cover makes the perfect custom gift for anyone in your life who scrapbooks, journals, uses a yearly planner, or sketches. In this tutorial, I will show you how to make the perfect custom cover, walk you through each step of the process, and give instructions for how you can adjust the size for different books. This tutorial is perfect for beginner sewists, DIY lovers, and anyone who enjoys creating meaningful handmade gifts.
This post contains affiliate links. As an Amazon Associate, I earn from qualifying purchases at no extra cost to you.
How to Choose the Right Fabric
Quilting cotton is the best choice for this project, as it offers just the right amount of structure without being excessively rigid. Linen or Muslin is too flimsy and can tear easily, while canvas is much more rigid and often too thick to be a good book cover. This is the perfect project to break into your scrap bin or use up any extra fat quarters you have lying around.
I don’t include any interfacing, fusible batting, or stabilizer in this project, as I find it unnecessary for creating this type of book cover. You can add a stabilizer if you would like more structure, or fusible batting if you want a little extra cushion.
When picking out your fabric, there are a few things to consider. If you are making a cover for a journal or a daily planner, I would opt for a darker color that will hide dirt better. If you are making a cover for a scrapbook, choose something more eye-catching and ornate. I like to have a simple, neutral fabric for the front and back cover and opt for a fun, coordinating fabric for the inner pockets.
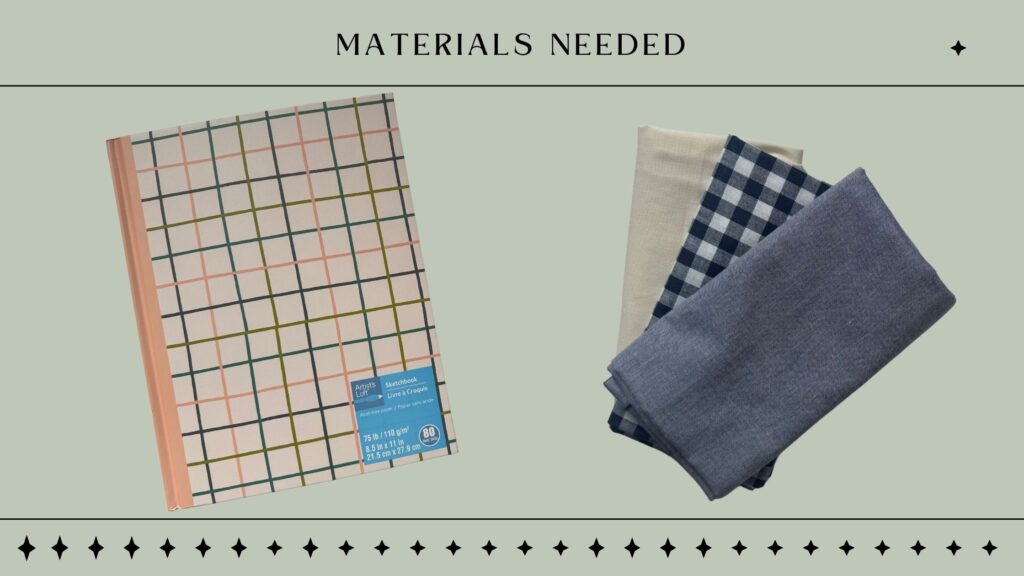
Materials Needed
- Three different pieces of fabric:
- Outer fabric for the cover
- Inner fabric for the cover
- Fabric for the Pockets
- Ribbon/Extra fabric
- Book
- OPTIONAL – Interfacing or Fusible Batting
- OPTIONAL – Embriodery Supplies
- OPTIONAL – Additional Embellishments
How To Make A Fabric Cover – Full Tutorial
Step 1: Measure Your Book
- Measure the book
- Height, width, thickness

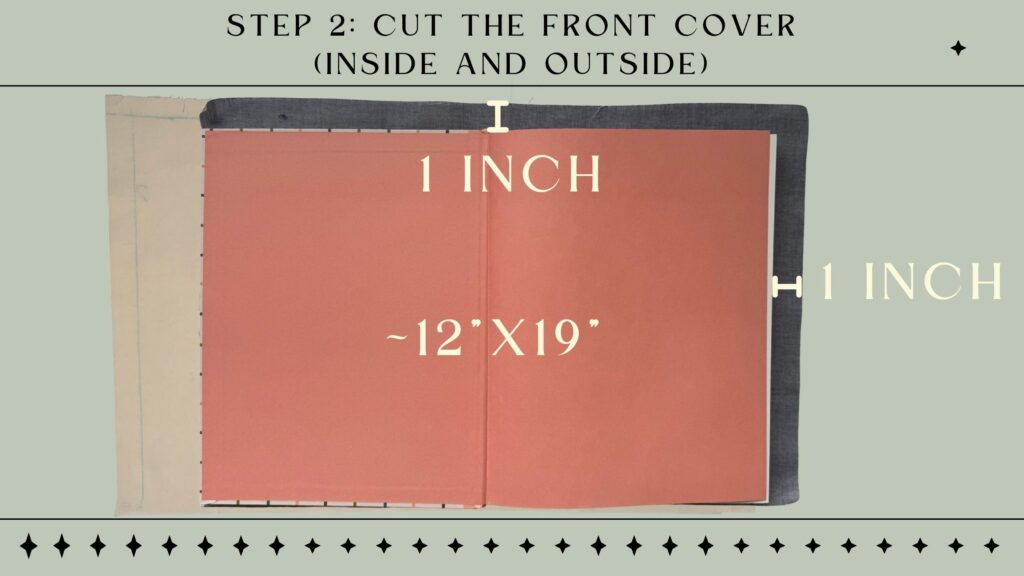
Step 2: Cut the Front Cover (Inside and Outside)
- Take the measurements you found above and double the width, then add the thickness of the book
- (Width x 2) + Thickness
- In my example above, the width is 8.5″. The doubled width is 17″, and after adding on the thickness, the total becomes 18″.
- Add one inch to the width found in the previous step and one inch to the height to allow for seam allowances
- In my example above, the cover fabric should be cut at 19 inches wide and 12 inches tall.
- Cut the inside cover fabric and outside cover fabric to these dimensions
- If you are doing batting or interfacing, cut it at these dimensions as well.
Step 3: Cut the Inside Pockets
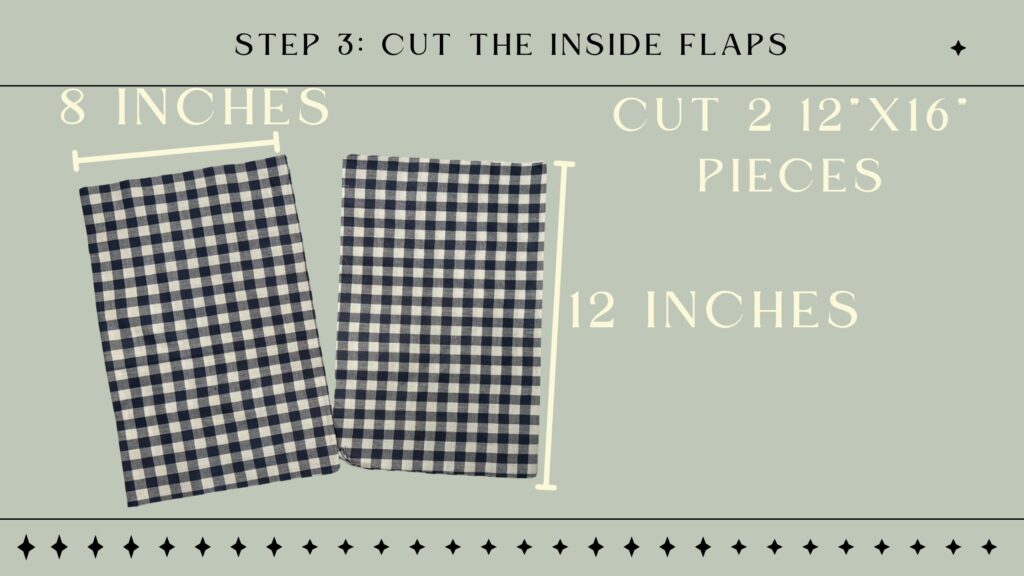
- Measure how far you want the inside pockets to reach on your book
- Double that measurement
- Keep the same height as step 2
- Cut 2 pieces of fabric at this size
- Fold and iron in half
- Pretty sides facing out
Optional: Add Embellishments
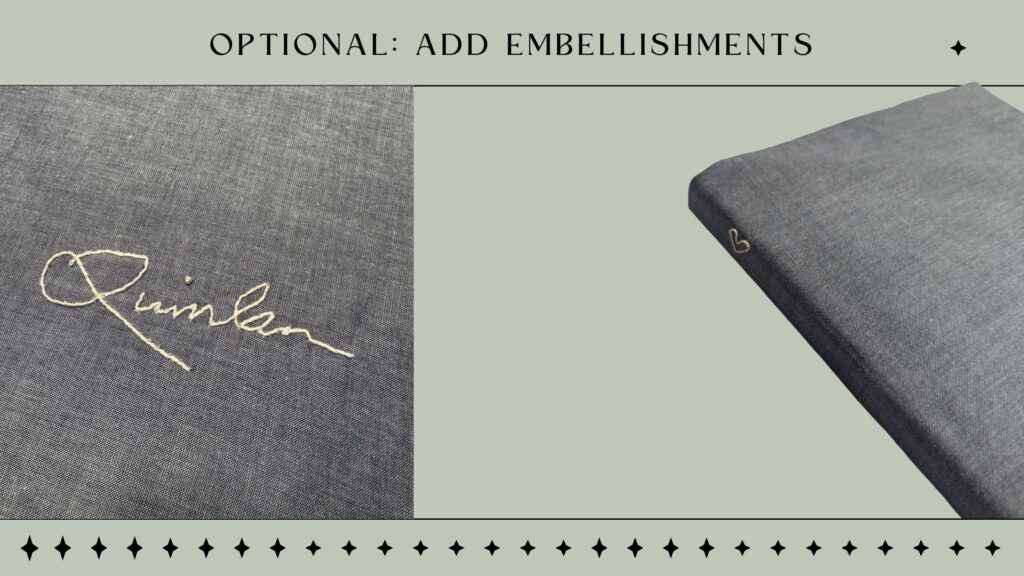
At this step, add whatever embellishments and personalization you would like.
Optional: Create the Fabric Tie
If you would like to create your own fabric tie follow the steps below. You can also add ribbon, elastic, or a different enclosure.
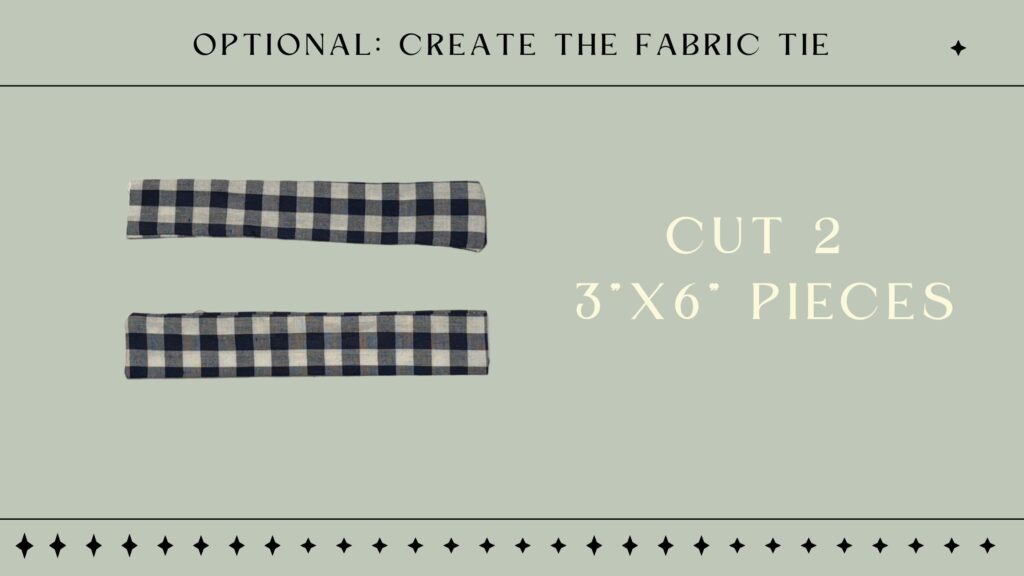
- Cut 2 pieces of fabric
- The fabric I cut for my ties was 3″ by 6″
- Fold the fabric long ways with the pretty sides facing
- Sew around 2 of the 3 exposed edges
- Flip right side out
- Iron
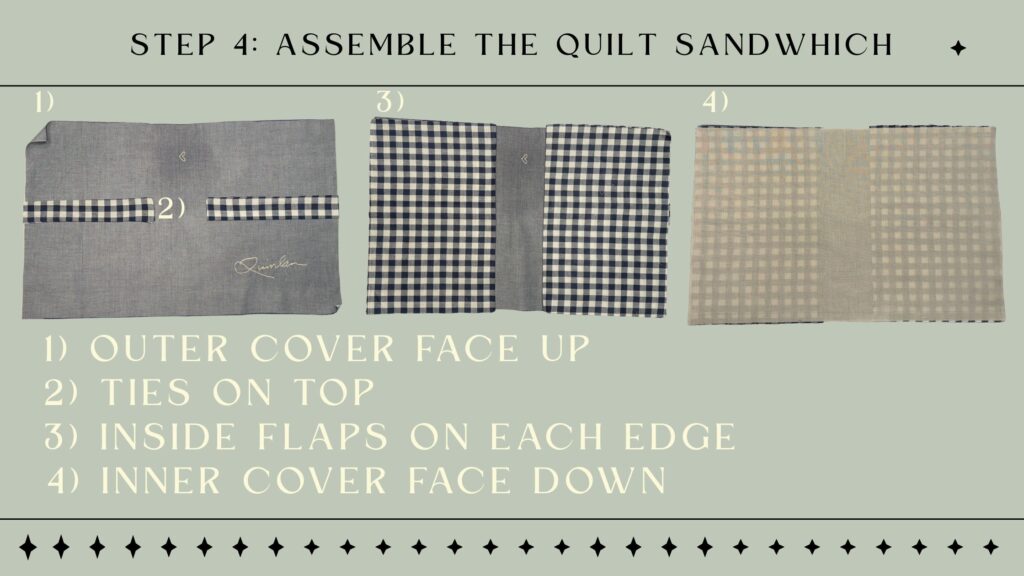
Step 4: Assemble the Quilt Sandwich
- Lay the outer cover fabric face up
- Place the ties on top
- Place the inside pockets on top in line with the outer edges
- Place the inner cover fabric face down
- Pin around the perimeter
- Make sure you secure the ties in place
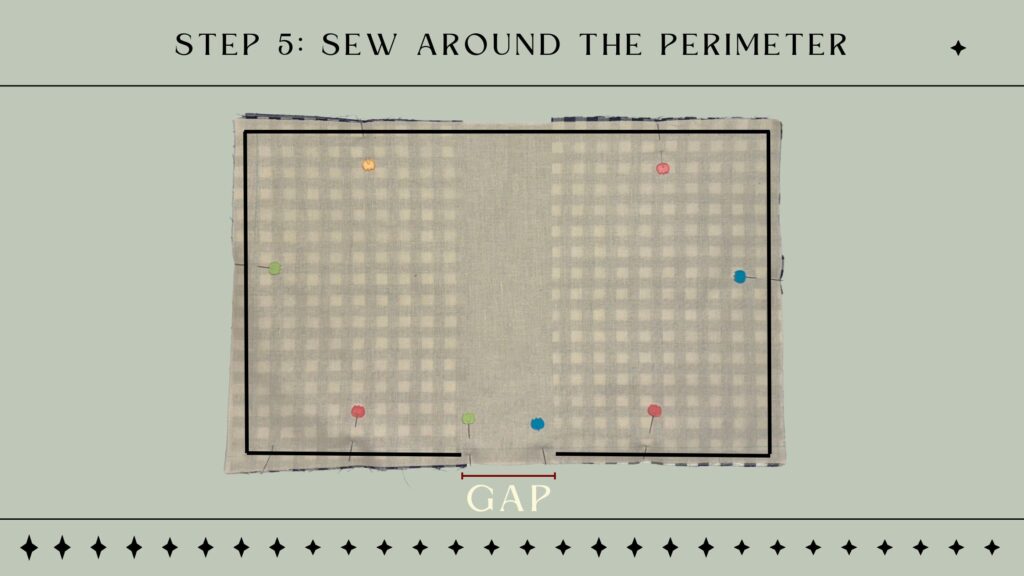
Step 5: Sew Around the Perimeter
- Sew around the perimeter with 0.25″ seam allowance
- Leave a 2″ gap at the bottom
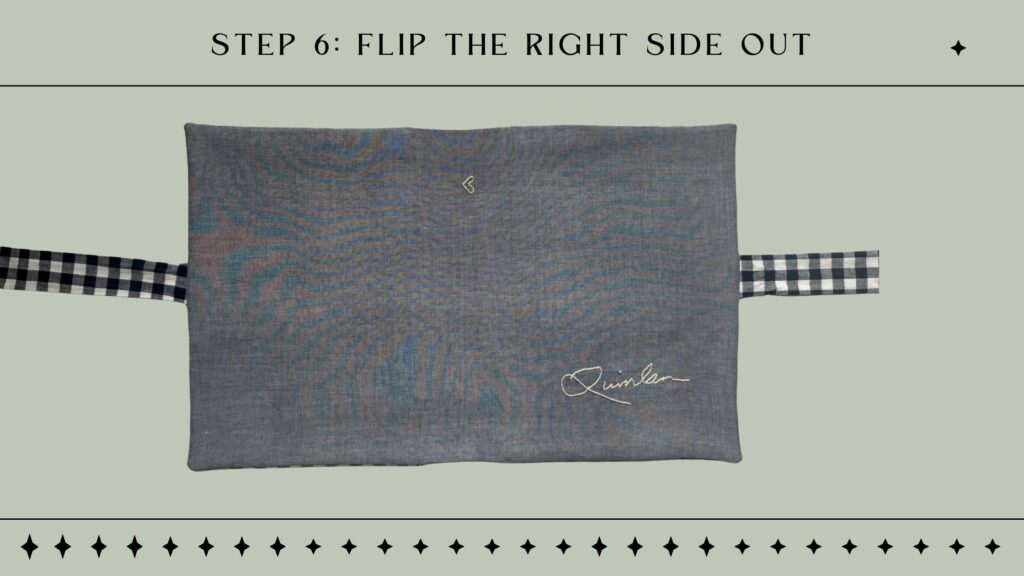
Step 6: Flip the Right Side Out
- Flip right side out
- Use something sharp to poke the corners out
- Iron flat
- Hand-sew the opening closed
Step 7: Admire Your Work
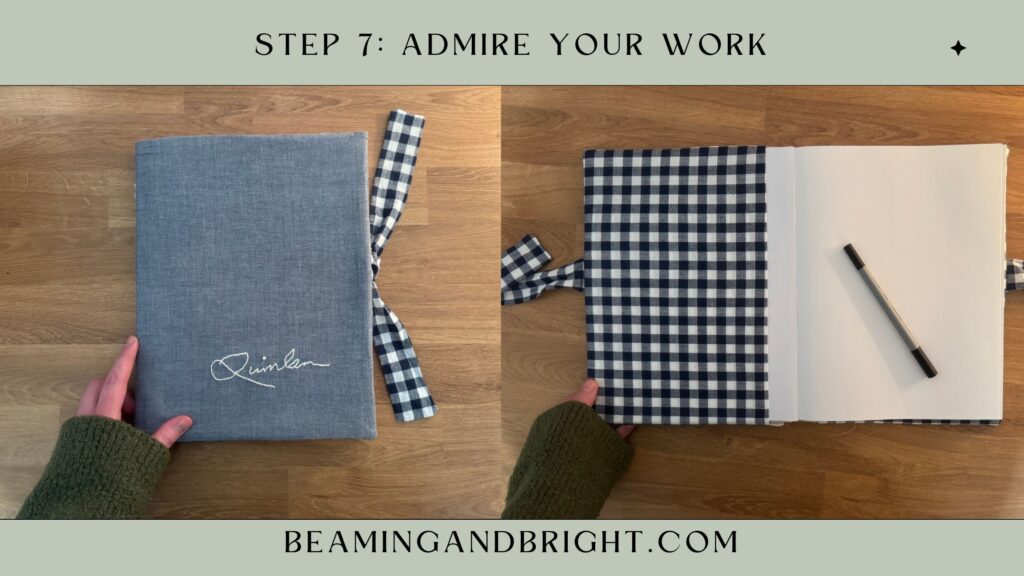
Creating a DIY fabric book cover is an easy way to protect and personalize your journals, planners, scrapbooks, or notebooks. With simple sewing techniques and a few basic materials, you can make a custom, reusable cover that adds a handmade touch and lasts for years.
This project is perfect for beginner sewists, DIY lovers, and gift makers, and fabric covers also make thoughtful handmade gifts for birthdays, holidays, or creative friends. Save this tutorial on Pinterest and start making your own custom journal and planner covers today!