This post may contain affiliate links. If you click through and make a purchase, I may earn a small commission at no extra cost to you. I only recommend products I truly love and think will help you create a beautiful wreath.
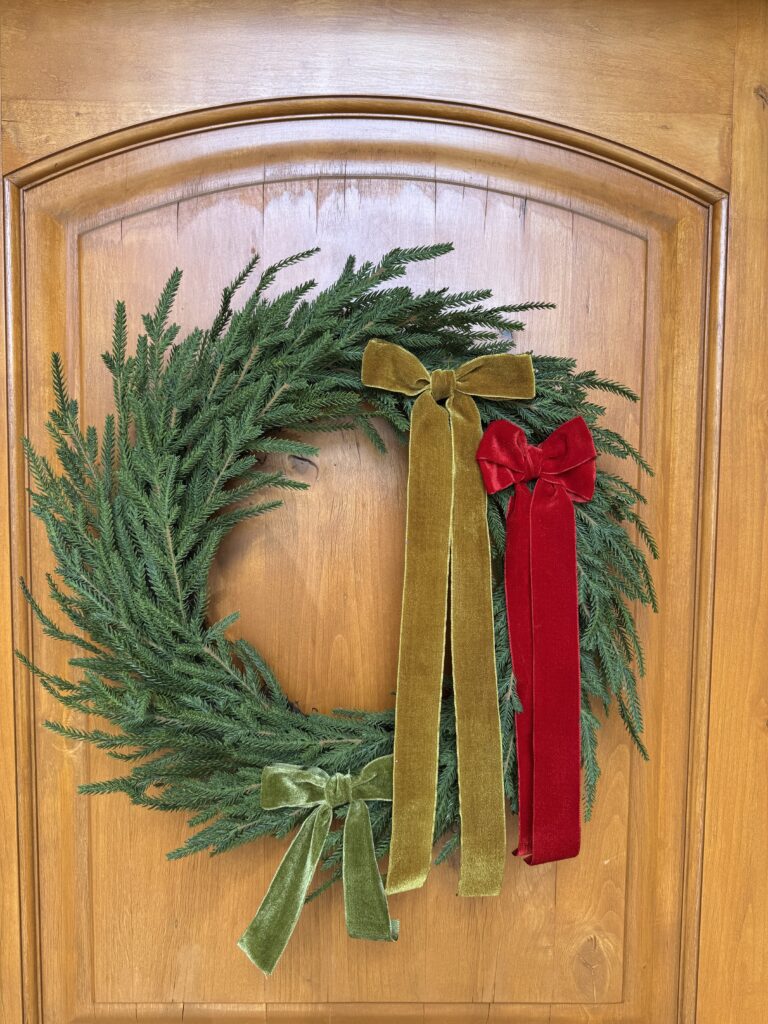
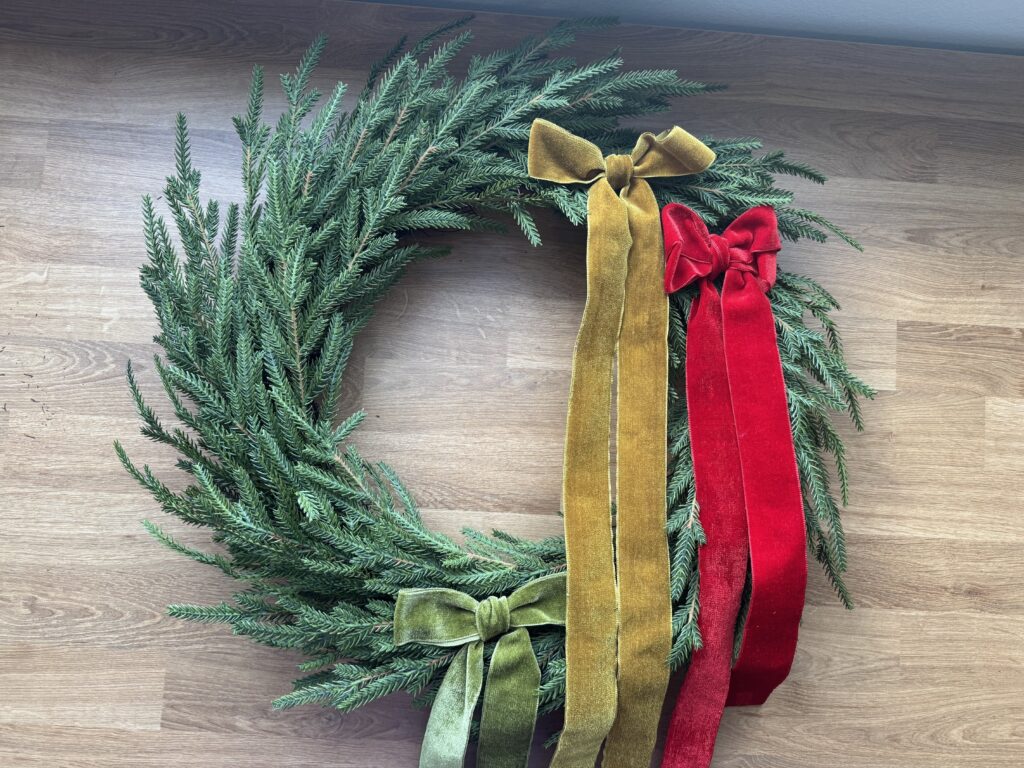
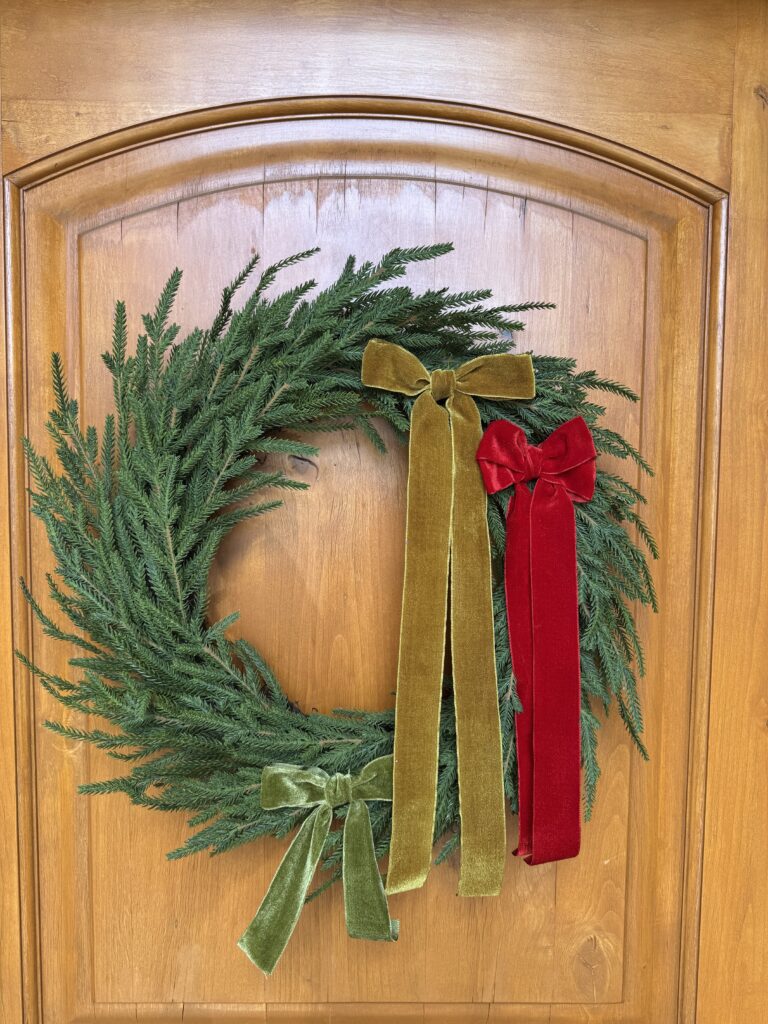
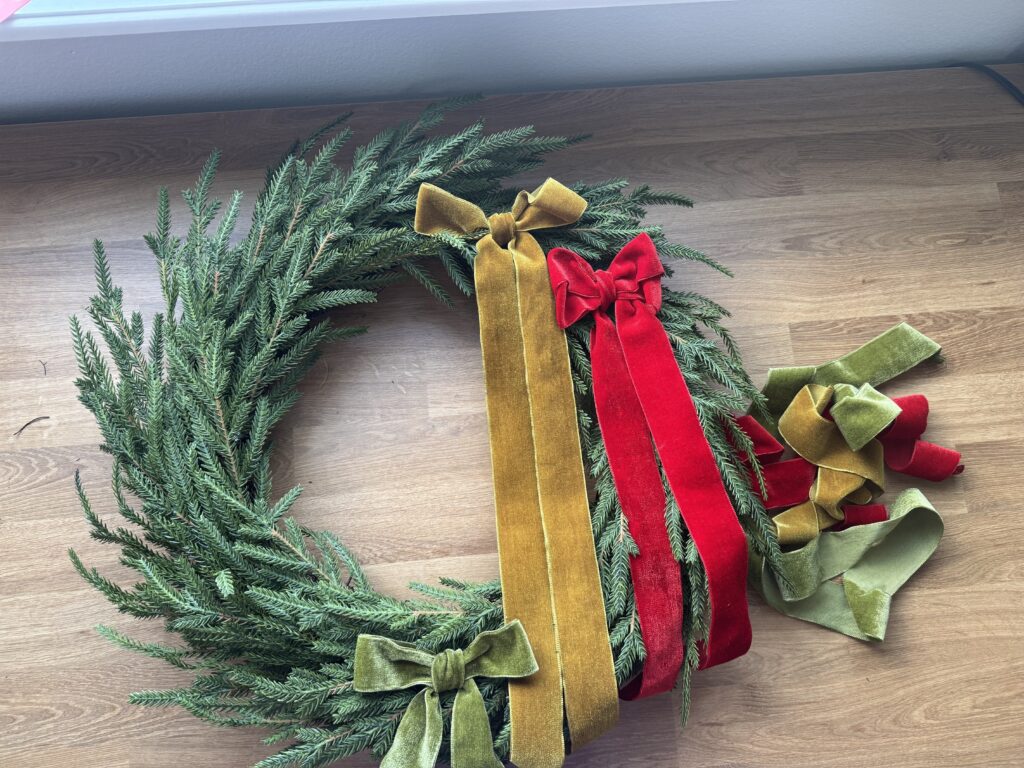
Looking for a festive way to instantly dress up your front door this fall? This DIY Thanksgiving wreath with velvet bows is the perfect project. In this tutorial, I’ll show you how to transform a simple store-bought wreath into a beautiful Thanksgiving decoration with rich velvet ribbons and seasonal colors. Plus, I’ll share my fool-proof method for tying the perfect velvet bow!
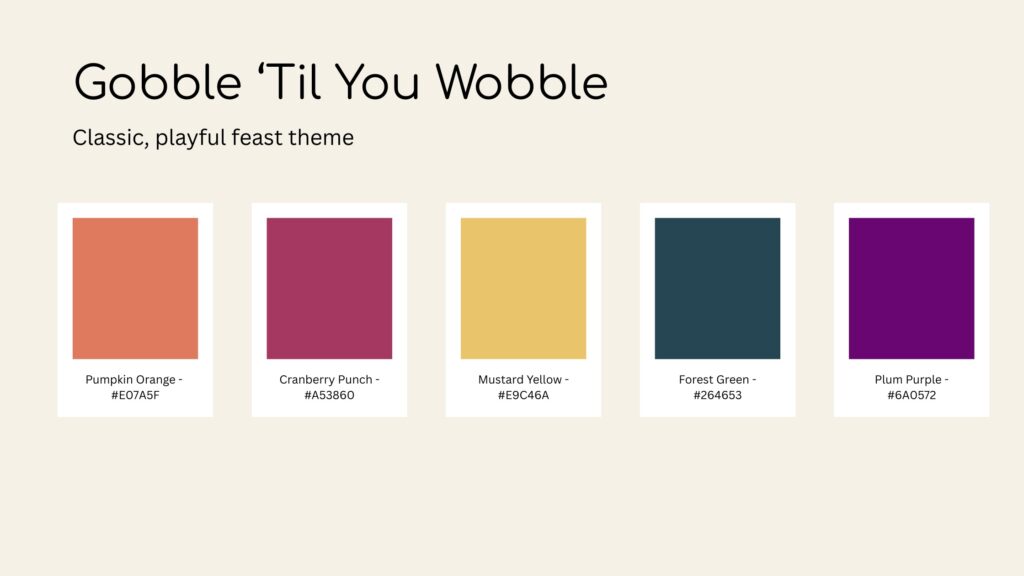
I created this wreath to complement my “Gobble Til You Wobble” Friendsgiving party theme. Using a mix of cranberry punch, mustard yellow, and forest green colors. Whether you’re hosting or just want to add charm to your entryway, this wreath will instantly set the holiday mood.
Materials
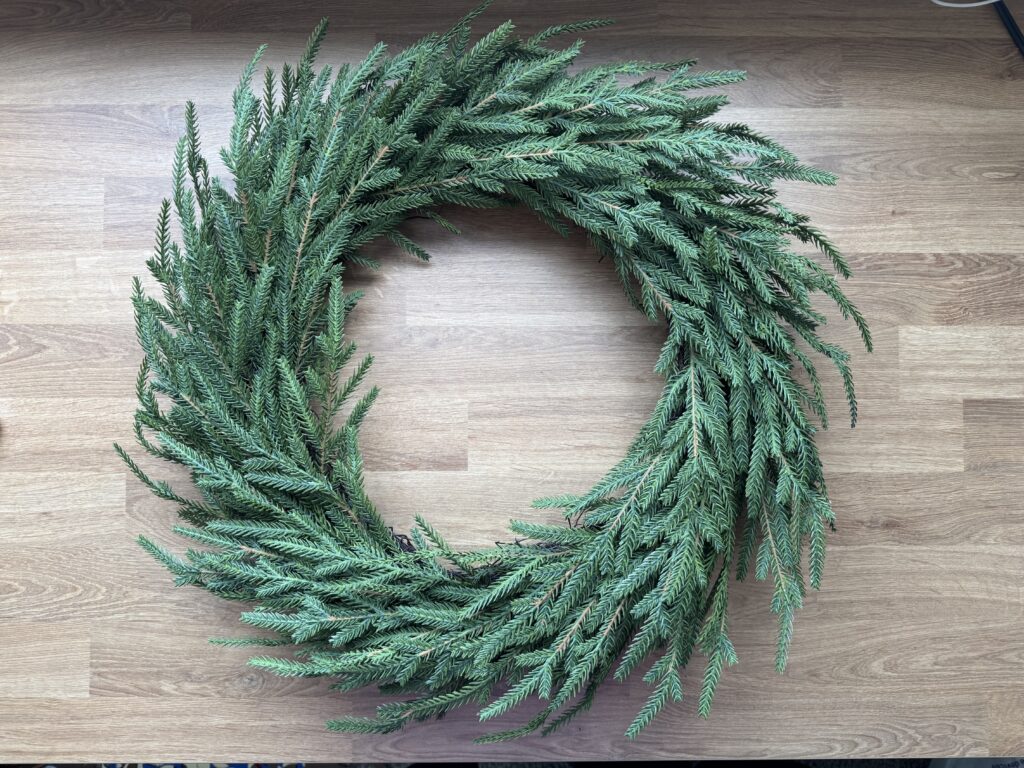
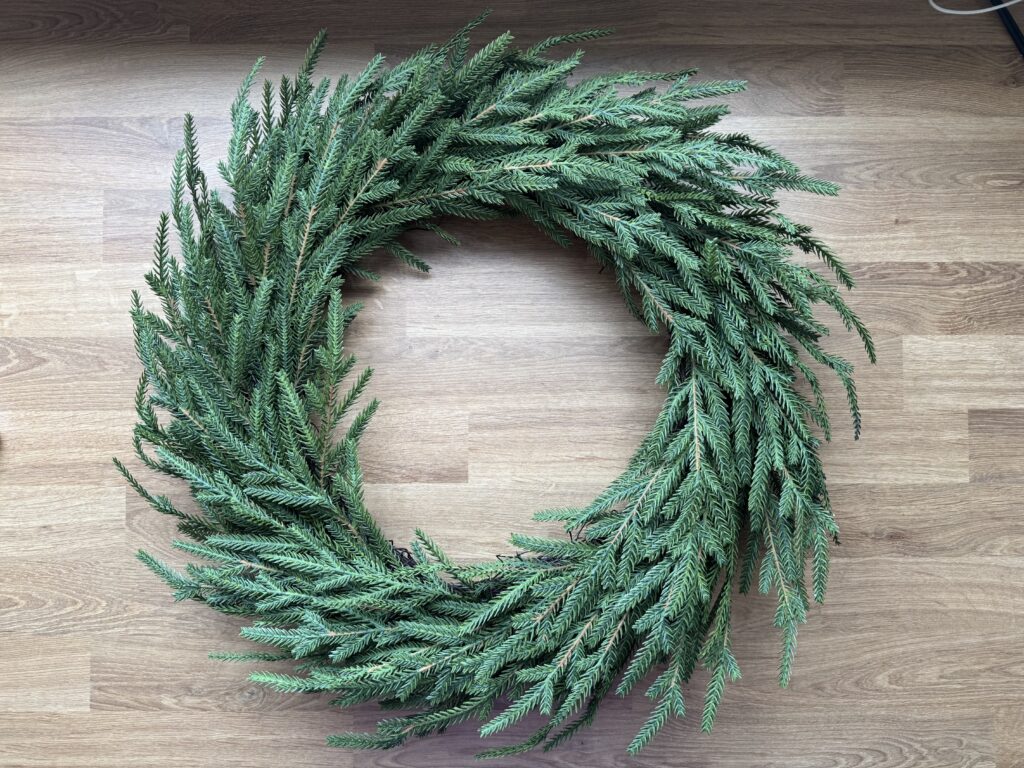
- Wreath – I purchased my wreath from a local craft store. However, similar wreaths can be found online.
- Velvet Ribbon – Ribbon like this would be perfect. It comes in various rich colors perfect for a holiday wreath.
- String
- Scissors
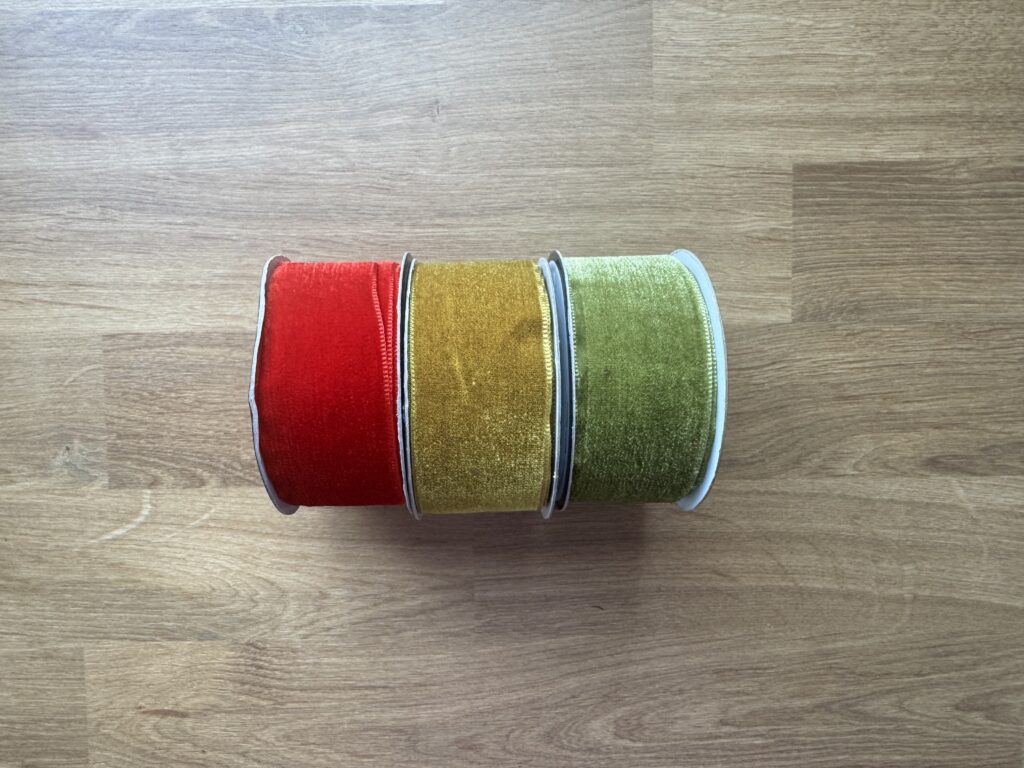
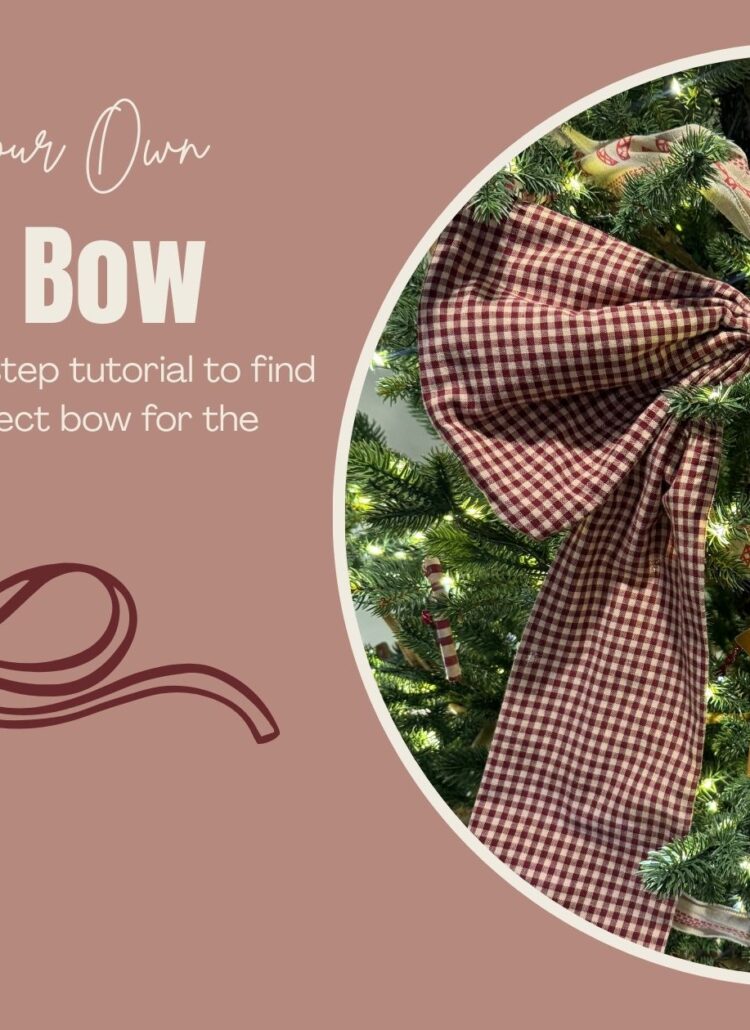
Step 1: Tie Bows
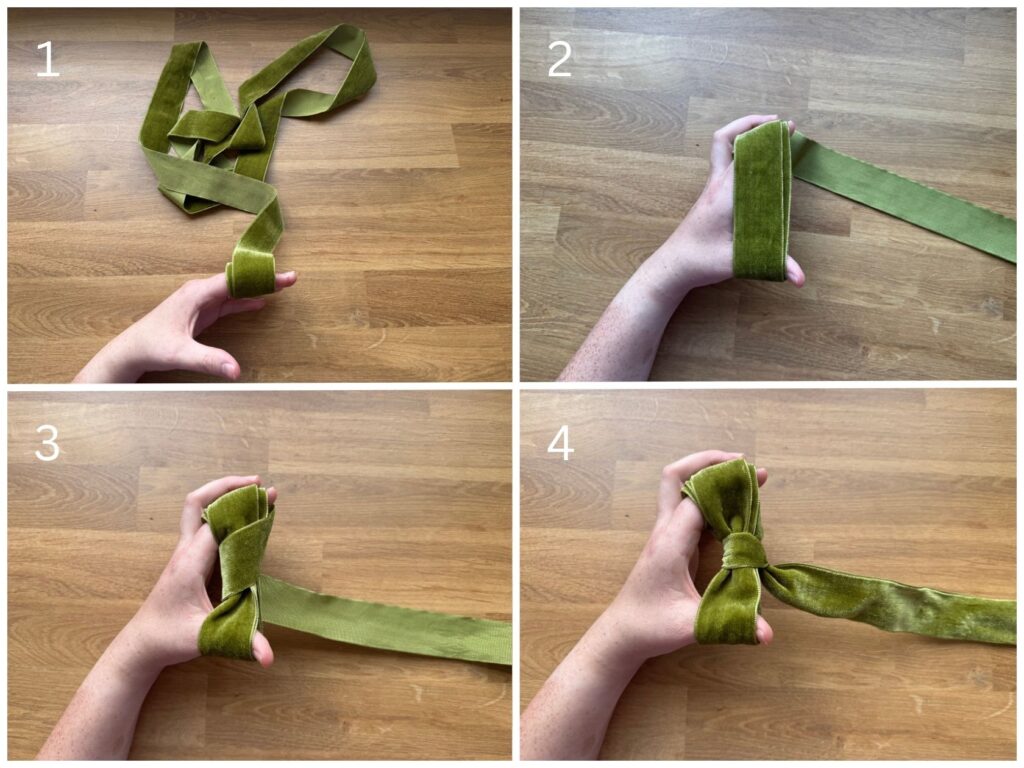
- Wrap the ribbon velvet side up around your index finger and away from your body several times.
- The more times you wrap around the longer the tail will be.
- Wrap around your finger and thumb two times.
- This will give you two loops. If you want one loop wrap once, if you want three loops wrap three times.
- Pull the tail up and around. Keeping the velvet side face out the entire time.
- Wrap the tail up and through the center loop. This will tie off the bow.
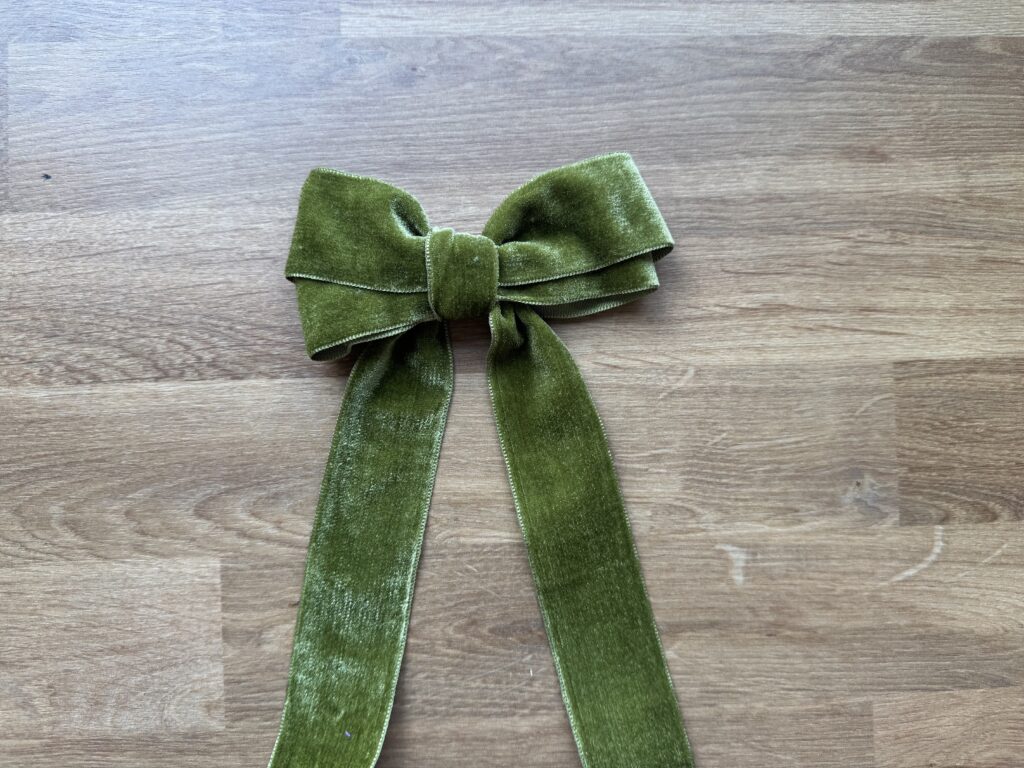
- Fluff the bow out. Manipulate the bow so it looks the way you like.
Step 2: Fluff the Wreath
This step is optional depending on the state and material of your wreath.
- Spend some time fluffing your wreath so it looks more realistic and full.
Step 3: Attach to Wreath
- Take embroidery floss, twine, or floral wire and cut to desired length
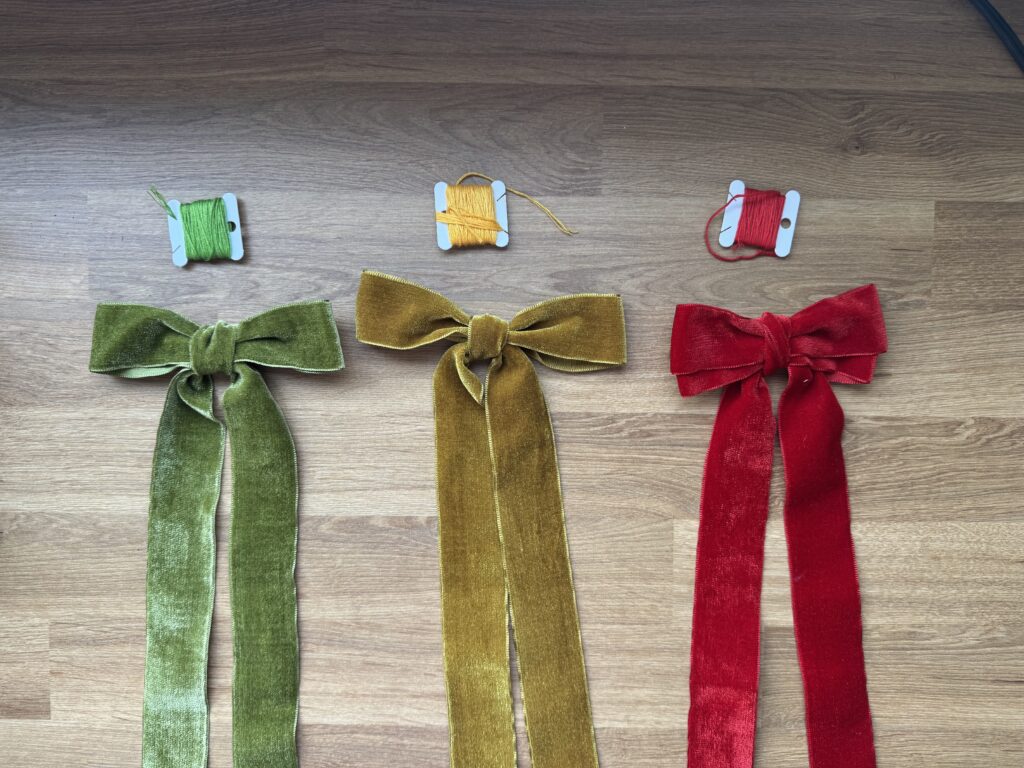
- Put the string through the middle of the backside of the bow.
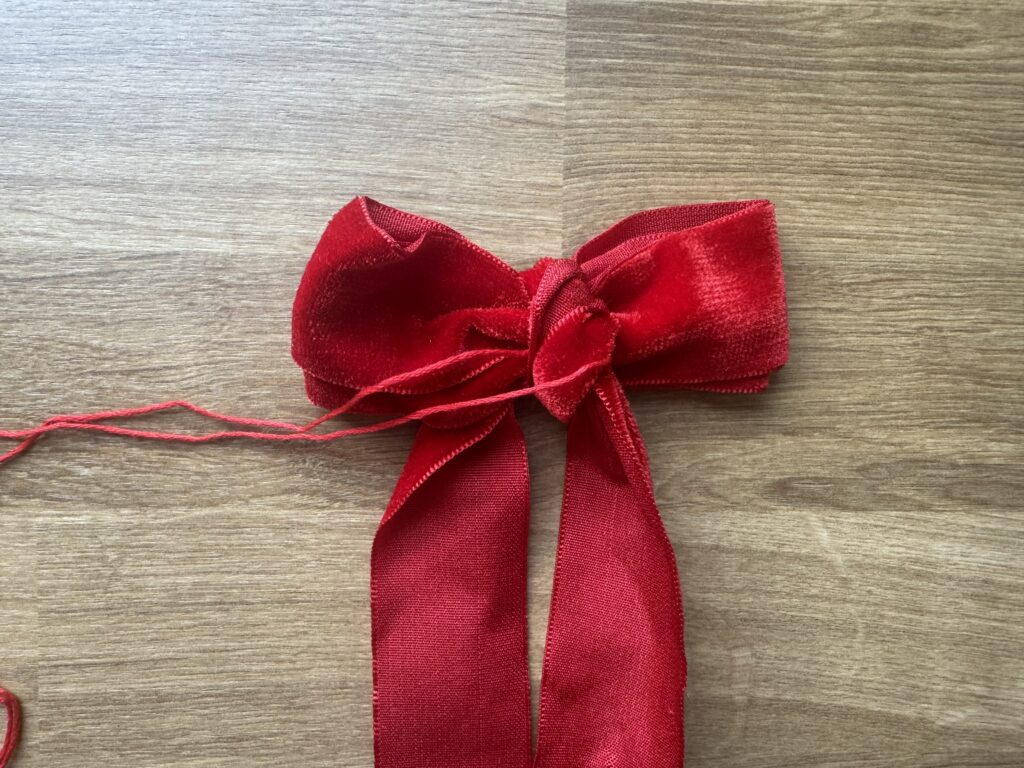
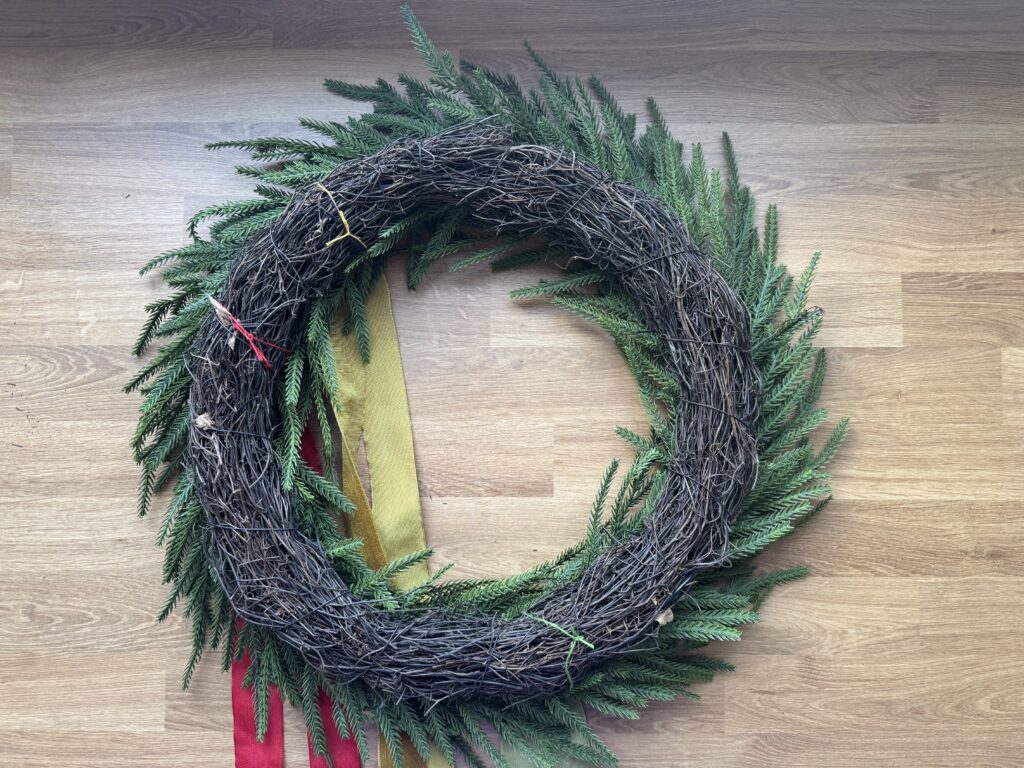
- Wrap around the wreath and tie off,
- Hide the string underneath the branches of the wreath so it isn’t visible
Step 4: Style
- Determine how long you would like each tail to be.
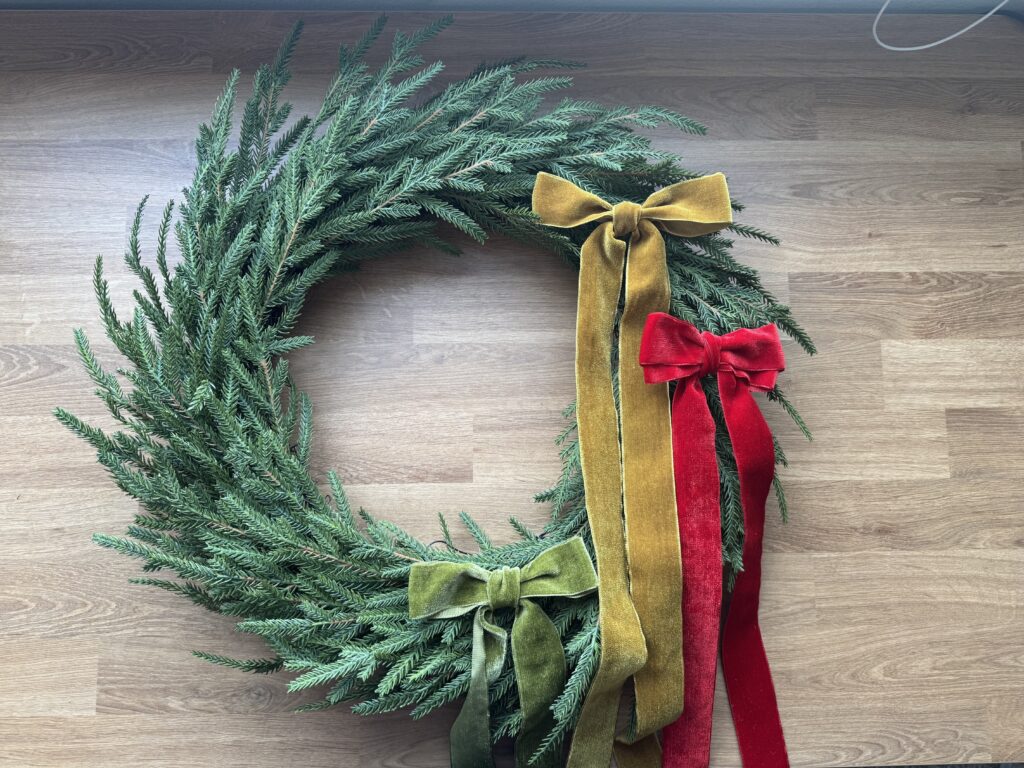
- Cut each tail to the desired length.
Step 4: Admire your Work