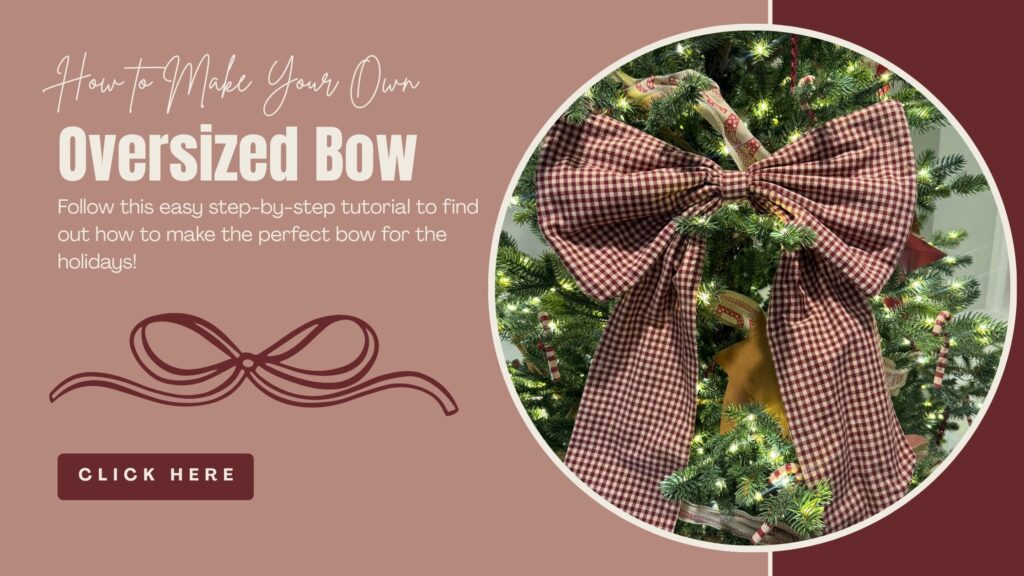
The Charm of a Statement Bow
It’s the most wonderful time of the year! This season is all about making memories with our children and creating a cozy home to hold them. I love focusing on handmade pieces. Those little, sentimental touches that my kids will cherish for years. That’s why I was so excited when oversized bows started popping up everywhere. I have seen similar bows all over Pinterest and Etsy being sold for $50+. I wanted to make my own to save a little money and to add a personalized, handmade touch to our Christmas decor.
I also love how versatile this project is. The bow makes a stunning tree topper, looks beautiful and welcoming on a front door (Either on a wreath or all on its own), and can be a lovely accent on your mantel. You can scale it down to make mini versions for a stair banister, small wreaths, or gift toppers. Because it’s fabric and padded, it feels cosy while also being substantial. You can also use different fabrics to create a look that complements a completely different style.
In this article, I’ll show you exactly how I made my oversized fabric bow. I will list out the exact dimensions I used, a complete list of materials, and a step-by-step tutorial with photos so you can follow along easily. This DIY is easier than it looks, and I hope you enjoy making it as much as I did. Please share your version on our Facebook group DIY Parties, Decor & Holidays. We love to cheer each other on!
Supplies You’ll Need
Before we jump into the tutorial, let’s gather everything you’ll need to make your own oversized fabric bow. Most of these supplies are things you may already have on hand, and a few can easily be found at any craft store or online.
- Cotton Fabric – about 1 yard (you could potentially use more or less depending on bow size)
- You can also use velvet, linen, or flannel for a different look or texture. Just keep in mind that your bow may require a different amount of batting.
- Sewing Machine
- Any basic machine will work for this project.
- Iron
- The iron will help achieve crisp lines.
- Scissors/Rotary Cutter
- It is possible to use scissors, but a rotary cutter is the best way to achieve straight lines.
- Batting
- I used a cheap poly batting for this project. You may need a different batting if you choose to use a different type of fabric.
- Optional: Embellishments
- You can add additional flair by adding ribbons or other embellishments. This is the part where you get to be creative!
I bought both my fabric and my batting at a craft store. Everything else can easily be purchased on Amazon.
The Perfect Proportions
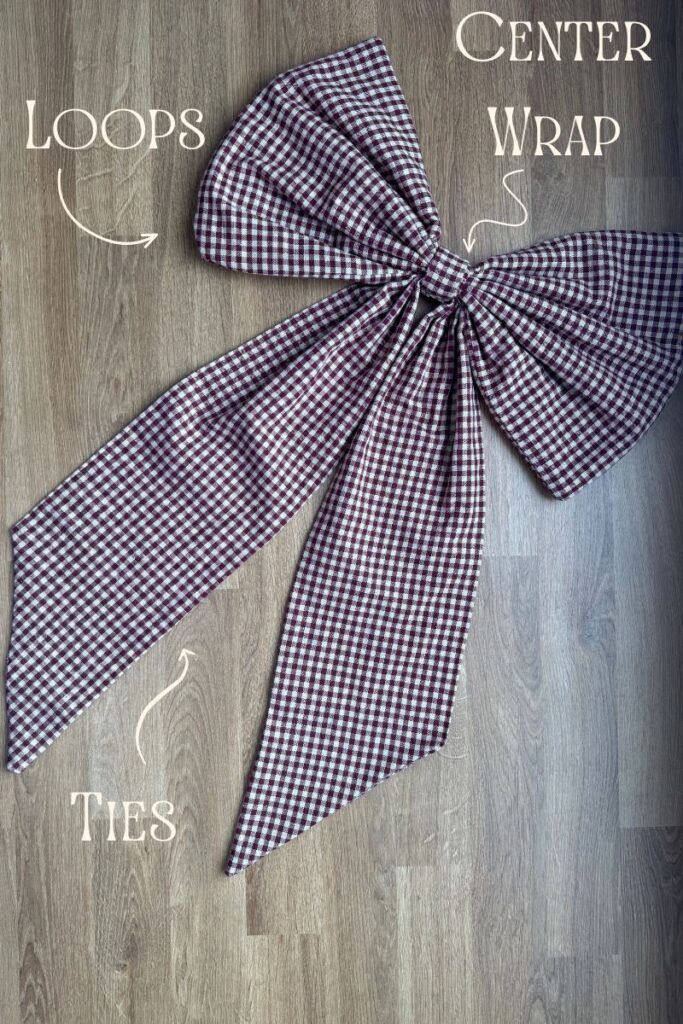
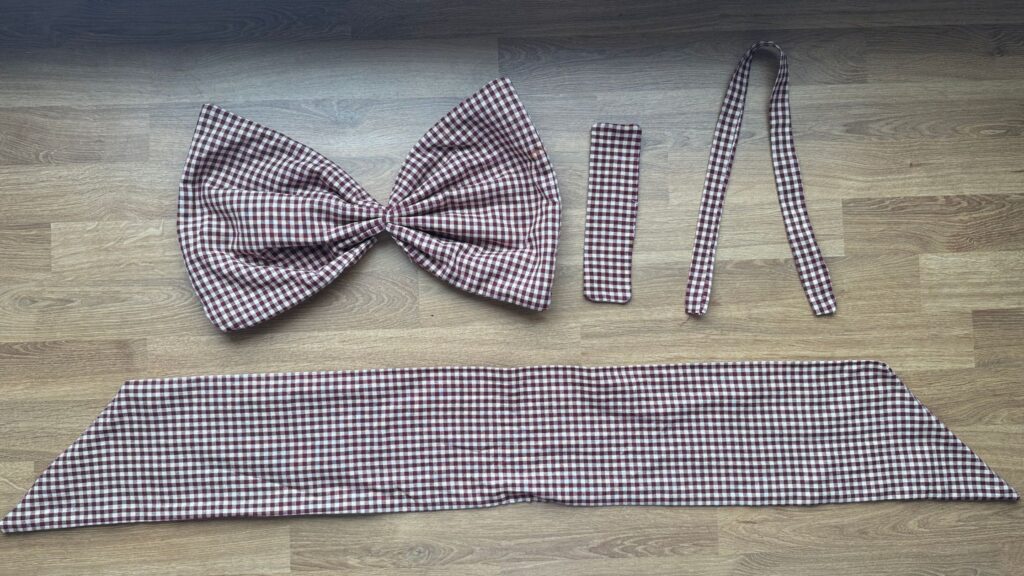
A typical bow is made up of 3 parts.
1) The Loops
2) The Ties
3) The Center Wrap
With this bow, we aren’t going to tie a single ribbon we are going to cut out each section individually. This will allow us to achieve the perfect proportions for the bow that we would like. I will outline the exact sizes that I used.
Step-by-Step Tutorial
Now that you have your supplies ready, it’s time to start bringing your oversized bow to life! Don’t worry if this is your first sewing project. I’ll walk you through each step in detail. Once you’ve made one, you’ll realize how simple and satisfying it is to create your own beautiful, handmade decor.
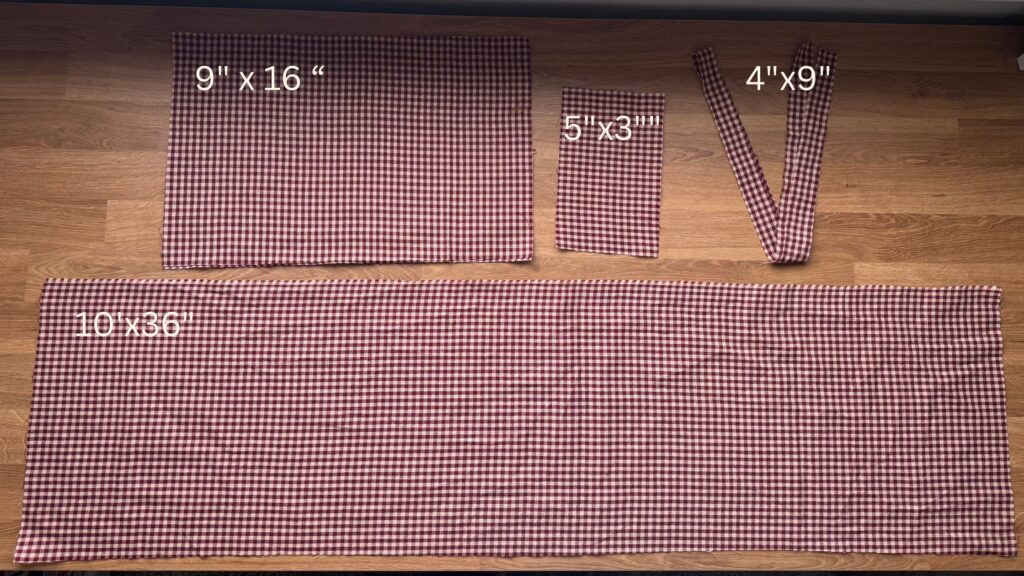
Step 1 – Measurements and Cut Fabric
Loops – 9″x16″
Ties – 5″x3″
Wrap – 10″x36″
Attaching Tie – 4″x9″
Step 2 – Create The Loops
- Assemble the quilt sandwich. Lay down the batting, layer of fabric face up, layer of fabric face down.
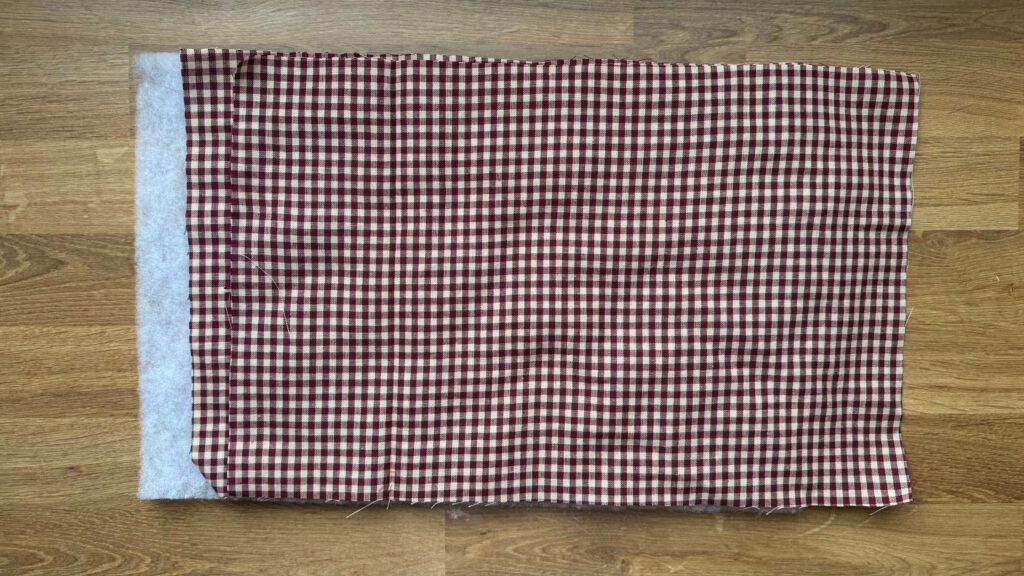
- Sew around the edge, leaving a 1″ gap.
- Trim the corners.
- Flip in between the two fabric pieces.
- Use something pointy but not sharp to poke out the corners.
- Iron.
- Sew up the gap.
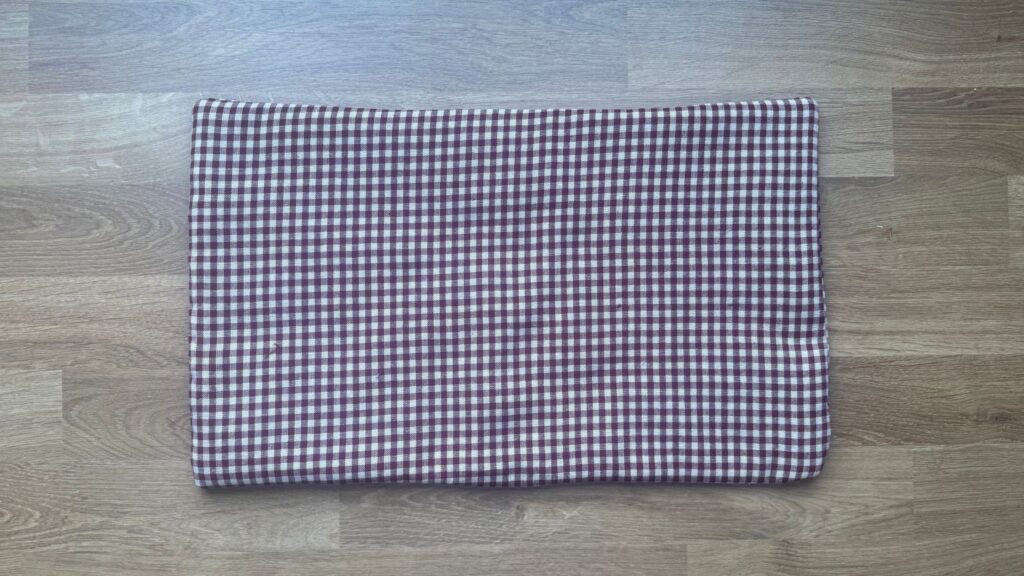
Step 3 – Create The Ties
- Fold the fabric in half, pretty sides together.
- Sew around the edge, leaving a 1″ gap.
- Trim the corners.
- Flip in between the two fabric pieces.
- Use something pointy but not sharp to poke out the corners.
- Iron.
- Sew up the gap.
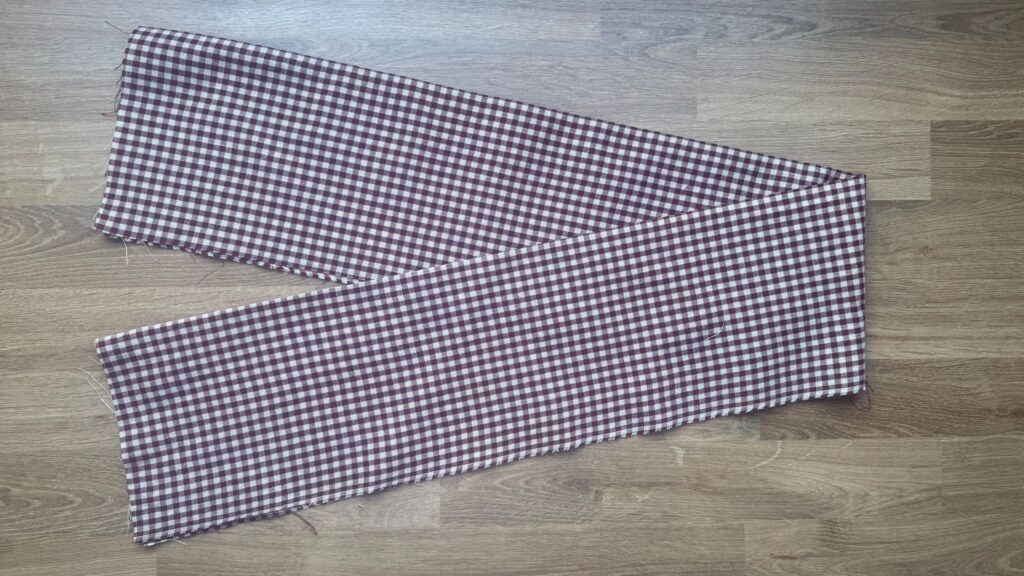
Step 4 – Create The Wrap
- Fold the fabric in half, pretty sides together.
- Sew around the edge, leaving a 1″ gap.
- Trim the corners.
- Flip in between the two fabric pieces.
- Use something pointy but not sharp to poke out the corners.
- Iron.
- Sew up the gap.
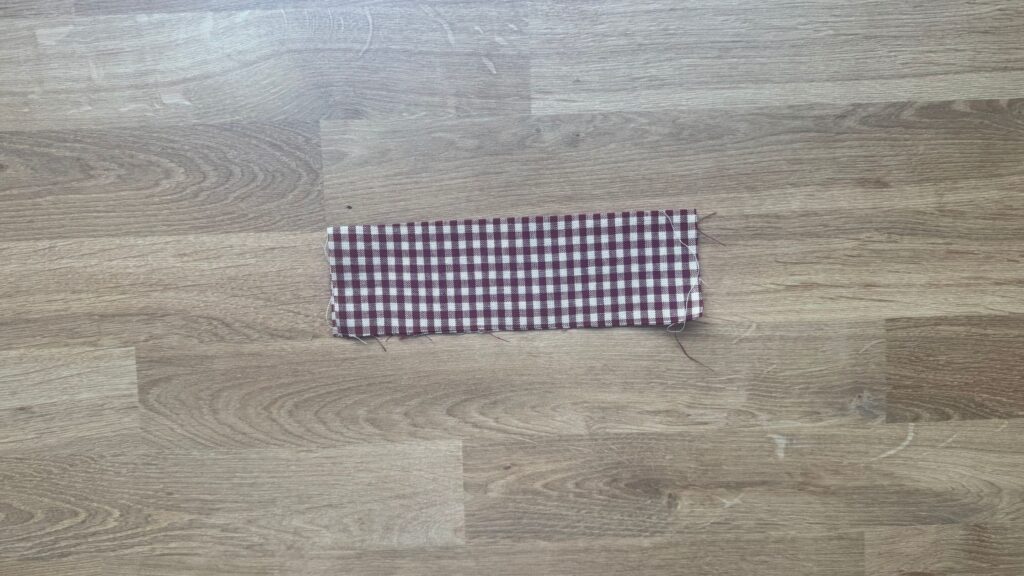
Step 4 – Create The Attaching Tie
- Fold the fabric in half, pretty sides together.
- Sew around the edge, leaving a 1″ gap.
- Trim the corners.
- Flip in between the two fabric pieces.
- Use something pointy but not sharp to poke out the corners.
- Iron.
- Sew up the gap.
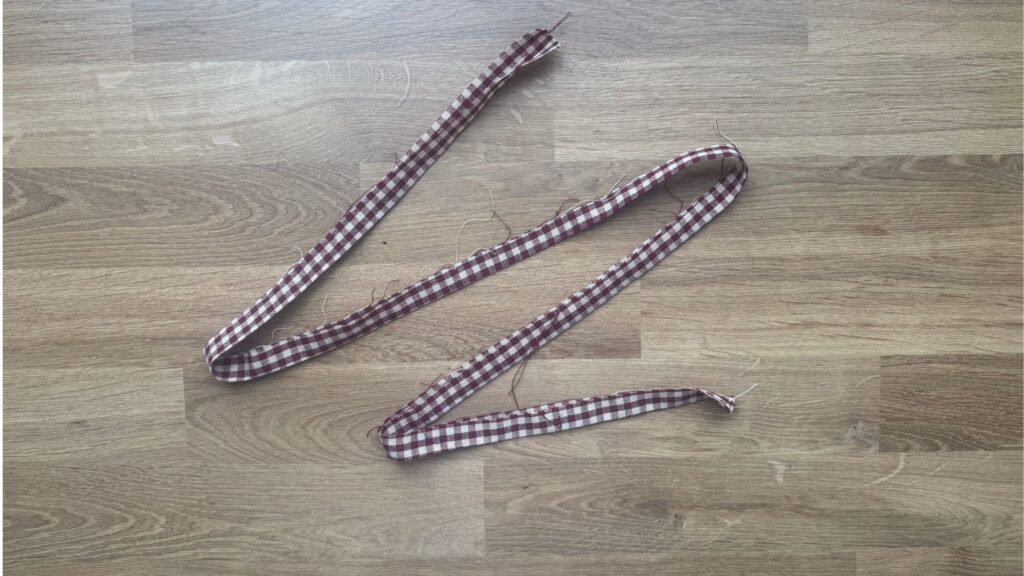
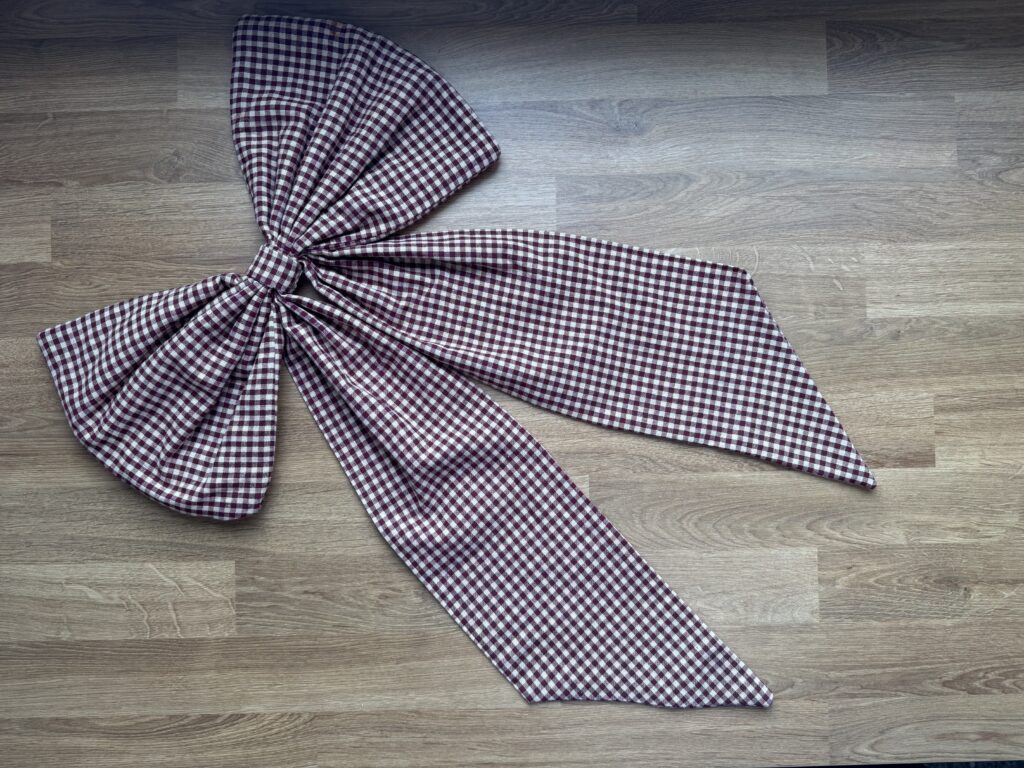
Step 5 – Assemble The Bow
- Accordion fold along the center of the loops.
- Take your needle and thread, and sew into it a few times to hold it in place
- Line up the ties
- Take the wrap section and sew it into place
Step 6 – Display Your Work
Styling Ideas
The best thing about this Christmas craft is that there are so many different ways to display and share your work.
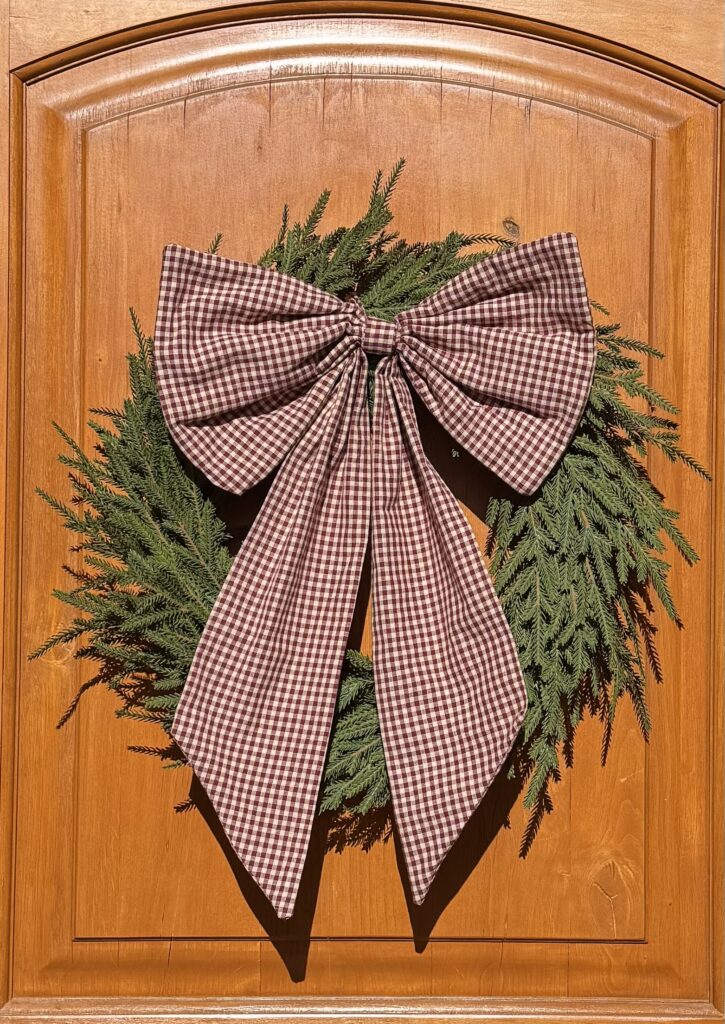
- Front Door Accent: The bow can be attached directly to your front door for a simple statement, or layered over a wreath or garland for a fuller look.
- Christmas Tree Topper: Use the strip that we created from matching fabric to secure the bow to the top of the tree. The bow adds a classic element to your Christmas decorating.
- Mantel or Staircase Garland Accent: Create smaller versions of the bow and attach several along your mantel or staircase garland. It will help tie in your decor and add a cohesive touch throughout your space.
- Gift-Wrapping: the bow can be scaled down and used as a reusable gift wrapping topper. This is a sustainable way to approach wrapping your Christmas presents
Tips for a Professional Finish
There are several ways to take your bow to the next level and make it look like it came from a high-end boutique. First, use fabric starch while ironing and cutting your fabric. This will help it be crisp and hold its shape to create a structured bow. Choose fabrics that create a cohesive color palette and complement your existing Christmas decor. Finally, make sure to tuck or hide all ribbons and wires used to attach the bows out of sight so the piece looks clean and seamless.
If you notice that your bow looks uneven or droopy, there are a few quick fixes you can try. You can add more batting inside the loops to give extra volume, use a slightly wider center wrap than the dimensions listed above for more stability, or refold the bow in an accordion pattern to make it look fuller. If needed, don’t hesitate to take it apart and reassemble the bow. Sometimes all it takes to get the perfect bow is a little reshaping!
Creative Variations to Try
Here are a few creative variations that might be the perfect fit for you!
- Mini versions – These can be used for gift wrapping, staircase garlands, mantel displays, or even chair backs.
- Layered bows – Combine two bows with different sizes or fabrics to add extra dimension and visual interest to your decorating.
- Color theme – Mix and match complementary fabrics or patterns to create a cohesive and stylish holiday look.
- Monogrammed Bows – Add your family’s monogram or initials to personalize the bow and make it uniquely yours.
How to Store and Reuse Your Bow
The best way to store your bow is to keep it completely flat to avoid any unnecessary wrinkles. Place it in a box or storage bin to protect it from being crushed or losing its shape. This is the perfect craft to reuse year after year to avoid creating unnecessary waste.
Final Thoughts and Inspiration
Creating your own oversized fabric bow is such a fun and rewarding way to add a personal touch to your Christmas decorating. Whether you use it as a statement tree topper, a front-door accent, or a charming addition to your mantel or staircase, this project brings that cozy, handmade magic we all love during the holidays. I hope this tutorial inspires you to slow down, get creative, and make something beautiful that your family can enjoy year after year.
FAQs
- Can I use leftover fabric or scrap material for this project?
- Yes! This is the perfect scrap-busting project.
- How much fabric do I need to make an oversized bow?
- I used a little less than one yard of fabric for the bow that I created.
- Can I make this bow without any batting?
- You can, but it will be droopy and have very little structure. The batting helps the bow hold its shape and look full
- How do I attach the bow to my front door or wreath?
- I’ve included instructions for creating a loop that can be used to attach the bow securely to the door, wreath, or tree.
- Can I use this bow outdoors?
- This bow is made out of fabric, so I would recommend using it only on a covered porch or deck outside to prevent it from getting wet or weather-damaged.
- Can I make smaller versions of this bow for garlands or gifts?
- Yes, you can scale down the bow to be whatever size you would like.
- Can I iron or steam the bow if it gets wrinkled?
- Yes, the bow can be ironed if it ever gets over wrinkled.
- Can I add trim or embellishments to my fabric bow?
- Yes, you can easily add embellishments like ribbon, lace, or beading to your bow to customize it.
- Can I personalize my bow with embroidery or monograms?
- Yes, embroidering or adding a monogram is the perfect way to personalize your bow and make it extra special.
- Why is my bow not holding its shape?
- If your bow is flat, you may need to add more batting or tighten the center wrap to give it more structure and volume.