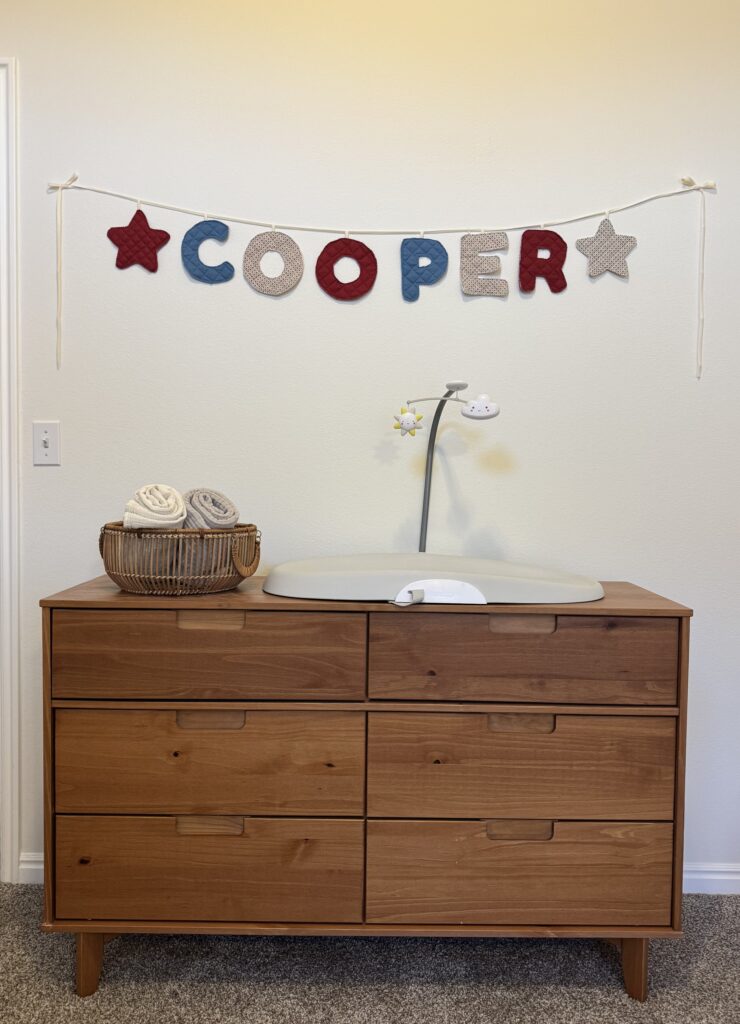
I’ve been seeing personalized name garlands everywhere lately, and I am absolutely obsessed! They’re the perfect way to add a customized flair to your kid’s room, and they also make adorable, sustainable birthday party decor.
I am making this name garland for my nephew, who was recently born, to decorate his room. These garlands are perfect because they can be easily personalized for every child. They’re incredibly unique, you can use prints that are specifically tailored to each child’s room or party theme. Best of all, they’re completely beginner friendly and surprisingly easy to sew!
If you’d like to create your own personalized fabric name garland, follow this step-by-step tutorial! I’ll also share some of my favorite tips, tricks, and lessons learned so you can make your own garland as easily as possible.
This post contains Amazon affiliate links. As an Amazon Associate, I earn from qualifying purchases.
Why You’ll Love Fabric Name Garlands
When I first started making these DIY fabric name garlands, I was surprised by how easy it was to customize them. You can choose fabrics that match your child’s room, a favorite party theme, or even their latest obsession.
For example:
- Soft pastels for nursery
- Bright, bold colors for a birthday party
- Character fabrics that match a child’s favorite show or movie
My favorite part is how creative you can get. No two garlands will ever look the same. They’re a perfect handmade addition to any space and make wonderful gifts.
I love making these garlands and giving them as gifts. They are relatively easy to sew, but the customization is what makes it so special. I like to include them with a baby shower gift or add one on top of a present from the registry. It’s always a show stopping item that will get everyone in the room talking.
Materials You’ll Need
- Fabric (I like to use scrappy quilting cotton)
- Fabric Scissors
- Pinking Shears (for a polished edge)
- Sewing Machine (this machine is similar to the one that I use and love)
- Edge Binding
- Batting
- Water-Soluble Fabric Marker
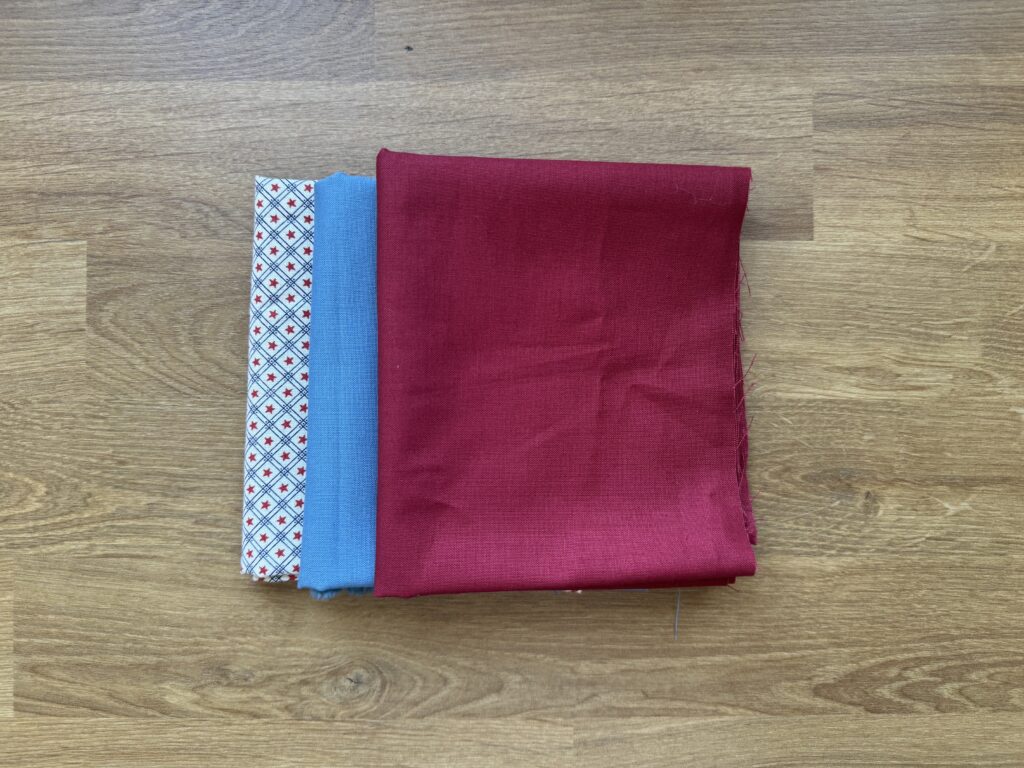
Tip: I like to use a mix of fabrics to create a scrappy, customized look. Start with a color palette or theme before choosing your materials. I usually pick one bold pattern and then pair it with solid fabrics for the remaining letters to keep the overall design cohesive and not too busy. This approach gives the garland personality without overwhelming the space.
**Safety Note: This fabric name garland is for decorative purposes only. Make sure it is securely hung up and kept completely out of reach of babies and young children. Never hang garlands above a crib or play area, as there are risks of entanglement.
Step-By-Step Instructions
Step 1 – Design the Banner
- Use Canva to design your garland
- I used the font Fredoka, 390-point font
- Play around with font and size to match your theme
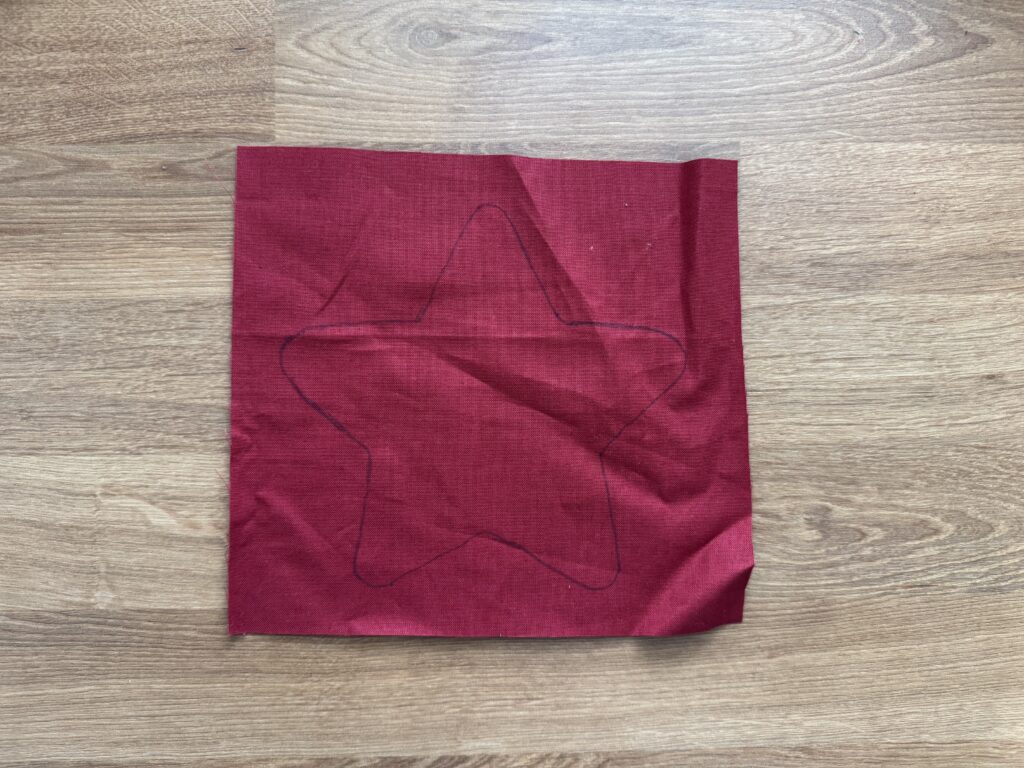
Step 2 – Trace the Letter or Shapes
- Export the design from Canva and print it out on regular copy paper
- Cut out all of the letters
- Lay them on the fabric and trace around the edges using the water-soluble fabric marker
- Trim any excess fabric to avoid any unnecessary sewing
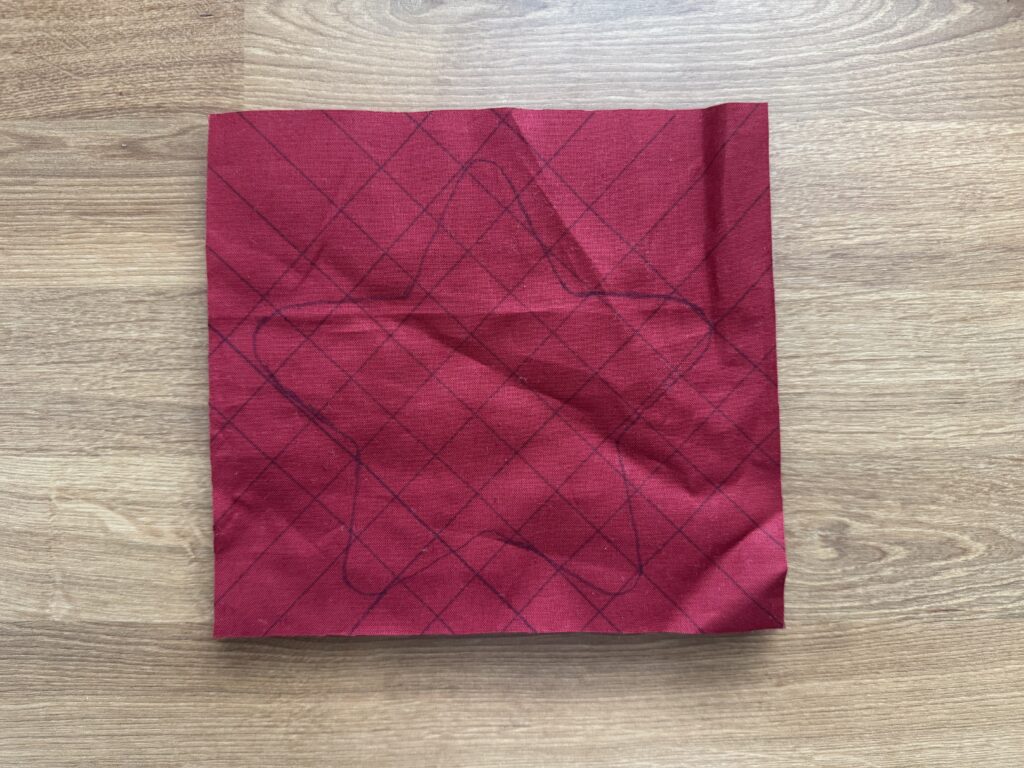
Step 3 – Add the Quilting Lines
- Use a quilting ruler and cutting mat to add 45-degree lines to your letter
- Use the first line as a guide to draw 45-degree lines across the entire letter
- I used a spacing of .75″. Feel free to customize the spacing fully
- Rotate the letter and draw 45-degree lines going the other direction
- Use the same spacing as you did on the first set of lines
Step 4 – Assemble the Layers
- Lay out the backing fabric, batting, and front fabric
- Pin in place to prevent shifting
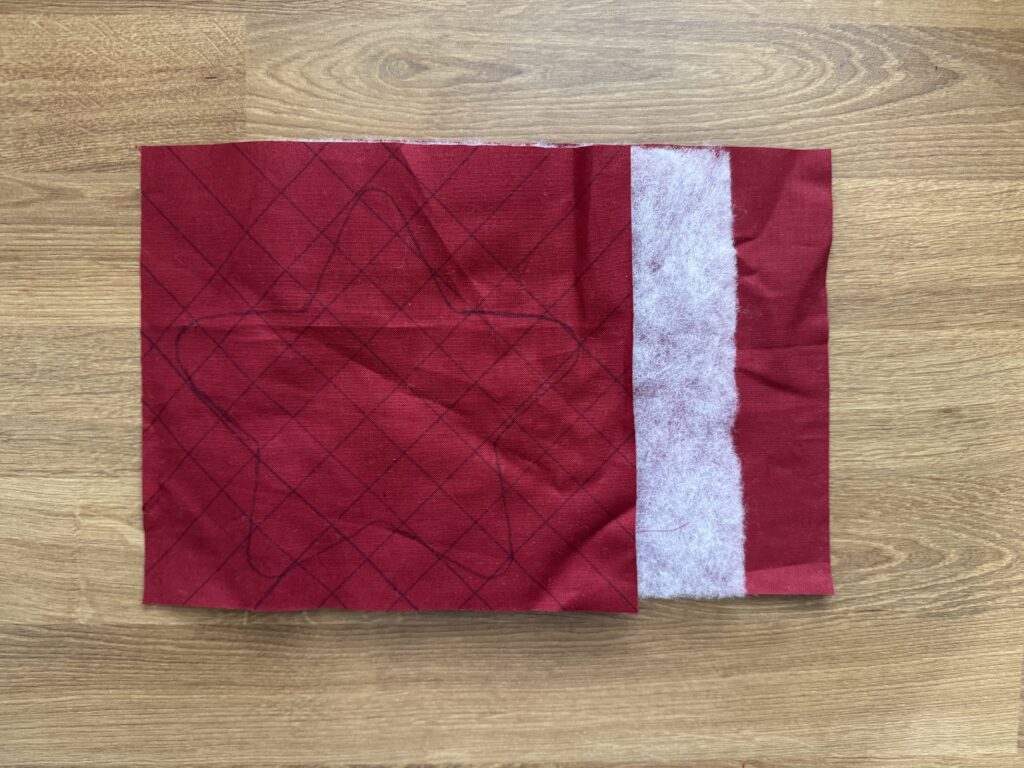
Step 5 – Quilt the Letter or Item
- Sew along all the quilting lines you drew in Step 3
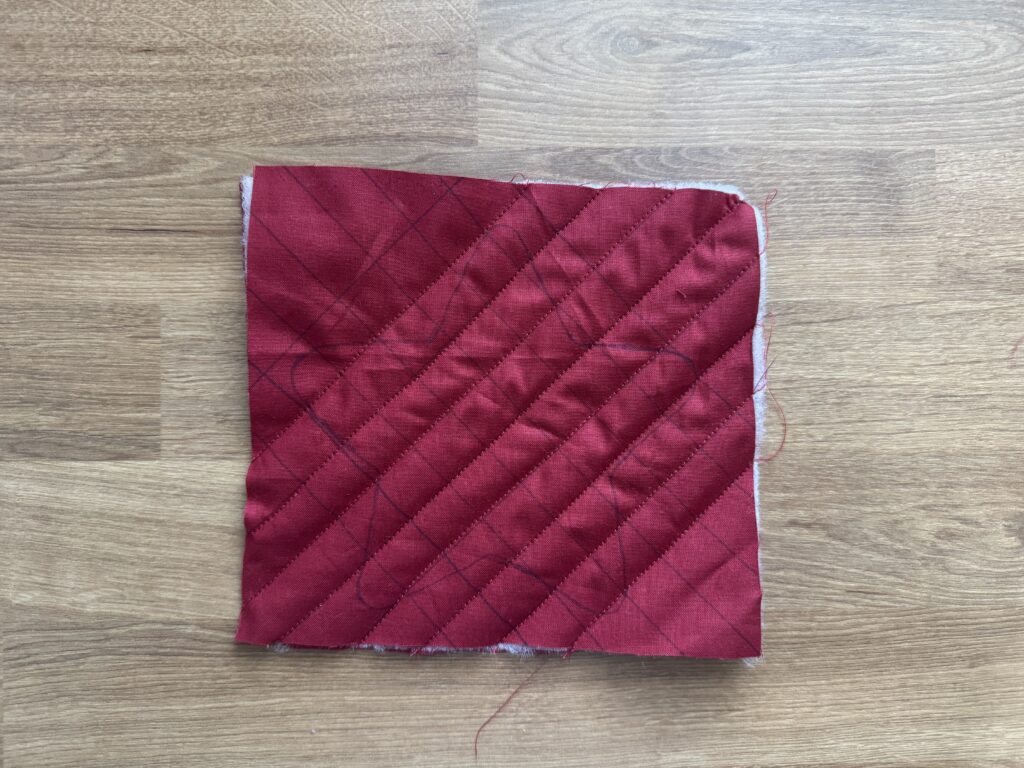
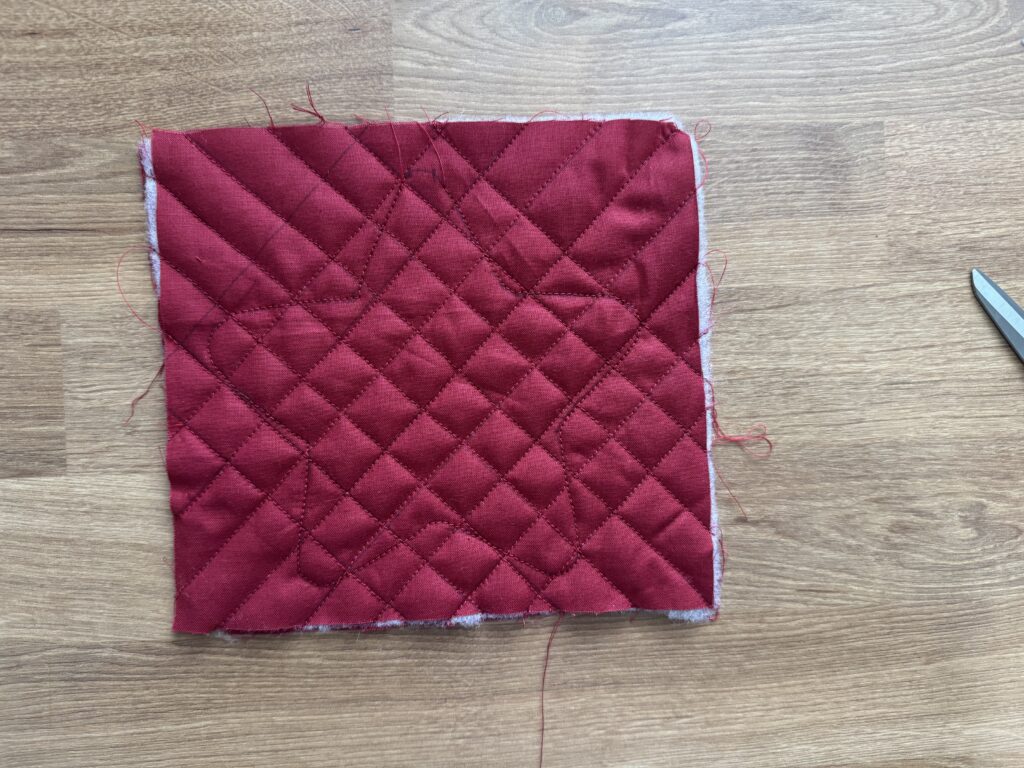
Step 6 – Sew around the Edges
- Sew along the outer edge of the letter
- Leave a .25″ gap at the top where the letter will hang
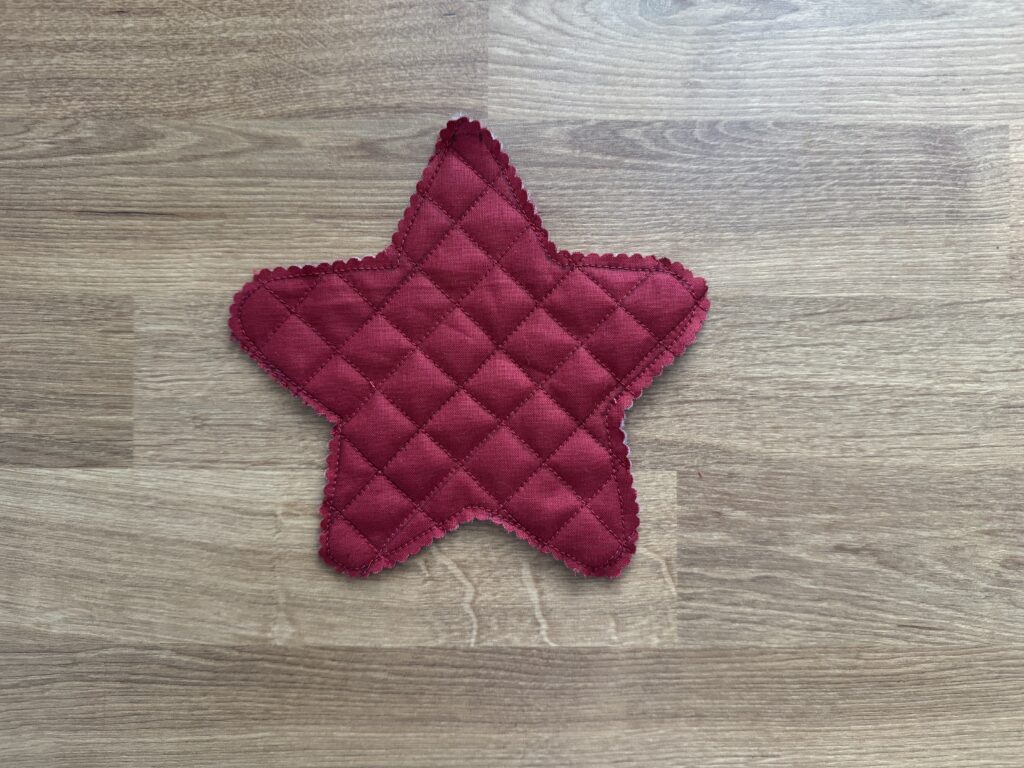
Step 7 – Trim the Edges
- Use pinking shears to trim around the letter for a neat scalloped edge
Step 8 – Add the Hanging Loop
- Cut 2.5″ off the edge of the binding
- Fold in half and iron
- Insgert into the .25″ gap at the top
- Sew it into place and backstitch for security
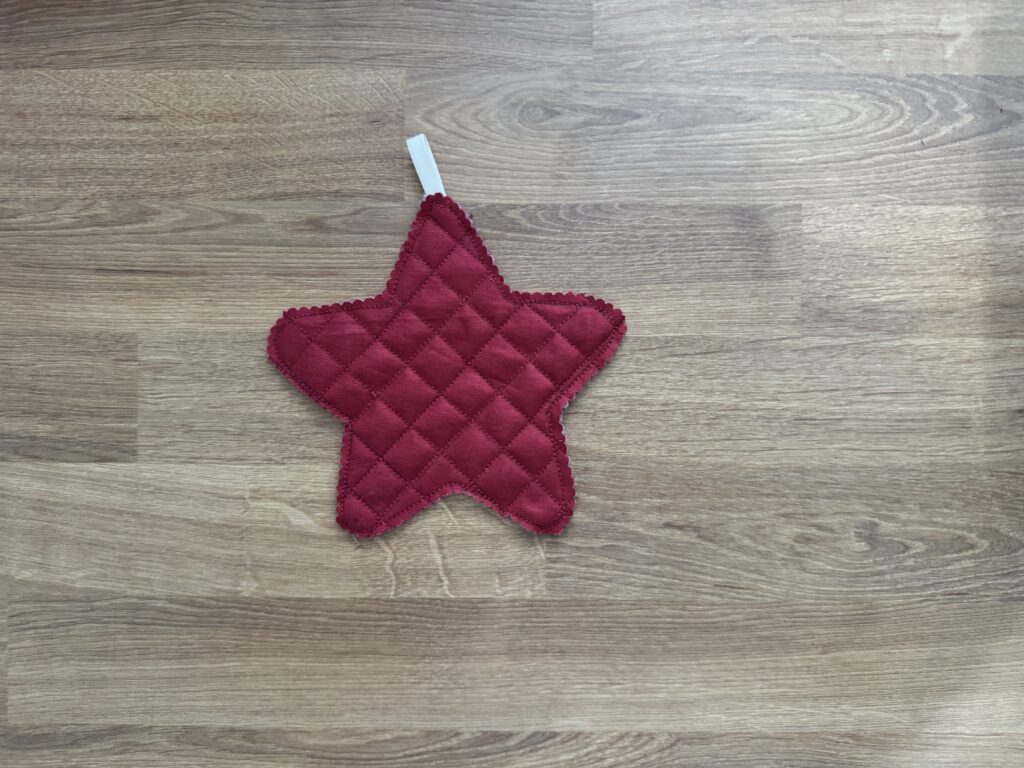
Step 9 – Admire Your Work
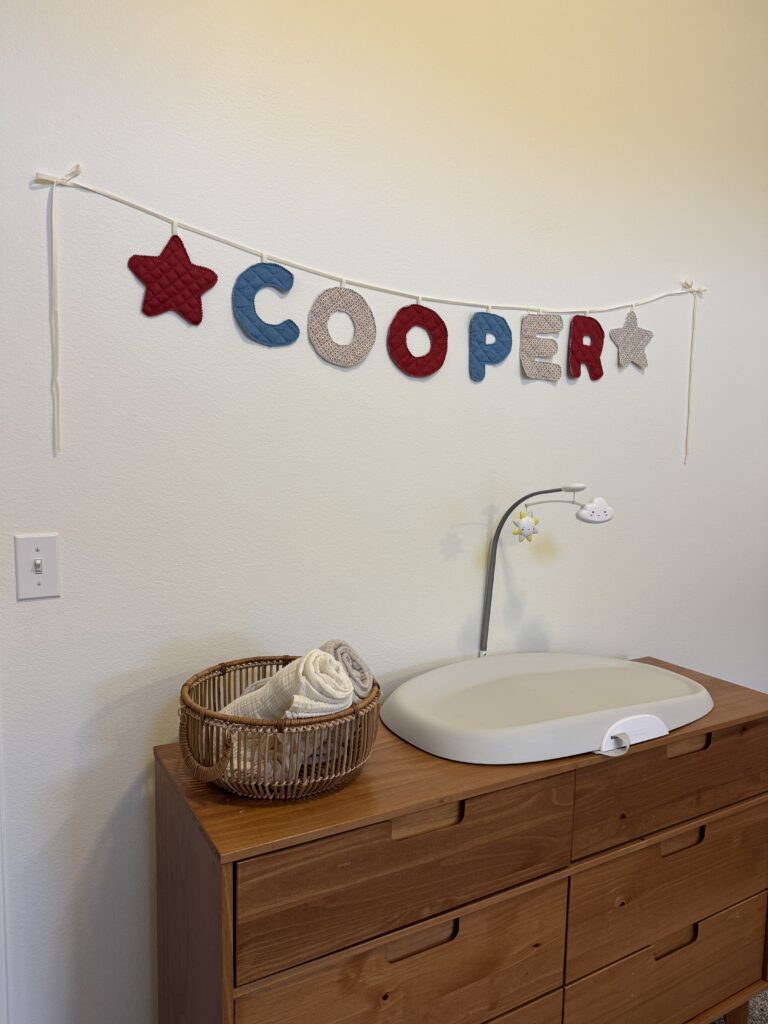
Tips for a Professional Finish
To make your fabric name garland look more professional, use cohesive and complementary fabric colors and patterns. It’s best to pick a color palette before starting your project and stick to it. Another helpful tip is to use starch when ironing your fabric. This makes the fabric easier to work with when quilting and cutting. I also find that when you use a template for your letters instead of writing them by hand, you get a much more professional look. The garlands are very easy to store. I personally like to stack each letter on top of the other and store them in a large envelope.
Fun Variations & Inspiration
There are so many ways to customize a fabric name garland for different occasions. You can use them for birthday parties and baby showers. You can also add different embellishments. I like to add stars, hearts, or flowers on each edge of the name, sandwiching the name. You could also get creative and add photos, pom poms, or other embellishments.
Nap Time Craft
This craft is nap time approved! I shopped for the fabric with my kids while they were awake and prepared the fabric while they played. It only took me two nap times to quilt the letters and sew along the edge of the letters. You are able to cut the letters with the children around, making it a nap time approved craft!
Conclusion
I hope this DIY fabric name garland tutorial has inspired you to create something special for your next celebrations or decoration. There’s just something so meaningful about handmade decor. When you make one for a baby shower, birthday party, or as a keepsake for your little one’s room, this project is such a fun and creative way to add warmth and personality to any space
If you loved this project and want to connect with other creative moms who also enjoy DIY parties, decor, and holiday crafts. Come join our Facebook group, DIY Parties, Decor & Holidays. It’s a fun, uplifting community where we share ideas, inspiration, and encouragement for all your crafting adventures. I’d love to see your garland there and cheer you on!